Uncategorized

Egg Cosy Santa’s Hat – Crochet Tutorial

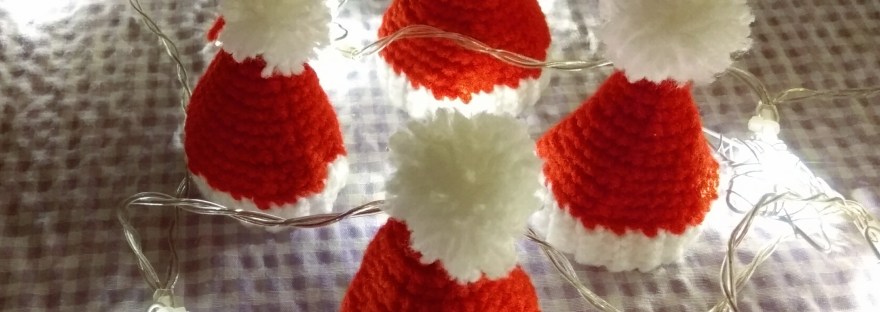
December is almost there! It’s time to create a special athmosphere of a miracle around. We exchange all home decorations with christmas specialities. Candels, Nutcrackers, angels and stars are everywhere. Kitchen towels of christmas colours, tablecloth with winter ornaments and special egg warmers for decorating the breakfast table on Sunday!
IMG-20181115-WA0001

You will need:

  • 3.5 mm or 4 mm crochet hook
  • White and red yarn recommended for the hook
  • Scissors
  • Small piece of cardboard

Abbreviations:

  • ch – chain
  • sl st – slip stitch
  • st – stitch
  • sc – single crochet
  • dec – 2 sc together (used to decrease the number of stitches)
  • X 5 – repeat 5 times
  • at the end of every round total number of stitches is shown in brackets

Instructions:

The hat:

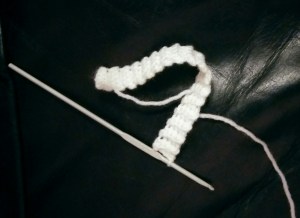
We start with the rubber, take white yarn and make 5 ch (the last, 5th ch is a turning ch)
Rounds 1-35: sc in next 4 st IN BACK LOOPS ONLY, 1 turning ch (4)
IMG_20181115_203638
Round 36: now we are going to close the rubber. Insert the hook in the last st of the last and the first rounds at the same time, make sl st in next 4 st (4)

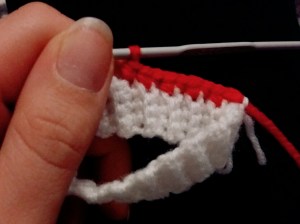
Now we are crocheting the “body” of the hat. So I start counting the rounds again. And by the way, we should change to the red yarn now.
Round 1: 1 ch, sc in next 35 st (35)
IMG_20181115_203618

Round 2: (sc in next 5 st, dec) X 5 (30)
Round 3: sc in all st (30)
Round 4: (sc in next 4 st, dec) X 5 (25)
Round 5: sc in all st (25)
Round 6: (sc in next 3 st, dec) X 5 (20)
Round 7: sc in all st (20)
Round 8: (sc in next 2 st, dec) X 5 (15)
Round 9: sc in all st (15)
Round 10: (sc in next st, dec) X 5 (10)
Round 11: sc in all st (10)
Round 12: (dec) X 5 (5)
Round 13: Closing the hat: dec, skip 1 st, sl st, fasten off, cut the yarn and weave in all ends.

Pompon:

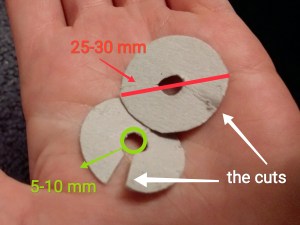
Now we are making the pompons. It is so much easier than it looks, so no worries! We should cut two identical rings out of the cardboard piece, put them together and make a cut (as it is shown on the picture below). I also added the dimensions I have, but it is very individual, just decide what size your pompon should be.
IMG_20181115_212916

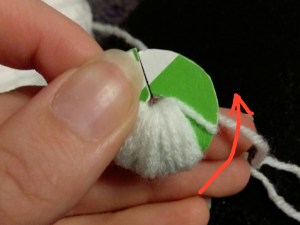
Then we reel up the yarn on the rings. Try to destribute the yarn equally and remember: the longer you are reeling up, the thicker your pompon will be.
IMG_20181115_213019

When you think it is enough, or you have no more space, just insert scissors between the rings through the yarn layer (as shown on the picture below by the red scissors :). Try to hold the pompon together so it doesn’t fall apart. Now we tie the pompon together: To do so take a new yarn piece (around 10 cm long) and reel it once between the rings, make a knot and tighten it. Make one more knot and remove the cardboard rings.
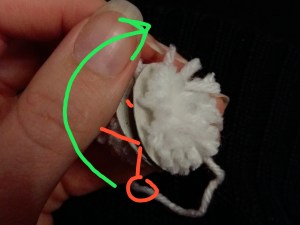
IMG_20181115_213315

Now form the pompon, fluff it up. If some parts are a bit longer that the others, just cut them a little. Don’t cut two ends of the connecting yarn, we need them for attaching the pompon to the hat.
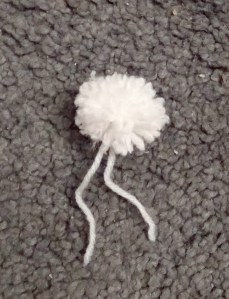
IMG_20181120_200514

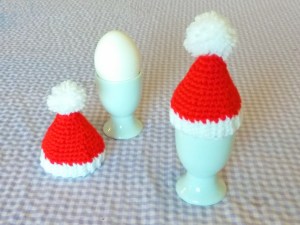
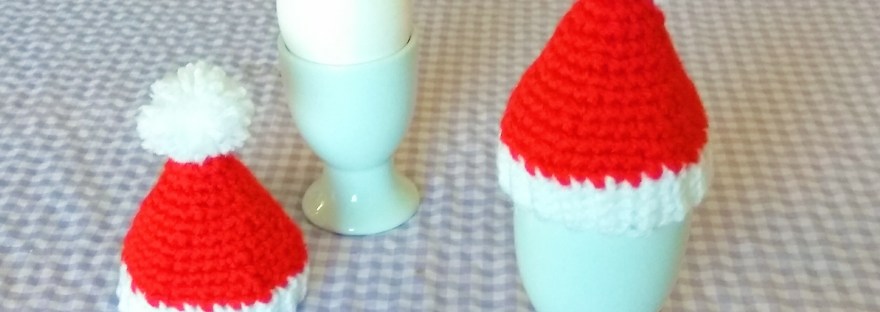
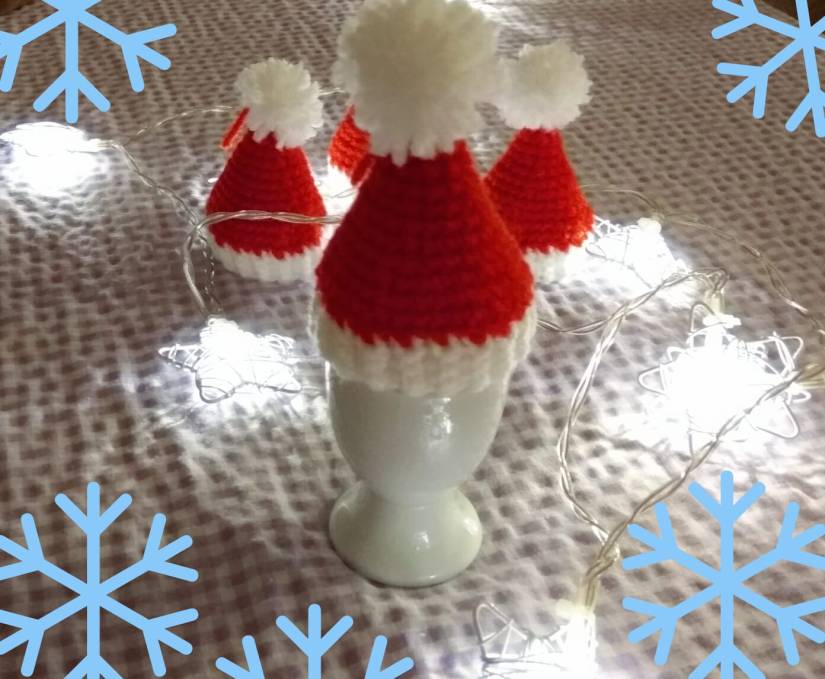
Now attach the pompon to the hat using the tails. And the Santa’s Hat Egg Cosy is finished! You might consider to make one for every family member and get a “Breakfast Set”. Perfect for having a breakfast in December! I am sure, everyone would be happy to get it as a Christmas gift!
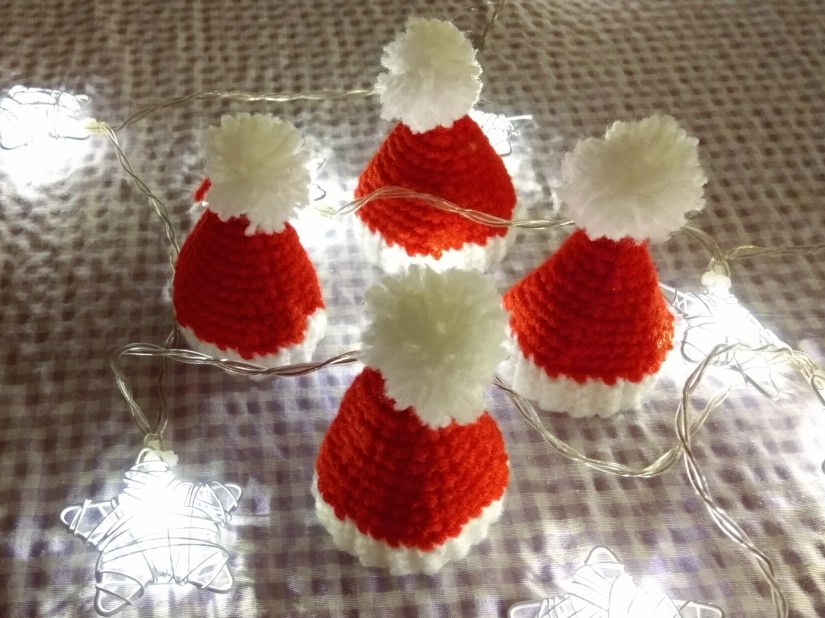
IMG_20181115_201832

Merry Christmas! Ho Ho Ho!

Did you like to crochet with the tutorial? Check out my other patterns here!

You might also like:

Mulled Wine Mug Cosy – Cabled Pattern

IMG_20181027_221058

Uncategorized

4 Quick and Unique Crochet Xmas Gifts

I am sure all of your friends know about your passion for crochet! So Christmas is coming closer and closer and you realize that they are expecting creative crocheted gifts from you! Have no time for making toys, hats and mittens? Well, leave it for grandmas and let’s see what we can do!

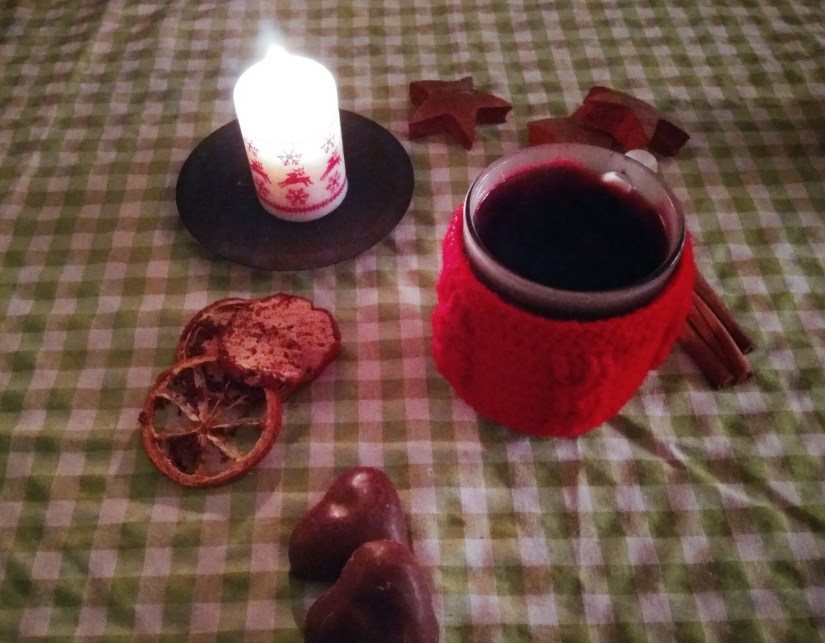
1 Mug Cosy

Although the idea is not that new anymore, mug cosy is still something cool, alternative and unique! Go for it, for sure! Everybody needs it. For cosy winter mornings with a cup of coffee, for warm evenings with a blanket and a huge cacao cup, and of course for  enjoying mulled wine at Christmas Markets! Here I offer you my mug cosy pattern.


2 Key Ring

IMG_20180907_210623

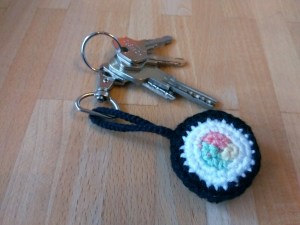
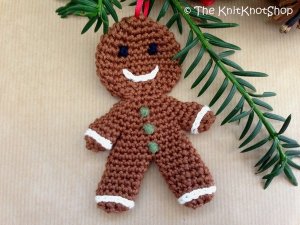
This is a great option for group of friends. It takes only about two hours (maximum!) to make one key ring, and you can make individual ones for everyone. For example, go for a sushi key ring if one of your friends is crazy about sushi or make a heart for someone you love 🙂 Also a good idea would be to make a Christmas figure like a Tree, Santa’s Hat or the Gingerbread Man.

pdf-haekelanleitung-weihnachtsgebaeck-lebkuchenmann-zuckerstange-kekse-688158466-600x450


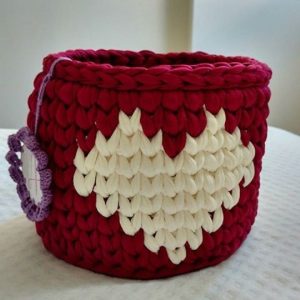
3 Storage Basket

IMG_20180228_150524

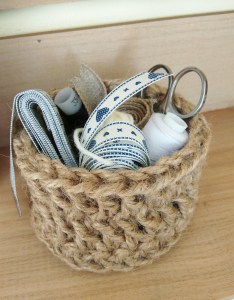
The storage basket is something practical and everyone can find use for it! At the same time you can decorate it in many different ways turning a regular basket into a special Xmas gift.

01b-cesto-fio-de-malha.jpg-nggid041597-ngg0dyn-900x5000x100-00f0w010c011r110f110r010t010

4. Egg Cosy

Egg Cosy is a brilliant thing: small, useful, unique and quick to crochet! It is also a sweet gift, and I am sure it would make anyone happy and surprised!

IMG_20181121_084711

Well, no matter what you go for, remember: there is nothing better than a handmade gift made with a lot of love! Happy crocheting and enjoy your preparation for the Christmas! Ho Ho Ho!

Did you like the post? Look at my other ideas, maybe they will inspire you as well!

Uncategorized

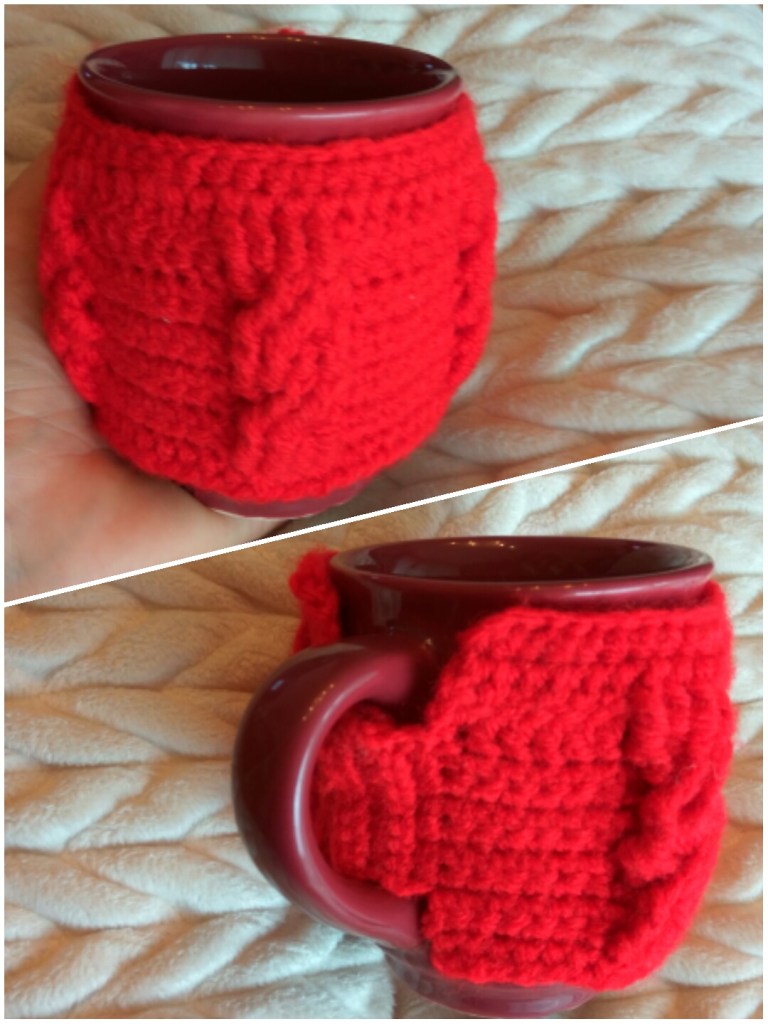
Crochet Cabled Mulled Wine Mug Cosy

It’s not too early to think about christmas (well, it’s never too early, I guess)!
Especially if you need time to crochet presents for your friends and family!

IMG_20181027_202034

Have you ever been to a christmas market in Germany?
This atmoshere and spicy smells, candels, linzer cake, biscuits, all these cosy handmade things everywhere and… warm, fragrant mulled wine! This is so great, the whole year I am waiting for the end of November and run to the Christmas market on the first day it is open. Sometimes it’s really cold, and it’s even better: perfect opportunity to wear self crocheted hat and gloves!
There is only one problem in this paradise: sweet, sticky, red mulled wine will be all over your nice gloves again and again. So I came to the idea to arm with a cup cosy!
It will keep the wine warm and your gloves clean! And you can make it look however you like!

Most of the Christmas markets offer cups of a typical size. So it is easy to make a mug cosy that would fit to them!

IMG_20180915_181135

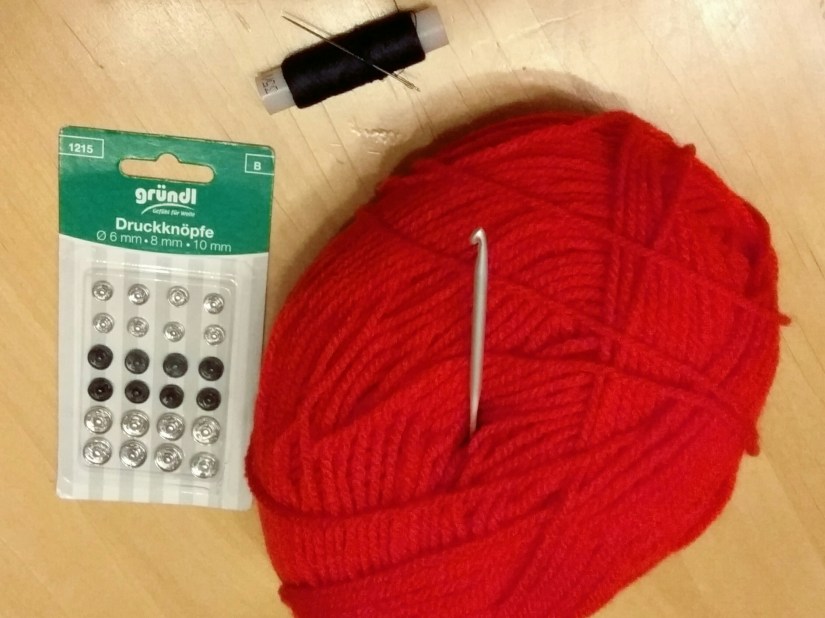
Materials:

  • 3.5 mm crochet hook
  • recommended for the hook red yarn (of course, zou can choose any colour, but I would consider dark colours or shades of red. If you spill the wine, nobody notices it)
  • scissors
  • string and needle
  • 8 mm black snaps

IMG_20180927_204921

Abbreviations:

First of all I want to warn you to not get scared by the abbreviations you don’t know! I am sure, after finishing this pattern you will be full of inspiration and you will want to use your new skills more and more, and maybe even design your own patterns!

  • ch – chain
  • st – stitch
  • sl st – slip stitch
  • sc – single crochet
  • hdc – half double crochet
  • dc – double crochet
  • FPtrc – front post treble crochet (US crochet terms)
  • exFPtrc – extended front post treble crochet (US crochet terms)

Note: if you don’t know how to make FPtrc and exFPtrc, look at this tutorial.

Tip: when starting a row with sc, crochet first in the very first st (the last st of a previous row). When starting a row with dc or hdc, start to crochet in the next st (in this case turning st will play a role of a st). This is why in the Rounds, that start with dc or hdc (for example Round 4), one has to crochet only 5 st in the beginning and in Rounds with sc (like Round 6), 6.

IMG_20181027_124518

Instructions:

Row 1: 45 ch + 2 turning ch

Row 2: hdc in all st (45)

Row 3: dc in all st (45)

Row 4: dc in next 5 st, FPtrc in next 4 st, (dc in next 6 st, FPtrc in next 4 st) X 3, dc in next 4 st (45) FPtrc stitches in this row are made into dc stitches of the previous row.

Row 5: sc in all st (45)

Row 6: sc in next 6 st, {skip 2 st, exFPtrc in the 3rd st (though the FPtrc of the previous round),  exFPtrc in the next st (though the FPtrc of the previous round),  exFPtrc in the first skipped st (though the FPtrc of the previous round), exFPtrc in the second skipped st (though the FPtrc of the previous round)},

(sc in next 6 st, {…}) X 3, sc in next 4 st (45)

{…} – it is everything what was in the brakets in the beginning of the row.

Row 7: sc in all st (45)

Row 8: sc in next 6 st, FPtrc in next 4 st, (sc in next 6 st, FPtrc in next 4 st) X 3, sc in next 4 st (45)

Row 9-12: repeat rows 5-8 (45)

Row 13: hdc in all st(45). Fasten off, cut the yarn and weave in the ends.


The main part is finished. No we have to take care that the cup cosy can be closed. The snap fastener I will place under the cup handle. So we crochet small “wings” which fit there.

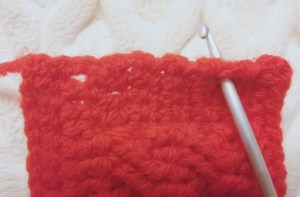
Insert the hook in the 3rd row from the top (as shown on the picture below). Pull the yarn loop through and crochet 1 ch

IMG_20180926_180816

Row 1: 1 ch, sc in next 7 st, 1 turning ch (8)

Row 2-4: sc in next 8 st, 1 turning ch (8). The row 4 will be the last one so don’t make 2 turning st. Fasten off, cut the yarn and weave in the ends. Place the snaps on the parts we just crocheted.


The cup cosy is finished! It is a great unique christmas present for your friends or/and collegues: doesn’t take long to make it, cup cosy looks very mmm… cosy 🙂 and it’s practical, don’t forget it when you visit a christmas market next time!


Ho Ho Ho!

Did you like to crochet with the tutorial? Check out my other patterns here!


Uncategorized

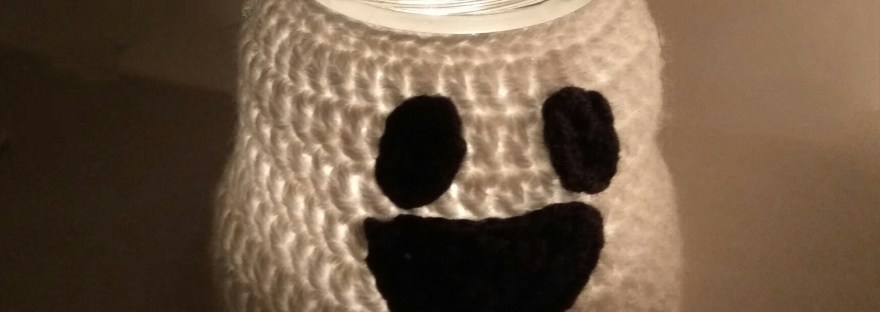
Halloween Decoration Ghost Light – Free Crochet Pattern
Halloween, night, darkness…
It’s time for ghosts to come out! Creat a special atmospere at home and decorate rooms or maybe a garden or an enterence door yourself!
Simple pattern, basic crochet skills, creativity and a bit of yarn – this is what you need today!

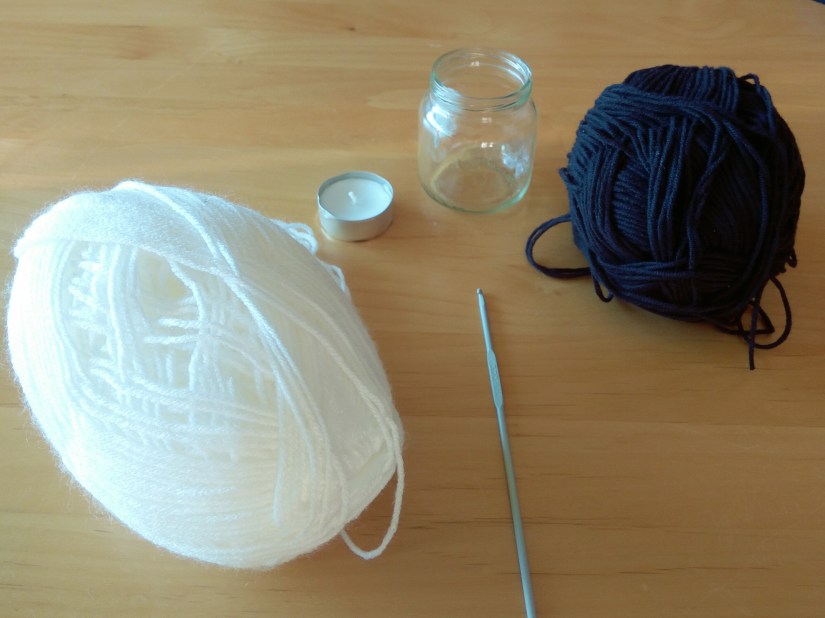
You will need:

  • 3.00 mm crochet hook
  • white and black yarn recommended for the hook
  • Scissors and sewing needle
  • a jar (I took jars of baby food, smaller one is 7 cm in height, the bigger one is 11 cm)

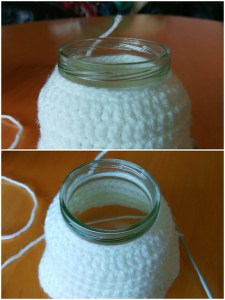
IMG_20180915_220706

Abbreviations:

  • ch – chain
  • st – stitch
  • sc – single crochet
  • dec – 2 sc in one st  (used to decrease the number of stitches)
  • rev sc  – reverse sc (note: reverse sc is a regular sc but in the opposite direction)
  • dc – double crochet
  • dinc – 2 dc in one st (used to decrease the number of stitches)
  • X N – repeat N times
  • at the end of every round total number of stitches is shown in brackets

Instructions:

Note: every round (2-9) starts with 3 ch (which is counted as a first dc in the pattern) and ends with sl st. 

Work with the white yarn.
Round 1: 40 ch, sl st (40)
Round 2: sc in all st (40)
Round 3: (dc in next 7 st, dinc) X 5 (45)
Rounds 4-7: dc in all st (45).  Note: If you are working with the bigger jar, crochet 6 more rounds like that!

IMG_20180917_114424
Round 8: (dc in next 4 st, dinc) X 9 (54)
Round 9: (dc in next 5 st, dinc) X 9 (63)
Round 10: 1 ch, rev sc in all st, sl st (63)


Fasten off, cut the yarn and weave in both ends.

Ghost face:

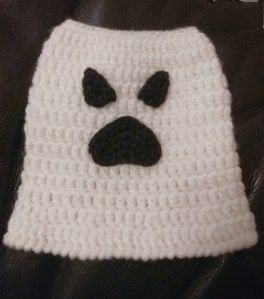
Here I give you some options for ghost face expressions, combine them in the way you like or think of your own ideas! Crochet the face using black yarn.

Standard eyes (make two):

4 ch, 3 sc in the 2nd ch from the hook, sc in next ch, 3 sc in next ch, continue crocheting around: sc in next st, sl st. Fasten off and cut the yarn leaving a tail for sewing.

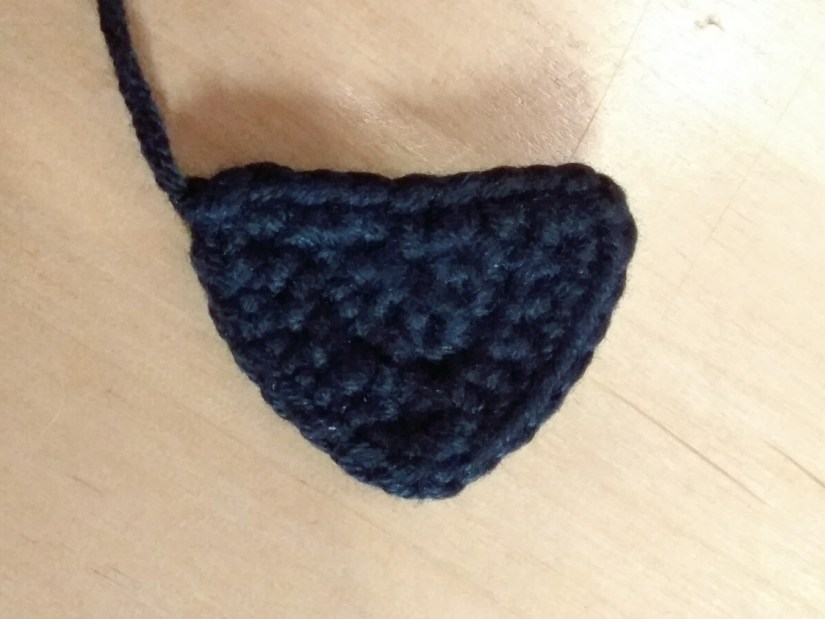
Evil eyes (make two):

Round 1: 6 sc in Magic ring
Round 2: sc in next st, 2 ch, turn the eye and continue crocheting in the opposite direction
Round 3: sc in next 2 st, sl st in next 2 st, sc in next st. Fasten off and cut the yarn leaving a tail for sewing.

IMG_20180923_204849

Howling mouth:

9 ch, turn and crochet around the chain
Round 1: sc in next 3 st, dec, sc in next 2 st, 3 sc in next st, sc in next 2 st, 3 sc in next st, sc in next 2 st, 2 sc in next st
Round 2: 2 sc in next st, sc in next st, dec, dec, sc in next st, 3 sc in next st, sc in next 4 st, 3 sc in next st, sc in next 3 st, sl st in the back loop of the next st, sl st in the back loop of the next st. Fasten off and cut the yarn leaving a tail for sewing.

Smile:

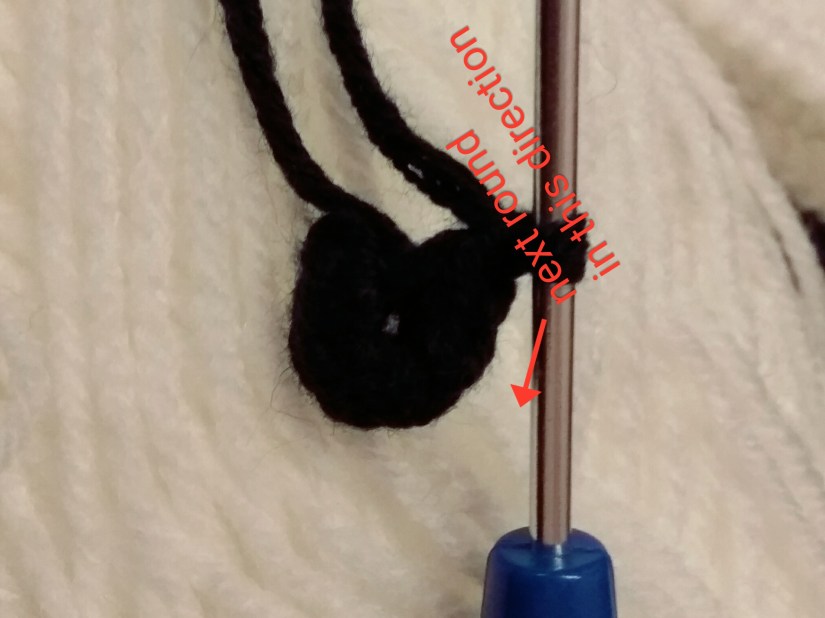
Round 1: 6 sc in Magic ring, 1 ch (6), don’t join the circle as shown below

IMG_20180918_211802

Crochet to the other direction and change direction after every round:
Round 2: sc in next 2 st, 2 sc in next st, 1 ch, 2 sc in next st, sc in next 2 st, 1 ch (9)
Round 3: sc in next 4 st, 2 sc in next st, 1 ch, 2 sc in the same st, sc in next 4 st, 1 ch (13)
Round 4: 2 sc in next st, sc in next 6 st, 1 ch, sc in the same st, sc in next 5 st, 2 sc in next st, 1 ch (17)
Continue crocheting in the same direction:
Round 5: sc in the same st, sc in next 2 st, sc in magic ring, sc in next 3 st, sl st (7)
Fasten off and cut the yarn leaving a tail for sewing.
IMG_20180918_211537

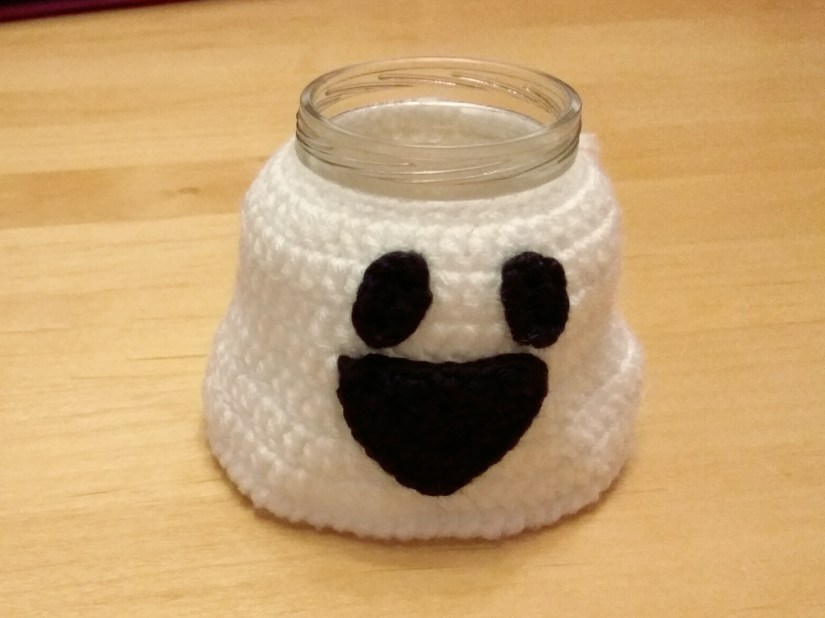
Now sew the face to the ghost’s body and the work is done!

IMG_20180918_221412

Think about crocheting a small basket for sweets? You can use this pattern for it, just take orange and/or black yarn instead of the packing twin!
Did you like to crochet with the tutorial? Check out my other patterns here!

You may also like:

Crochet Halloween Decoration Spider

SAVE_20180910_194121

Uncategorized

Crochet Easel Feet – Protectors for Wooden Floors

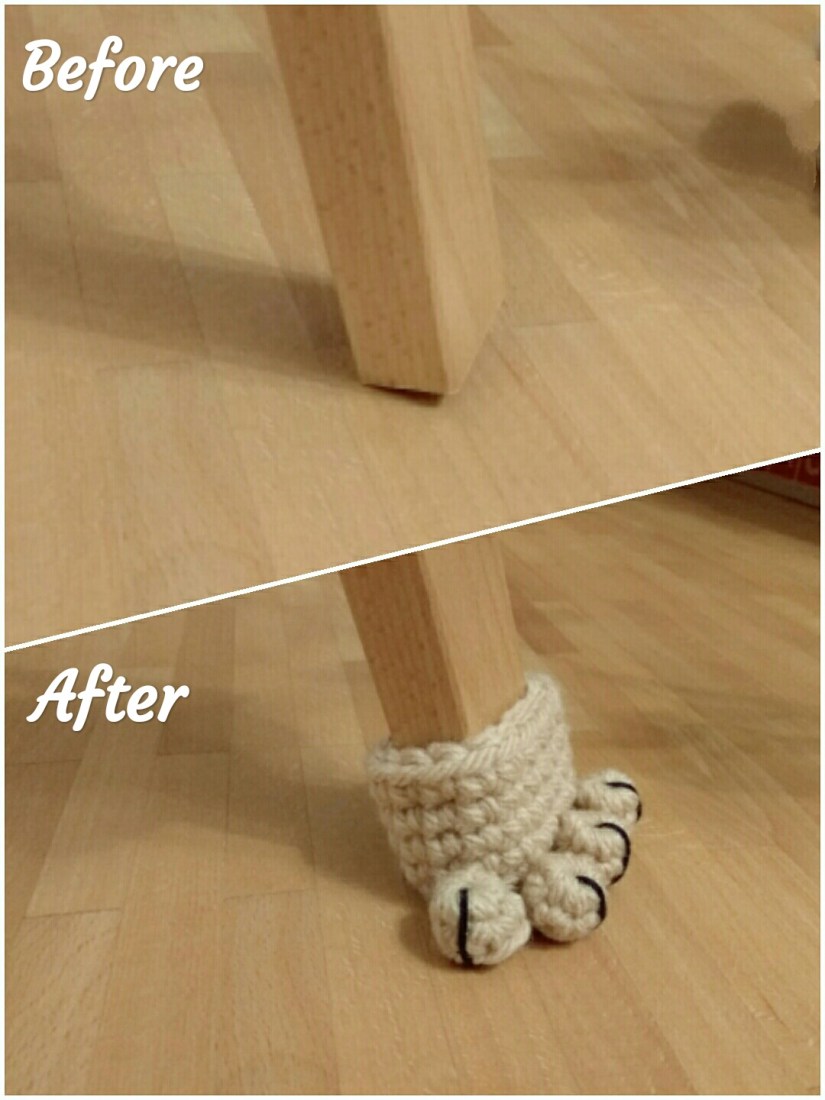
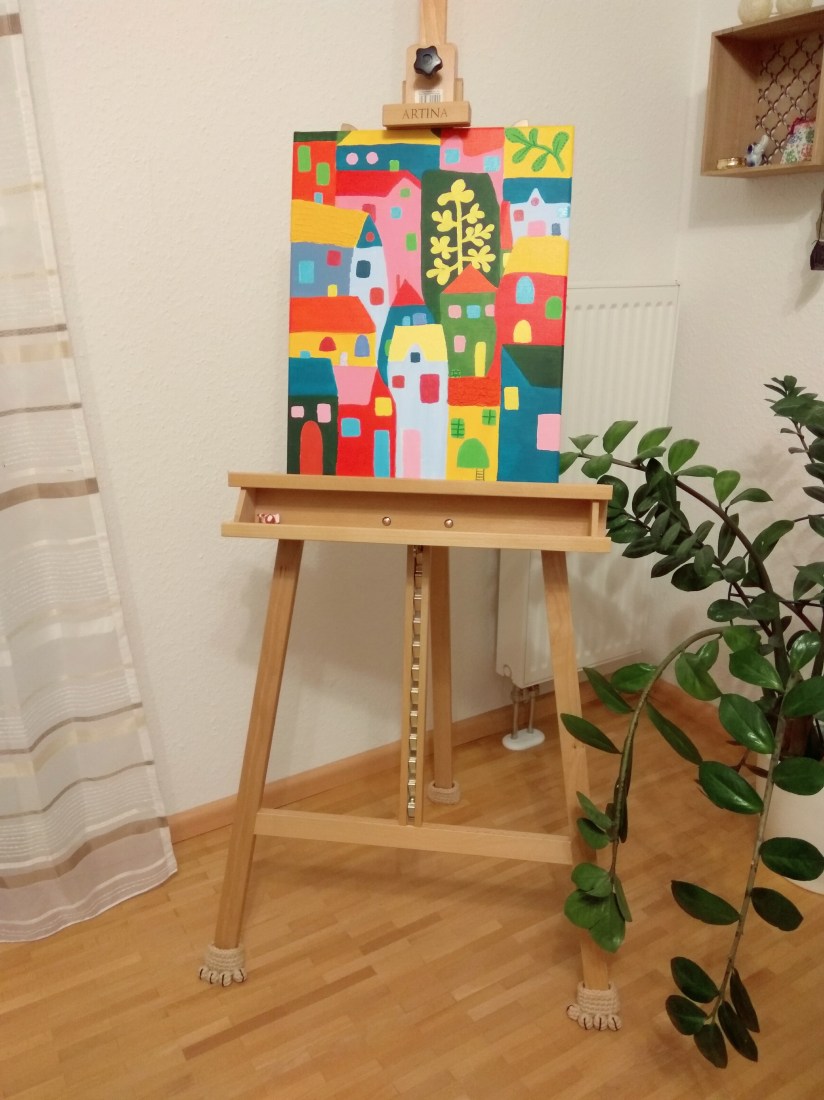
Sometimes by moving chairs or other small furniture we can damage the floors…or we think that we can damage the floors. I often catch myself on the thoughts that I should buy soft stickers for the chairs or tables but I always forget it! Well, good for us, guys, the problem can be easily solved by crochet (not forgetting things but damaging the floors)!
Actually in my case it’s an easel that is the problem, not the chairs. Even if I ever remembered to buy the stickers, it would not really help because of its shape!
So dear painters, attention, today I want to present the feet for your easel to protect your floors!

IMG_20180916_224750

You will need:

  • 6 mm crochet hook
  • beige yarn matching the hook
  • thinner black yarn
  • scissors

Abbreviations:

  • ch – chain
  • st – stitch
  • sl st – slip stitch
  • sc – single crochet
  • at the end of every round total number of stitches is shown in brackets

IMG_20180916_224442

Instructions:

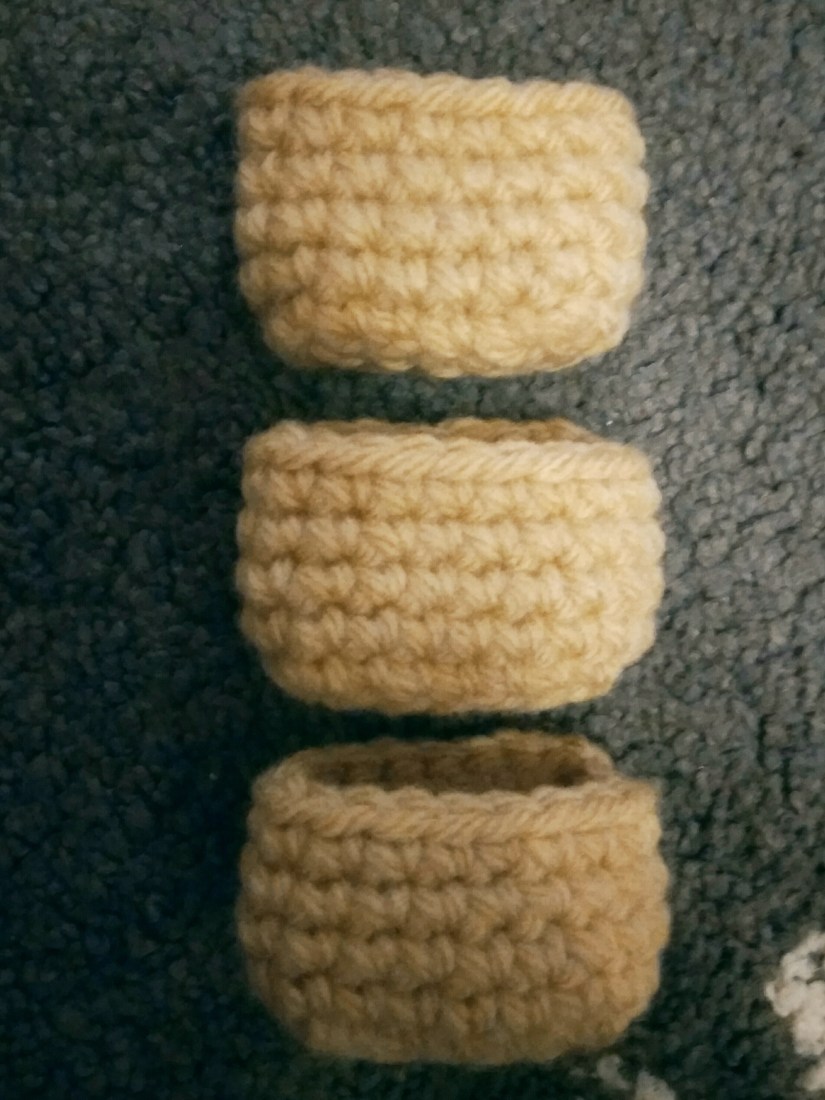
Main part (make three):

7 ch
Round 1: sc in the second ch, sc in next 5 ch, 1  turning ch (6)
Round 2: sc in all 6 st, 1 turning ch (6)
Round 3: now we crochet around the whole piece in front loop only. sc in next 6 st, sc in the side of every row, sc in next 6 st, sc in the other side of every row (18)
Round 4-7: sc in all 18 st (18), sl st in the back loop of the next st, fasten off and cut the yarn. Weave in the end.

You will need three of them, so crochet two more feet the same way.

IMG_20180911_224121

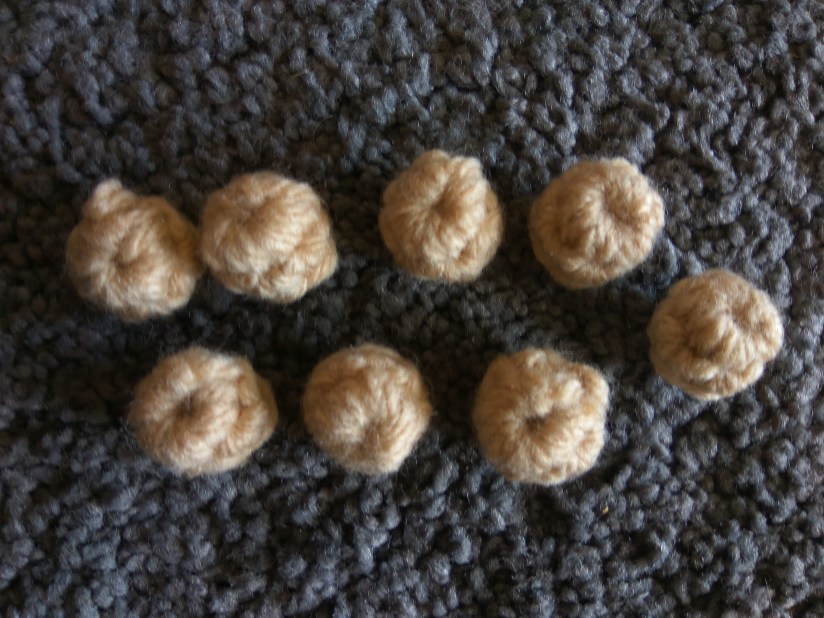
Toes (make 8):

Round 1: 6 sc in Magic ring (6)

Round 2: sc in next 6 st (6), sl st in the back loop of the next st, fasten off and cut the yarn. Weave in the end.

In total we need 8 toes as we put them only on the front two feet, 4 on each.

IMG_20180912_145100

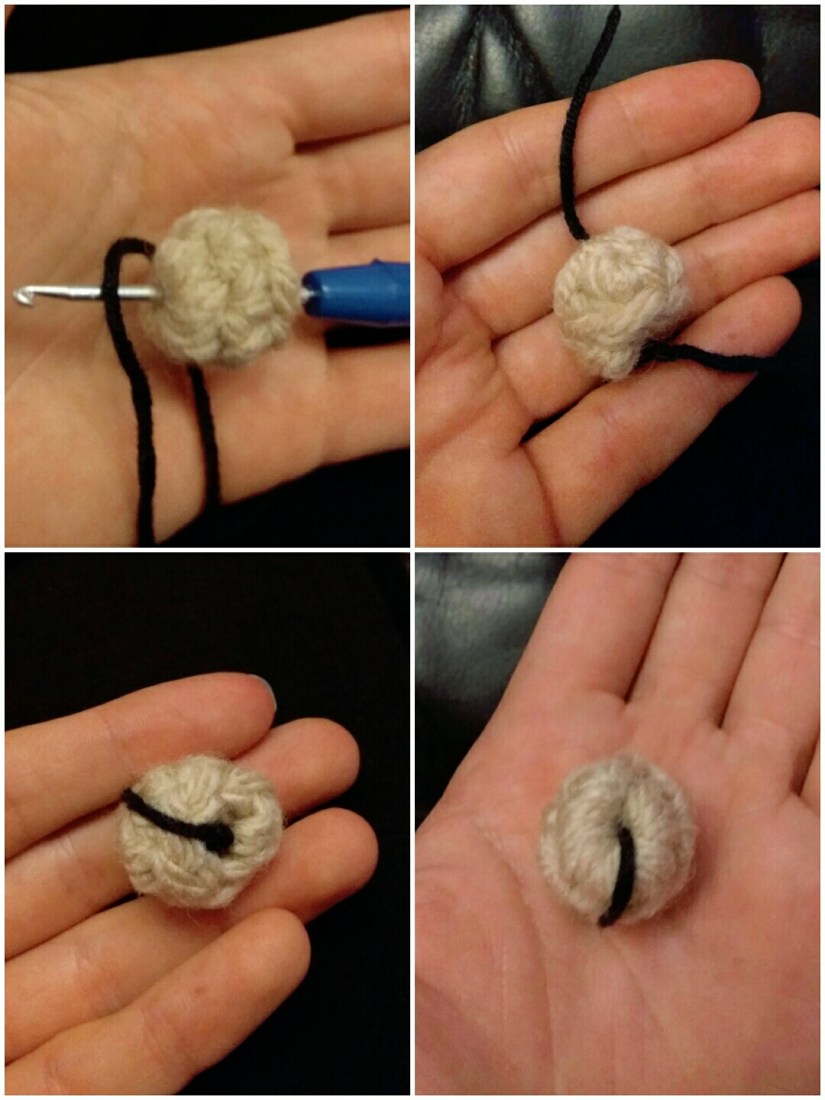
Now we make claws. For that just insert the hook in the magic ring, pull the black yarn through the toe, cut it, make a knot and hide it inside (the process is shown on the picture set below).

IMG_20180913_213341

After making the claws of all 8 toes we can sew them on two of three feet.
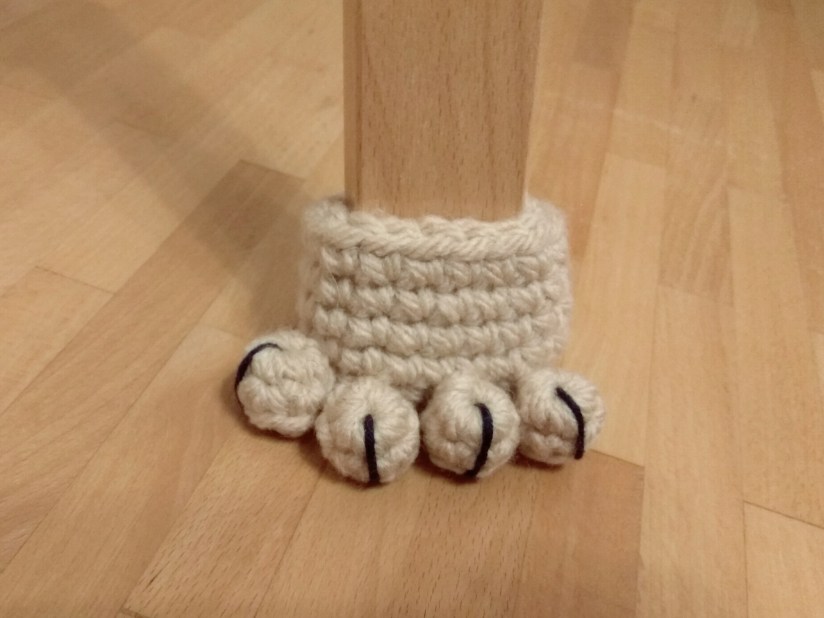
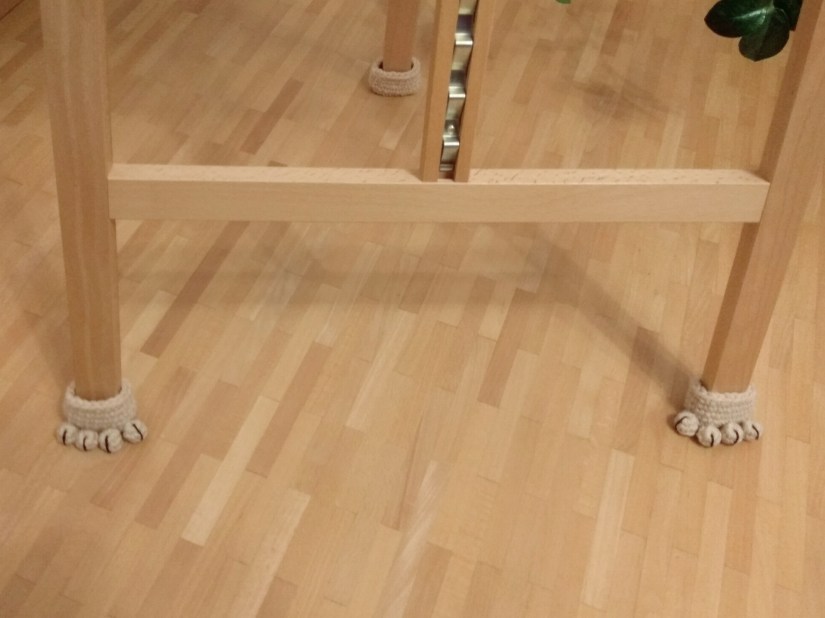
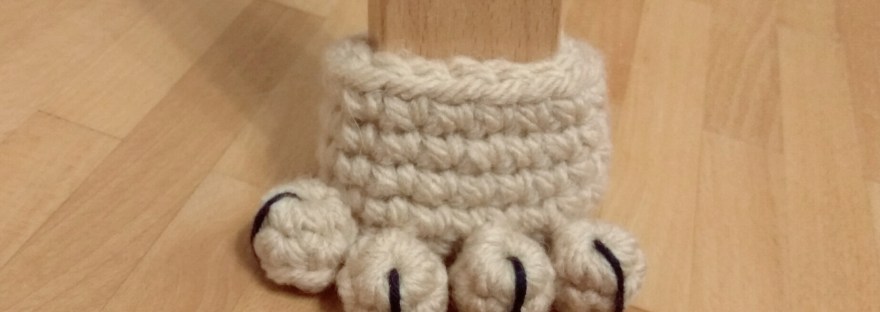
This is the result:

IMG_20180914_115735

Now the floors are safe and your easel has cute feet! I wish you inspiration a lot of new ideas for painting and crocheting!

PS: you can use the pattern for making soft protecting feet for chairs or tables, just adjust the size. If you don’t know why, just send me the feet size of the chairs you have and we will adapt the pattern together.
IMG_20180914_115707

Was it fun to crochet with this tutorial? Have a look at my other patterns, maybe you will find something you like there!