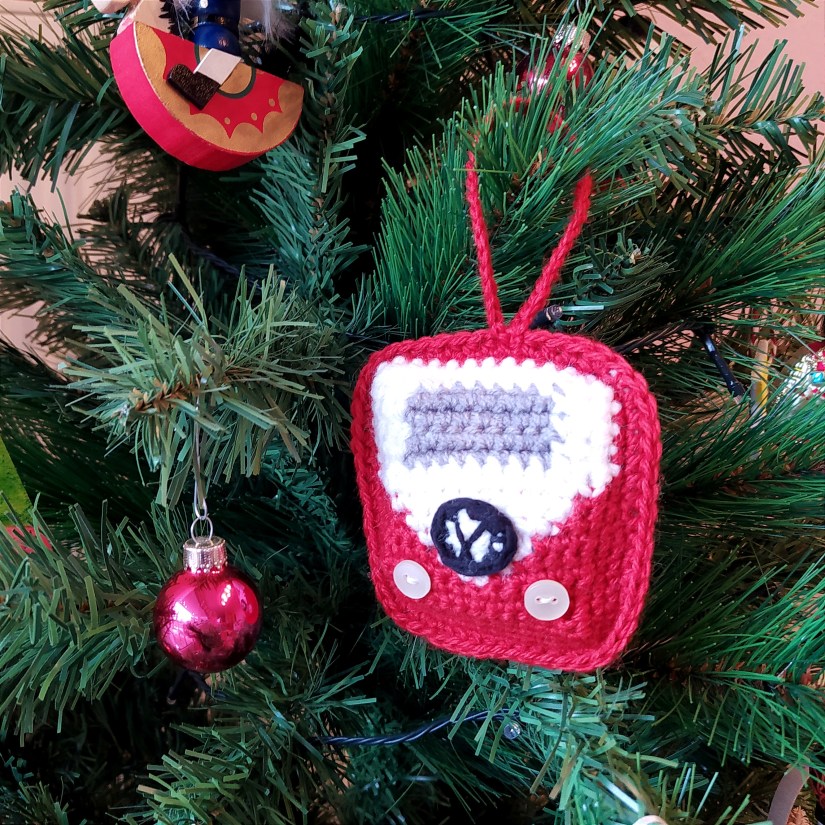
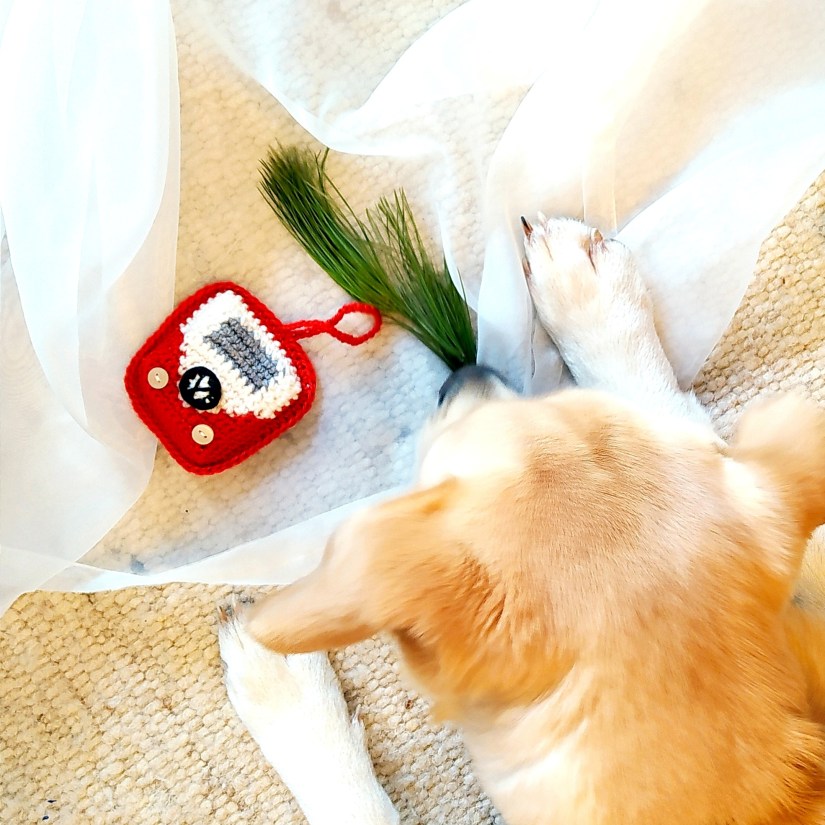
If you are looking for a last minute Christmas gift idea – here it is! More and more people are falling in love with camping lately. Well, it is not surprising: this is the only type of holidays we could make during the pandemy. Why dont we make a Christmas ornament out of the new trend?
You will need:
- 3,5 mm crochet hook
- white, red, grey and black yarn leftovers. The white yarn should be a bit thicker than the red one: it will make the upper half of the van look broader than the bottom part. If you do not want this effect – use all four yarns of the same type
- scissors
- stitch marker
- 2 white simple buttons
- thread and a needle for sewing the buttons
- fiberfill (I used yarn leftovers to stuff the van)
Abbreviations:
- ch – chain
- st – stitch
- sl st – slip stitch
- sc – single crochet
- hdc – half double crochet
- dc – double crochet
- inc – 2 sc in 1 st
- X N – repeat N times
- ( … ) – at the end of every round total number of stitches is shown
If it is your first crocheted toy ever, you might want to have a look at my tricks for crocheting amigurumi and ideas for interesting amigurumi stuffing. Also there are some tips how to crochet “zero waste”.I am sure you will find it helpful! Have fun crocheting!
Pattern
Back panel (grey yarn):
14 ch, insert the hook in the 2nd from the hook ch
Row 1: sc in each st, 2 ch, turn (13)
Rows 2 – 4: dc in each st, 2 ch, turn (13)
Row 5: dc in next st, 2 dc in next st, dc in next 9 st, 2 dc in next st, dc in next st (15). Note: if all of your yarns are of the same type/thickness, skip the increases, in this case your Row 5 would be identical to Rows 2-4.
Rows 6 – 7: dc in each st, 2 ch, turn (15)
Row 8: dc in each st (15)
Place sc around the back panel (1 sc in each stitch, 2 sc in each corner stitch), fasten off, cut the yarn, weave in the tail.
VW logo:
Round 1 (white yarn): 6 sc in magic ring (6)
Round 2 (black yarn): (sc in next st, inc in next st) X 3 (9). Sl st to the first st of this round
Fasten off and cut the yarn leaving a long tail. Pull the tail through the 5th stitch of the last round, pull it back through the 4th stitch and insert the tail into the 8th stitch. Use the tail for sewing the logo to the front panel later.
Front panel:
Starting with red yarn: 13 ch, insert the hook in the 2nd st from the hook
Rows 1 – 3 (red yarn): sc in in every st, 1 ch, turn (12)
Row 4: sc in next 5 st, change to white yarn: sc in next 2 st (carry the red thread along), change to red yarn (leave the white thread as it is, you will pick it on the way back): sc in next 5 st, 1 ch, turn (12)
Row 5: sc in next 4 st, change to white yarn: sc in next 4 st (carry the red thread along), change to red yarn (leave the white thread as it is, you will pick it on the way back): sc in next 4 st, 1 ch, turn (12)
Row 6: sc in next 3 st, change to white yarn: sc in next 6 st (carry the red thread along), change to red yarn (leave the white thread as it is, you will pick it on the way back): sc in next 3 st, 1 ch, turn (12)
Row 7: sc in next 2 st, change to white yarn: sc in next 8 st (carry the red thread along), change to red yarn (leave the white thread as it is, you will pick it on the way back): sc in next 2 st, 1 ch, turn (12)
Row 8: sc in next st, change to white yarn: sc in next 10 st (carry the red thread along), change to red yarn (leave the white thread as it is, you will pick it on the way back): sc in next st, 1 ch, turn (12)
Rows 9 – 10 (white yarn): sc in in every st, 1 ch, turn (12)
Rows 11 – 14: sc in next 2 st, change to grey yarn: sc in next 8 st (carry the white thread along), change to white yarn (leave the grey thread as it is, you will pick it on the way back): sc in next 2 st, 1 ch, turn (12)
Fasten off the grey thread. Now we are going to crochet around the front panel.
Round 1: With white yarn make sc in each stitch until the end of the row (12), sc again in the last st and place sc in the end of each white row. Change to red yarn when going further to the red half of the van. Fasten off white yarn. Keep crocheting around the red part placing sc in each st and 2 sc in each corner st. Change back to white yarn when going further to the white half of the van and carry on the red thread, go on until the beginning of the round, do not sl st (52).
Round 2: make another round of sc (on sc in each st). Change to red yarn when going further to the red half of the van and change back to white for the last couple of stitches carrying along the red thread. Do not sl st, fasten off white yarn (52).
Round 3: sc in each stitch using red yarn only (52). Do not fasten off, you will keep crocheting around connecting the front panel to the back panel.
Sew the VW logo and the buttons to the front panel.

Place the front panel on the top of the back panel. The right side of the front panel looks up now, the right side of the back panel looks down. Crochet around both panels:
Place hdc in each stitch, 2 hdc in each corner stitch. After completing three sides stuff the van. Continue crocheting until the end of the round. Sl st to the first hdc. Fasten off, cut the yarn and weave in the tail.
Insert the hook in the central stitch of the top side of the van, make 35 ch, sl st to the beginning of the chain (or the next stitch of the van side if it looks more symmetrical). Fasten off, cut the yarn and weave in the tail. Yeeey, you have just completed your camping van ornament!
Did you have fun crocheting this pattern? Check out my other free patterns here!
If you liked this pattern, I would be very happy to receive a small donation from you!