amigurumi

Free No-Sew Crochet Tennis Ball Pattern

I designed this no-sew crochet tennis ball pattern because I don’t like sewing or embroidering in crochet projects. Also, I have seen all those perfect AI photos of crochet tennis balls and was hesitating at first. But the pattern turned out quite well so I want to share it with all of you guys. It is going to ba a perfect last-minute gift for a tennis fan or just a cute project to use up your yarn leftovers. Enjoy crocheting!

You will need:

  • 3,5 mm crochet hook
  • white and pink (or of a colour of your choice) yarn leftovers that match to the hook size
  • scissors
  • fiberfill
  • metallic key ring (optional)

Abbreviations (US-terms)

  • ch – chain
  • st – stitch
  • sl st – slip stitch
  • sc – single crochet
  • hdc – half double crochet
  • dc – double crochet
  • trc – treble crochet
  • ( … ) – at the end of every round total number of stitches is shown

If it is your first crocheted toy ever, you might want to have a look at my tricks for crocheting amigurumi and ideas for interesting amigurumi stuffing. Also there are some tips how to crochet “zero waste”.I am sure you will find it helpful! Have fun crocheting!

Pattern

First half (pink yarn):

18 ch, now you will crochet around the ch:

Round 1: make a dc in the second from the hook st and then 5 more dc in the same st, dc in next 14 st, 6 dc in the next st (this will create a turning around the ch), dc in next 14 st, sl st in the first dc of the round (40).

Round 2: 2 ch (not counted as st), 2 trc in the first st of Round 1, 3 trc in each of the next 4 st, 2 trc in next st, dc in next 4 st, hdc in next 6 st, dc in next 4 st, 2 trc in next st, 3 trc in each of the next 4 st, 2 trc in next st, dc in next 4 st, hdc in next 6 st, dc in next 4 st, change yarn to the white one and sl st in the first dc of the round (60).

Round 3: 1 ch (not counted as st), sc in the first st of Round 2, sc in next 3 st, 2 sc in the next st, (sc in next 4 st, 2 sc in the next st) X repeat three times, sc in next 17 st, 2 sc in the next st, (sc in next 4 st, 2 sc in the next st) X repeat three times, sc in every st until the end of the round (68).

Fasten off the end, cut the yarn and make another half following the first two rounds of the pattern. Round 3 is only needed for the first half of the ball.

Turn both halfs face down. Insert the hook into the middle st of the short side of the first half of the ball (back loop of a white sc) and then in the middle st of the long side of the second half (both loops of a hdc) and sl st around both halfs using white yarn.

When you have about 10 st left, fasten off and leave really long end before you cut the yarn. You will need it for closing the ball. Turn the ball inside out so the face side is out again and stuff it really full. Pull the long yarn tail through the left 10 st of both sides with a help of your hook. Fasten off, cut the left over yarn and pull the knot into the ball.

Using white yarn make 40 ch. Now insert the hook into a random spot on the ball where you want to hang a key ring and pull the crocheted chain through. Join the chain, fasten off, cut the yarn and pull the knot into the ball.

Attach a metallic ring on the chain if you have one:

Congratulations, it is done! Isn’t it cute? What other colours would you want to crochet it with?

Thanks for following my pattern! If you enjoyed it, make sure you check out my other quick and easy patterns here.

amigurumi, Uncategorized

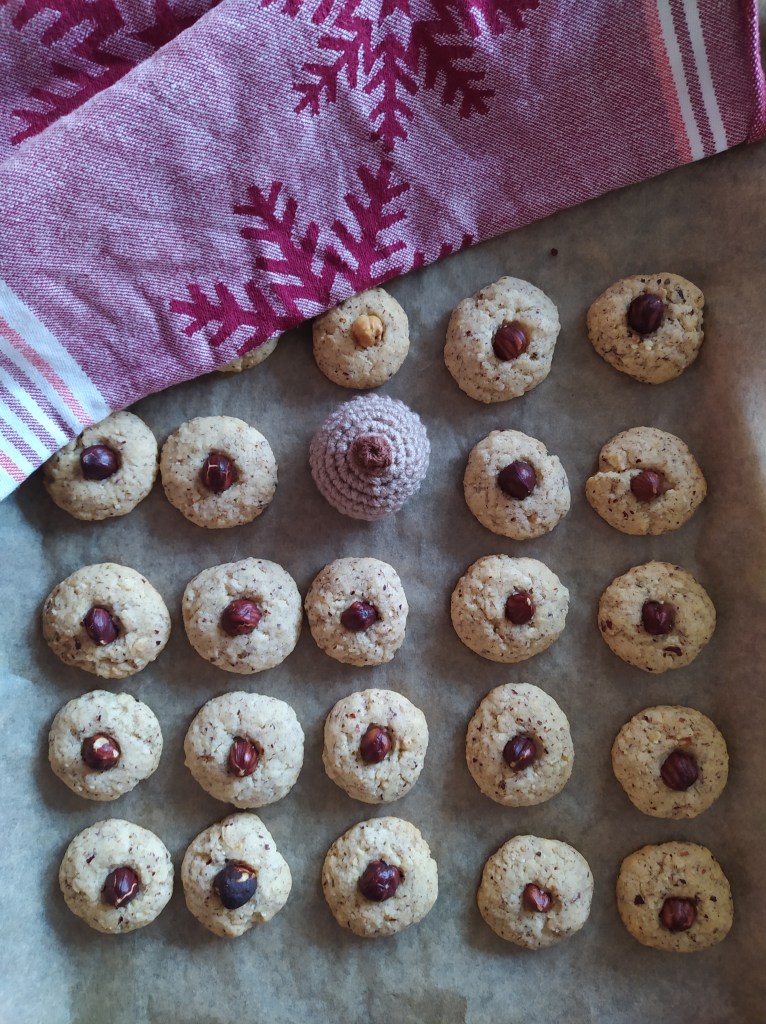
German Christmass Cookies “Nüsschen” Free Crochet Tutorial

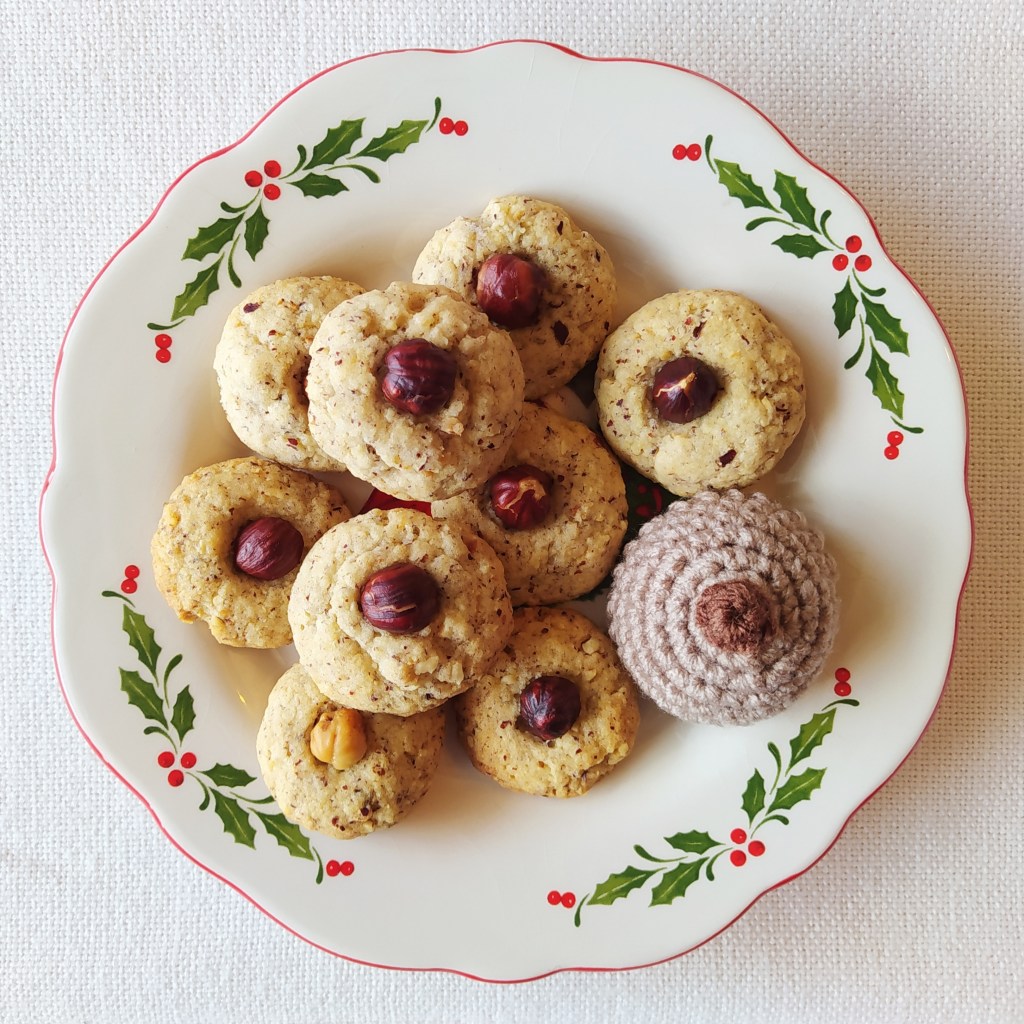
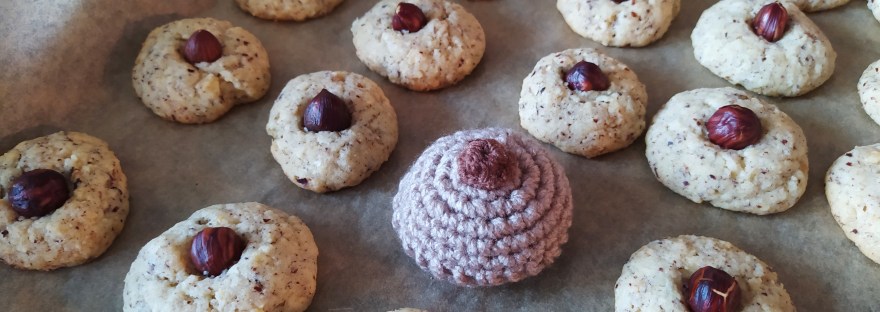
These cookies are very traditional German Christmas cookies every family bakes in December. This is my very first recipy and these cookies are my husband’s favourite! The crocheted version would be a cute decoration for your kitchen or a beloved toy for your kid!

Here you can find both the free crochet pattern and the original recipy!

Ingredients:

  • 3 mm crochet hook
  • stitch marker
  • dark brown and light brown (or even yellow) yarn
  • scissors
  • sewing needle
  • yarn leftovers for stuffing

Abbreviations:

  • ch – chain
  • st – stitch
  • sc – single crochet
  • inc – 2 sc in one st (used to increase the number of stitches)
  • X 6 – repeat 6 times
  • at the end of every round total number of stitches is shown

The pattern:

Top part:

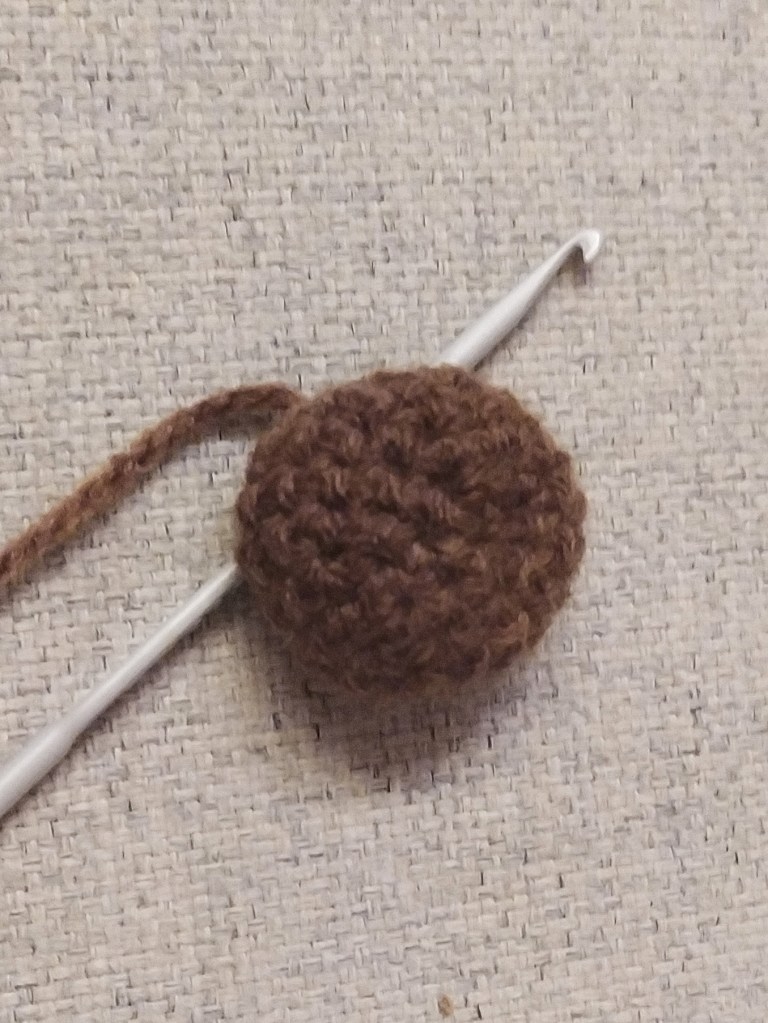
Start with dark brown yarn: 6 sc in Magic Ring

Round 1: Sc in each st (6)

Change to the light brown yarn.

Round 2: Inc X 6 (12)

Round 3: (sc in next st, inc) X 6 (18)

Round 4: (sc in next 2 st, inc) X 6 (24)

Rounds 5-6: sc in all st (24). Fasten off and cut the yarn, weave in the end.

Bottom part:

Crochet with the light brown yarn: 6 sc in Magic Ring

Round 1: Sc in each st (6)

Round 2: Inc X 6 (12)

Round 3: (sc in next st, inc) X 6 (18)

Round 4: (sc in next 2 st, inc) X 6 (24)

Round 5: (sc in next 3 st, inc) X 6 (30). Fasten off, cut the yarn leaving a longer tail for sewing.

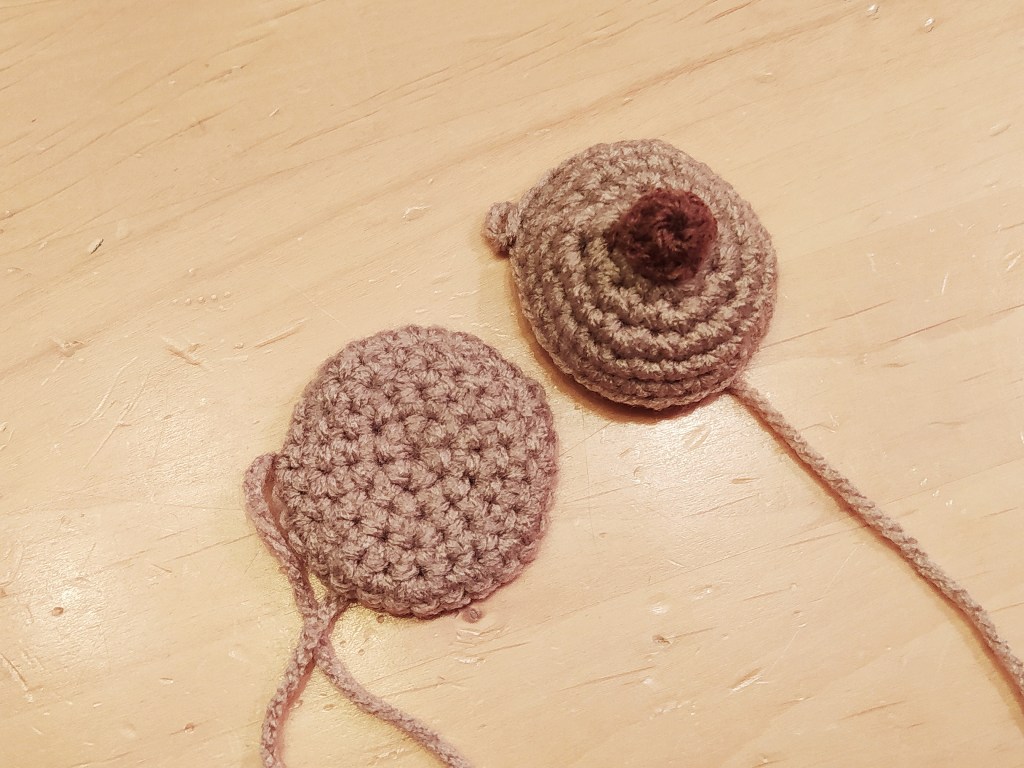
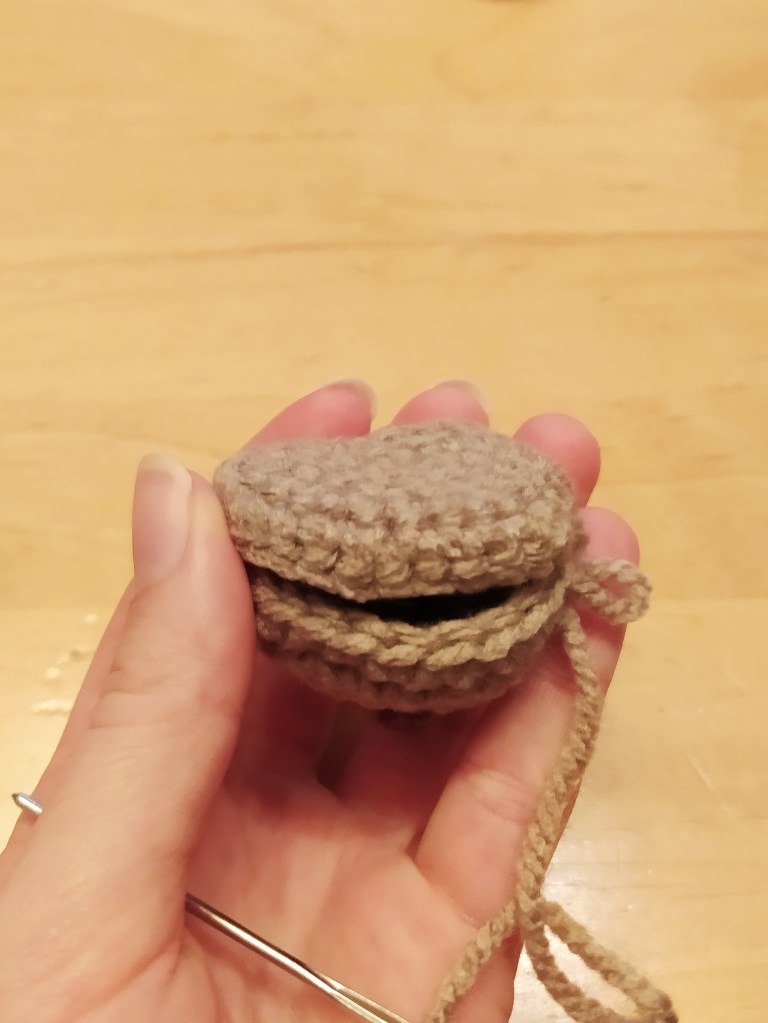
Sew two parts together, stuff it with yarn leftovers. Note: the bottom part has to be inside out (the “right” side should be inside, see the pics).

Taadaaaaa, finished!

Now check out the eatable recipe 🙂

Plätzchen “Nüßchen”

  • 300 g ground haselnuts
  • 300 g soft butter
  • 200 g sugar
  • 300 g flour
  • 1 tea spoon baking powder
  • 2 packages vanilla sugar
  • about 100 whole haselnuts for decoration

Preparation:

  • Preheat the oven 180°C, soft butter and sugar mix together, add other ingridients.
  • Mix everything in a homogeneous dough
  • Shape small balls (2 cm diameter) and put it on a baking sheet
  • Press a whole haselnut in each dough ball (until a half of the nut will be inside).
  • Bake 12 minutes and let the cookies cool down (When you get the cookies out of the oven, they will still feel very soft. Dont worry about it and let them cool down, they will ge harder very fast!).

Bon appetit!

amigurumi, Uncategorized

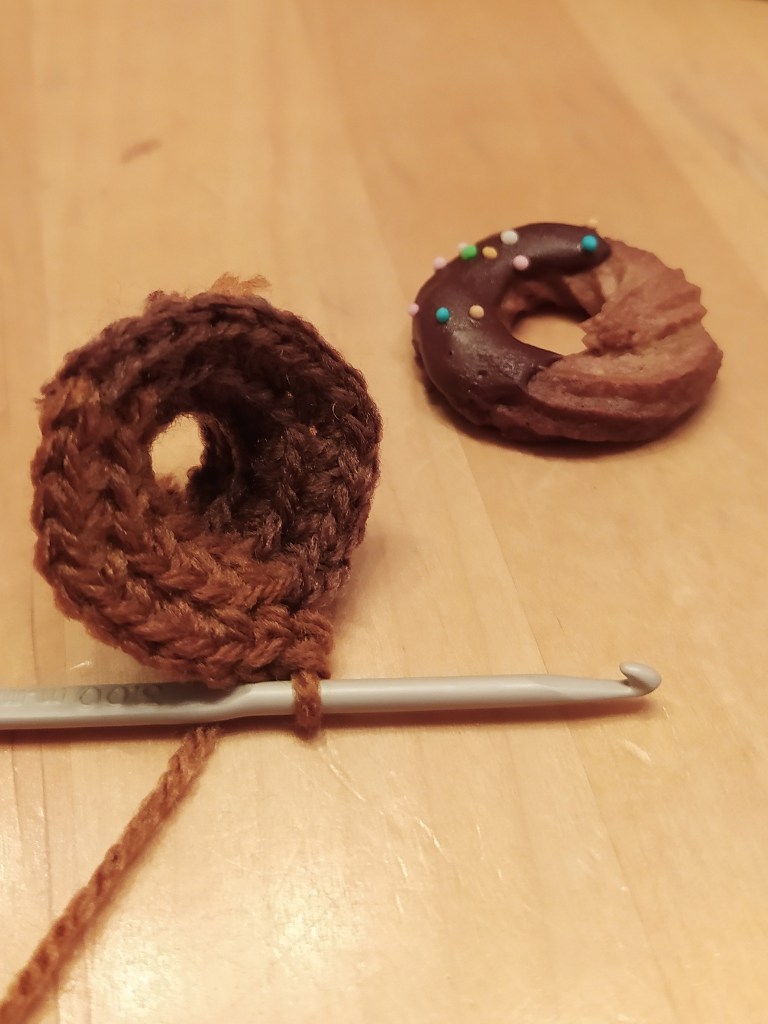
Christmas Cookies Free Crochet Pattern

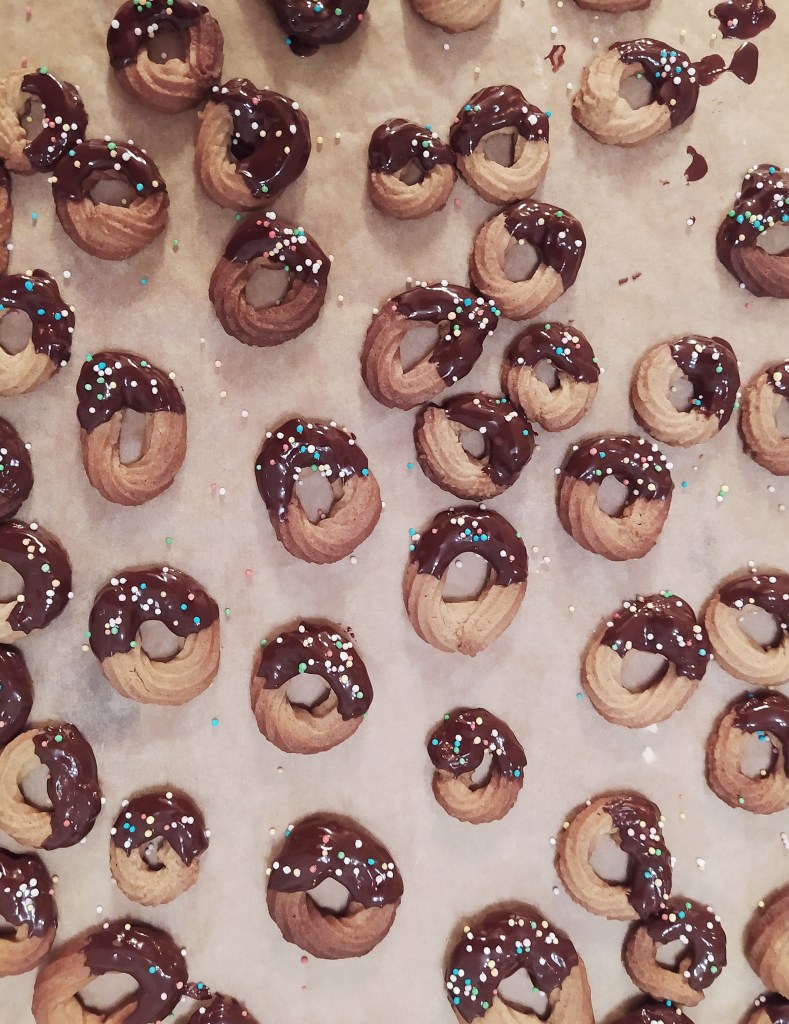
I continue introducing original German cookie recipes to you. Crocheted version you can use as Christmas decorations! And today’s cookie is the Nougat Rings!

This recipe is very special to me because I am making it for the first time this year! Usually I am quite conservative if it’s about Christmas recipes but this year is so different in many ways, so I have tried something new.

At the end of the pattern you can also find the real recipe!

You will need:

  • 3 mm crochet hook
  • stitch marker
  • dark brown yarn
  • light brown yarn
  • scissors
  • sewing needle
  • colourful yarn leftovers for decorating

Abbriviations

  • ch – chain
  • st – stitch
  • sc – single crochet
  • inc – 2 sc in one st (used to increase the number of stitches)
  • dec – 2 sc together (used to decrease the number of stitches)
  • X 6 – repeat 6 times
  • at the end of every round total number of stitches is shown

Note:

  • Every next round is crocheted in the back loop only!!!!
  • Colour change tails can be used as stuffing

The pattern:

Dark brown Ch 6, change to the light yarn and ch 6, sl st to the first ch to join the circle.

Now the colours will be kept as in the chain. So change the yarn to the light one after a half of the circle and change back to the dark yarn at the end of every round. The tails can be left here to serve as a stuffing of the cookie. Remember to crochet in back loops only!

Rounds 1-2: sc in all st (12)

Round 3: (inc, sc in next st) X 6 (18)

Round 4: (inc, sc in next 2 st) X 6 (24)

Rounds 5-6: sc in all st (24)

Now you crochet using the light yarn only.

Round 7: (dec, sc in next 2 st) X 6 (18)

Round 8: (dec, sc in next st) X 6 (12)

Now use colourful short yarn leftovers to make the sugar.

Sew the round 8 with the base chain.

Congratulations, the cookie is finished!

And as promised, here is the real recipe of the Nougat Rings Cookies:

  • 40 g nougat
  • 120 g soft butter
  • 120 g powdered sugar
  • 160 g flour
  • 2 eggs
  • 90 g instant flakes
  • chocolate and colourful sugar for decorating

Preparation:

  • Preheat the oven 200°C, soft butter and nougat mix together, add sugar.
  • Add flour, eggs and flakes to the dough and put it in a fridge for 30 minutes.
  • Put the dough in a plastic bag with a small hole (around 1 cm diameter).
  • Press the dough out of the bag in ring shapes on a baking sheet.
  • Bake 12 minutes and let the cookies cool down.
  • Decorate with chocolate and sugar. Enjoy!

I hope you had fun baking and crocheting these beauties with me!

You might also like:

Crochet Christmas Cookie Free Pattern and Recipe!

img_20201122_103654
amigurumi, Uncategorized

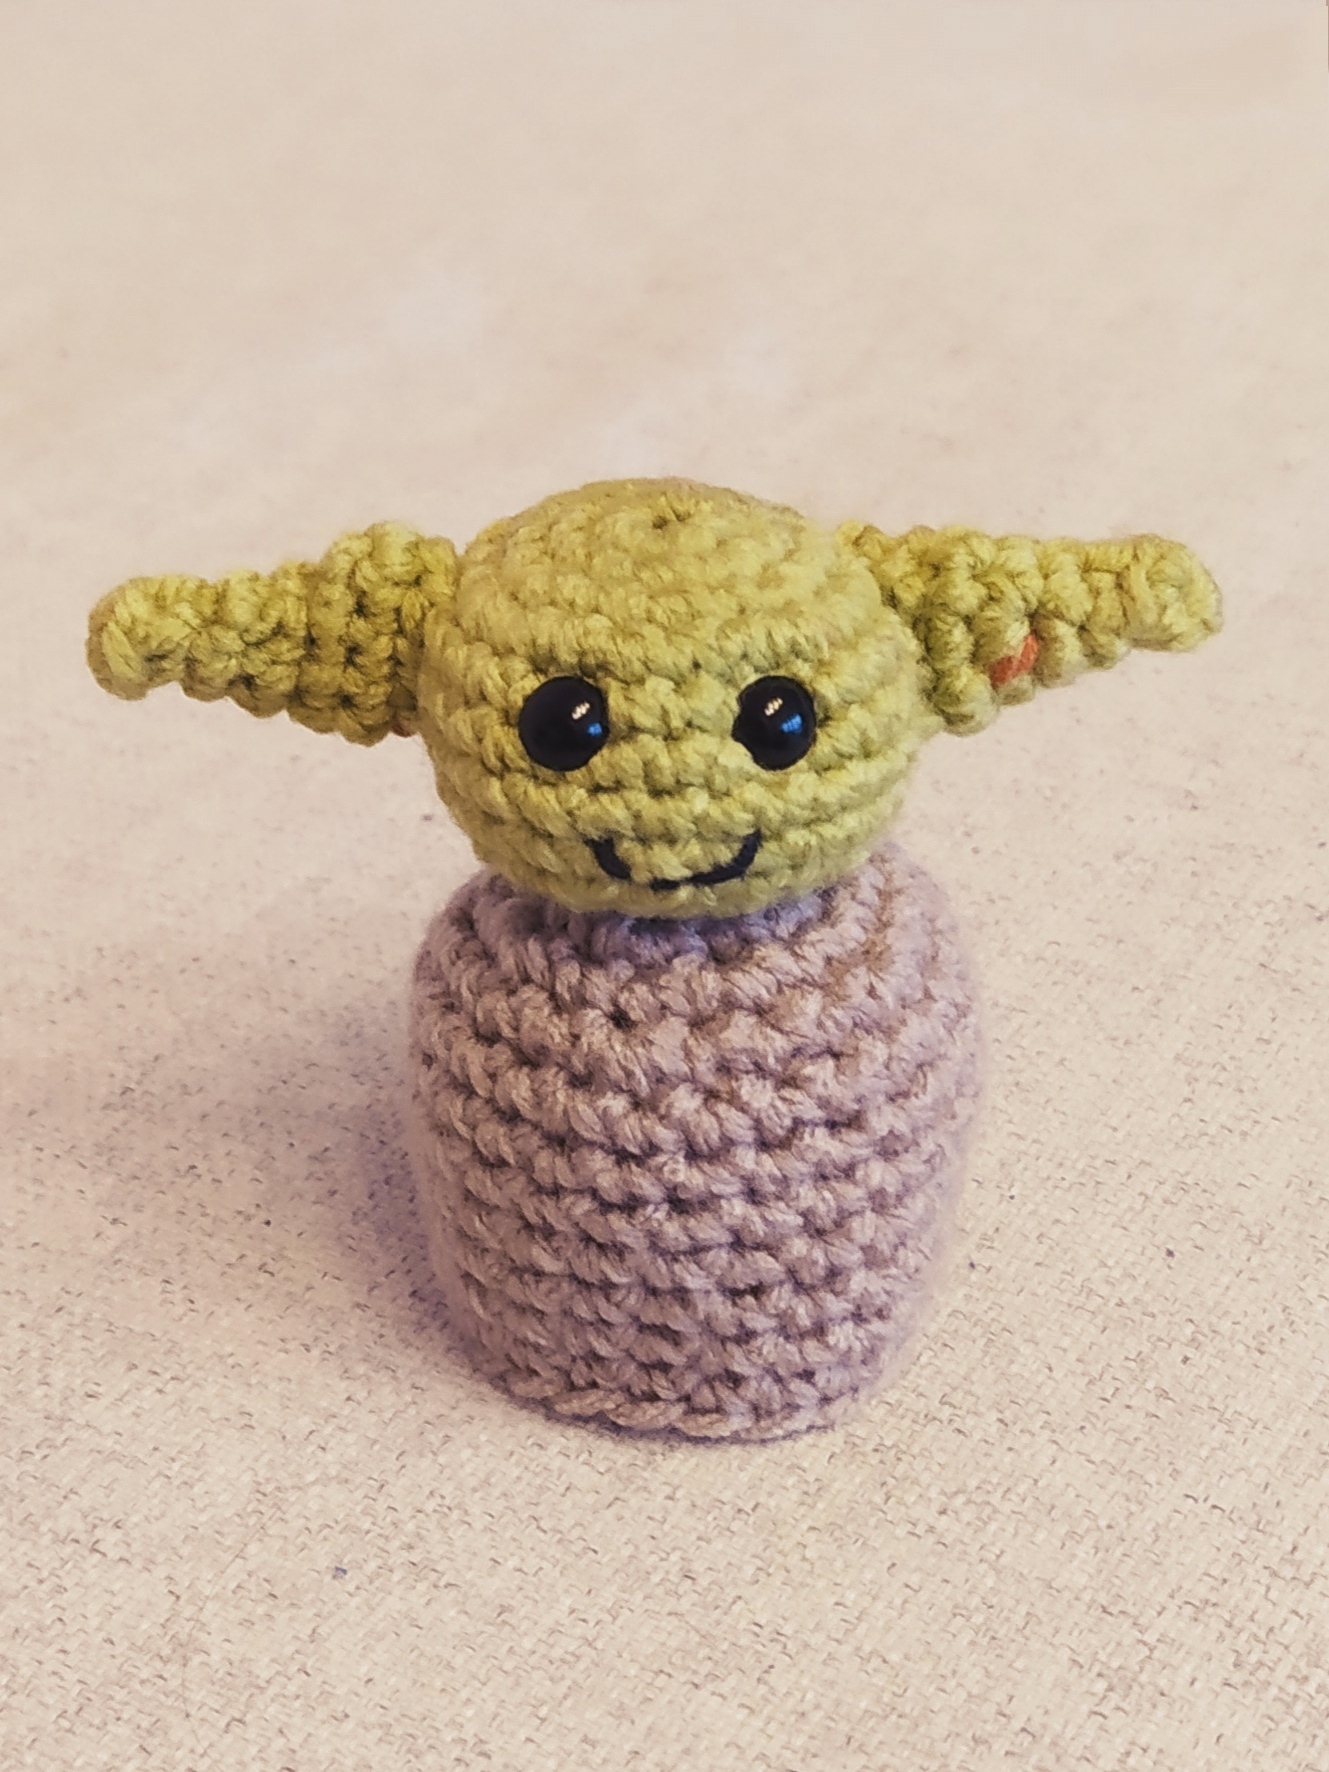
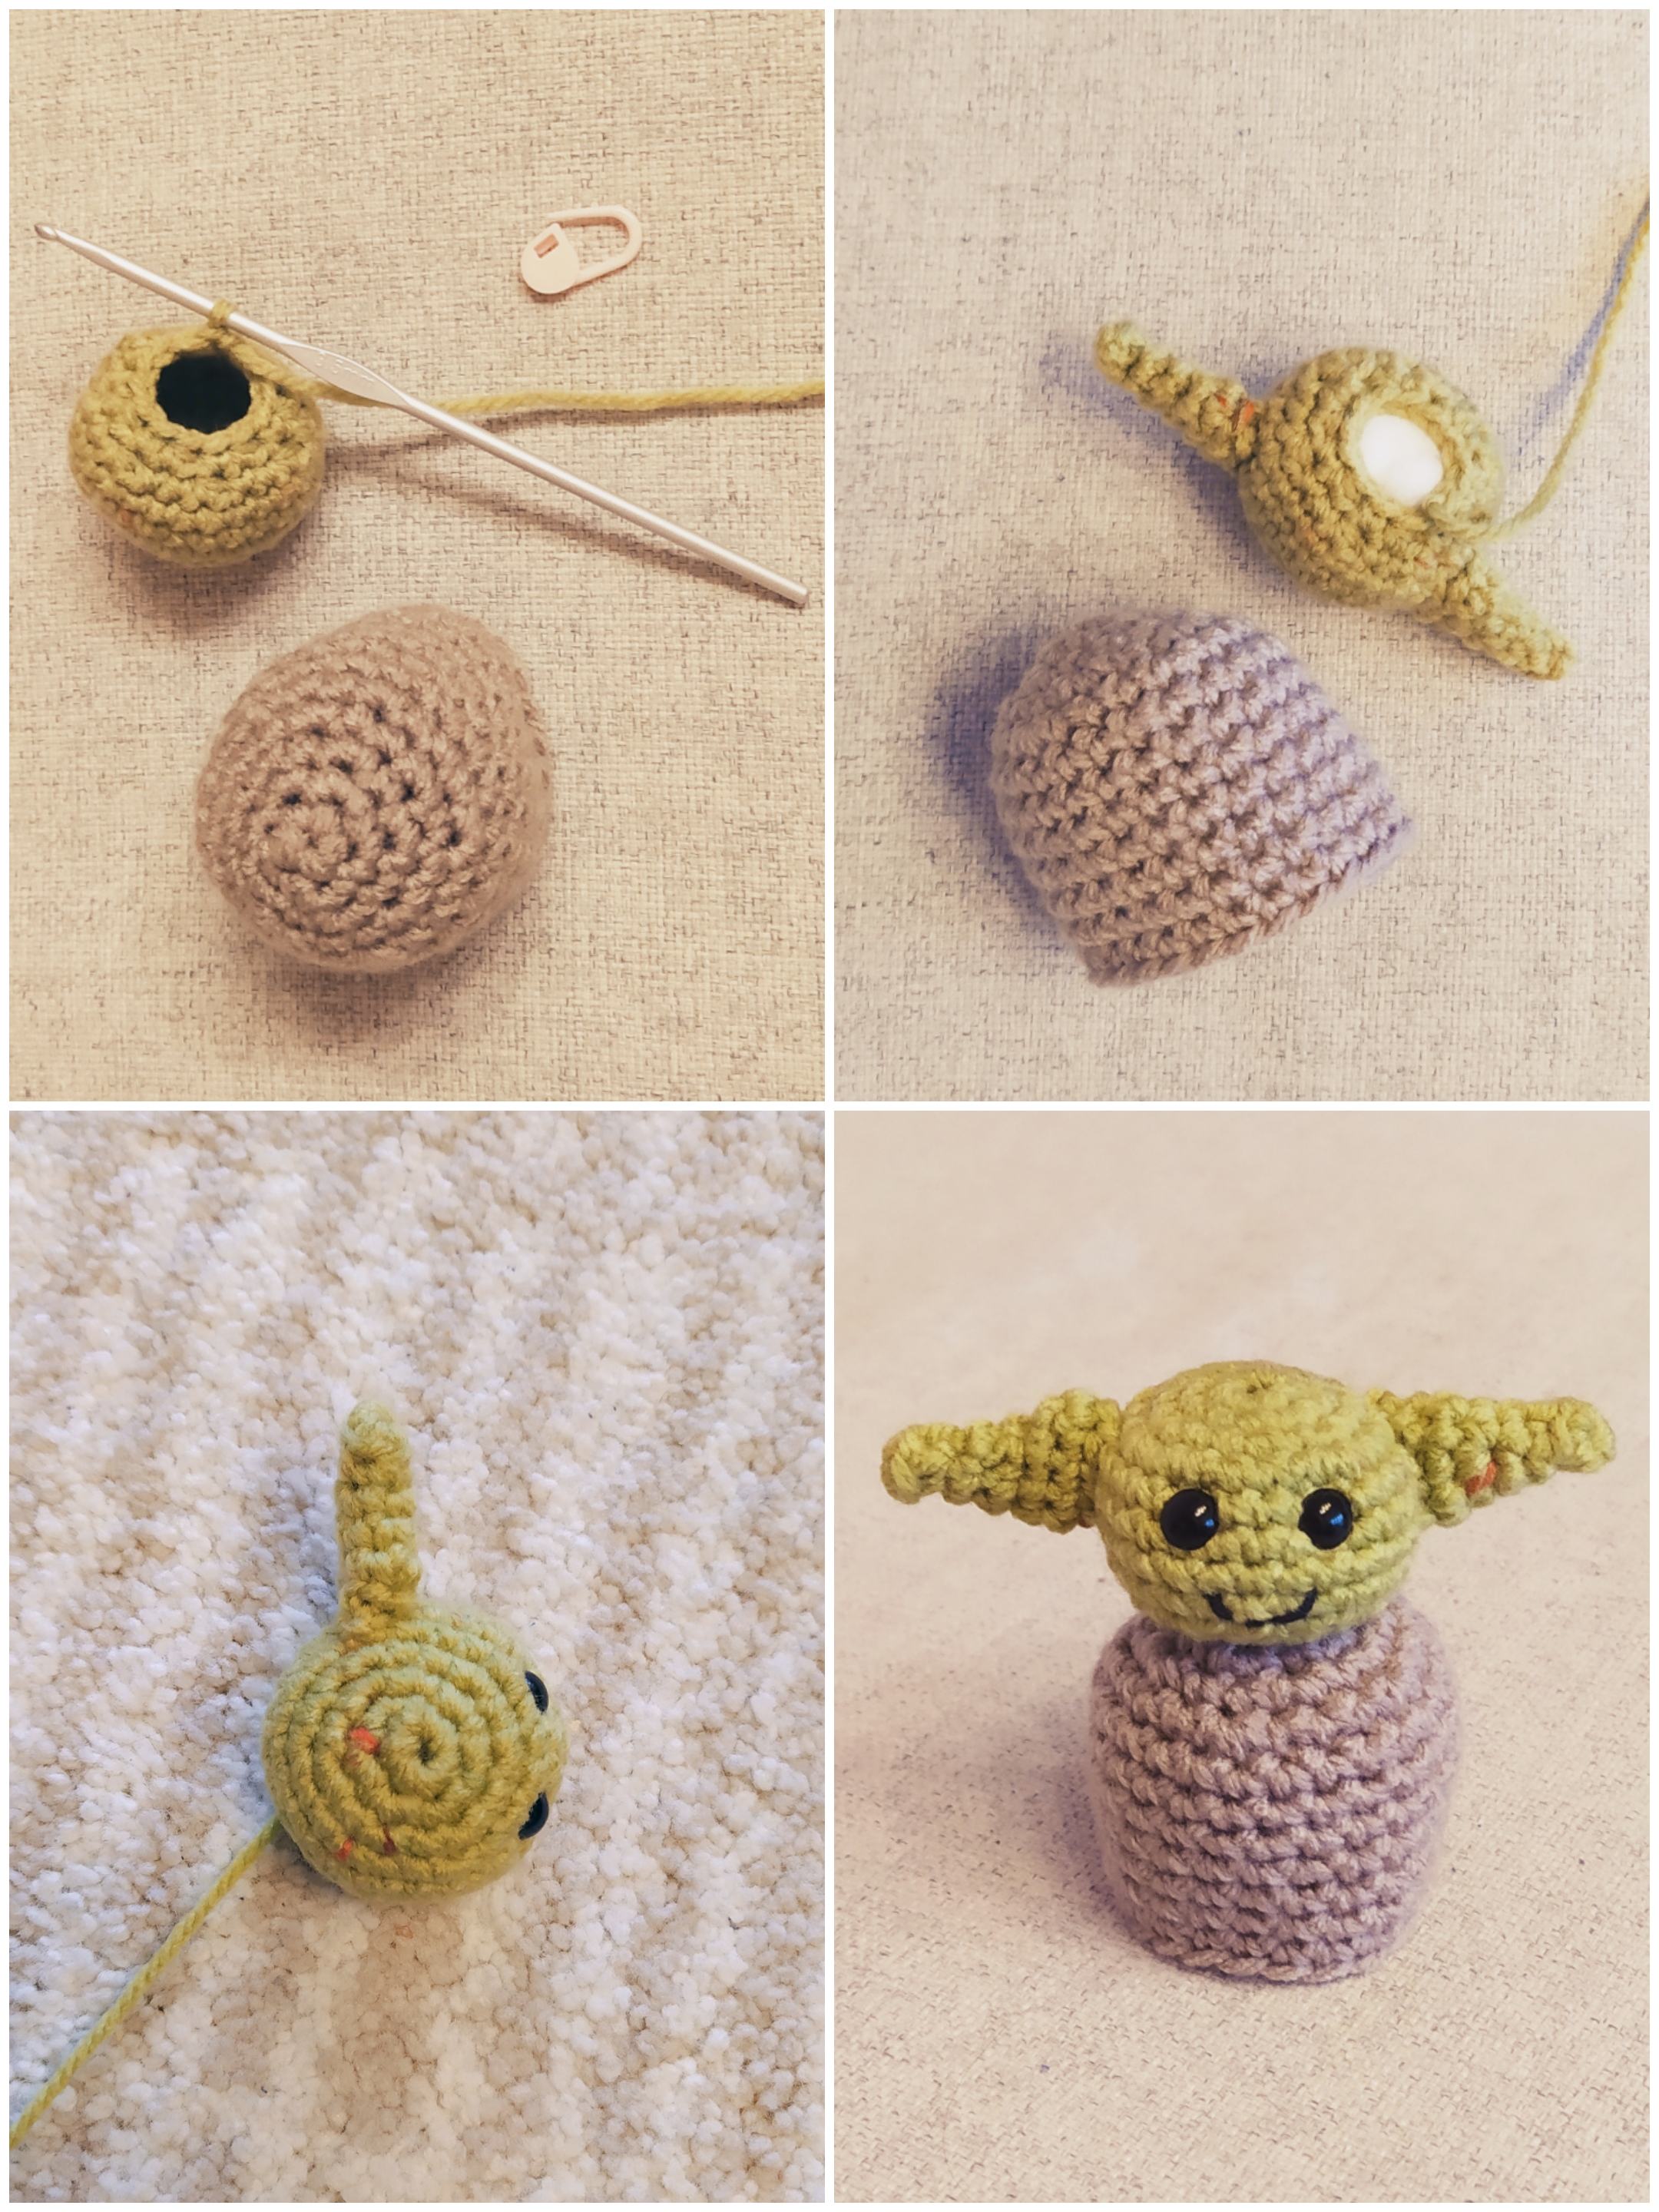
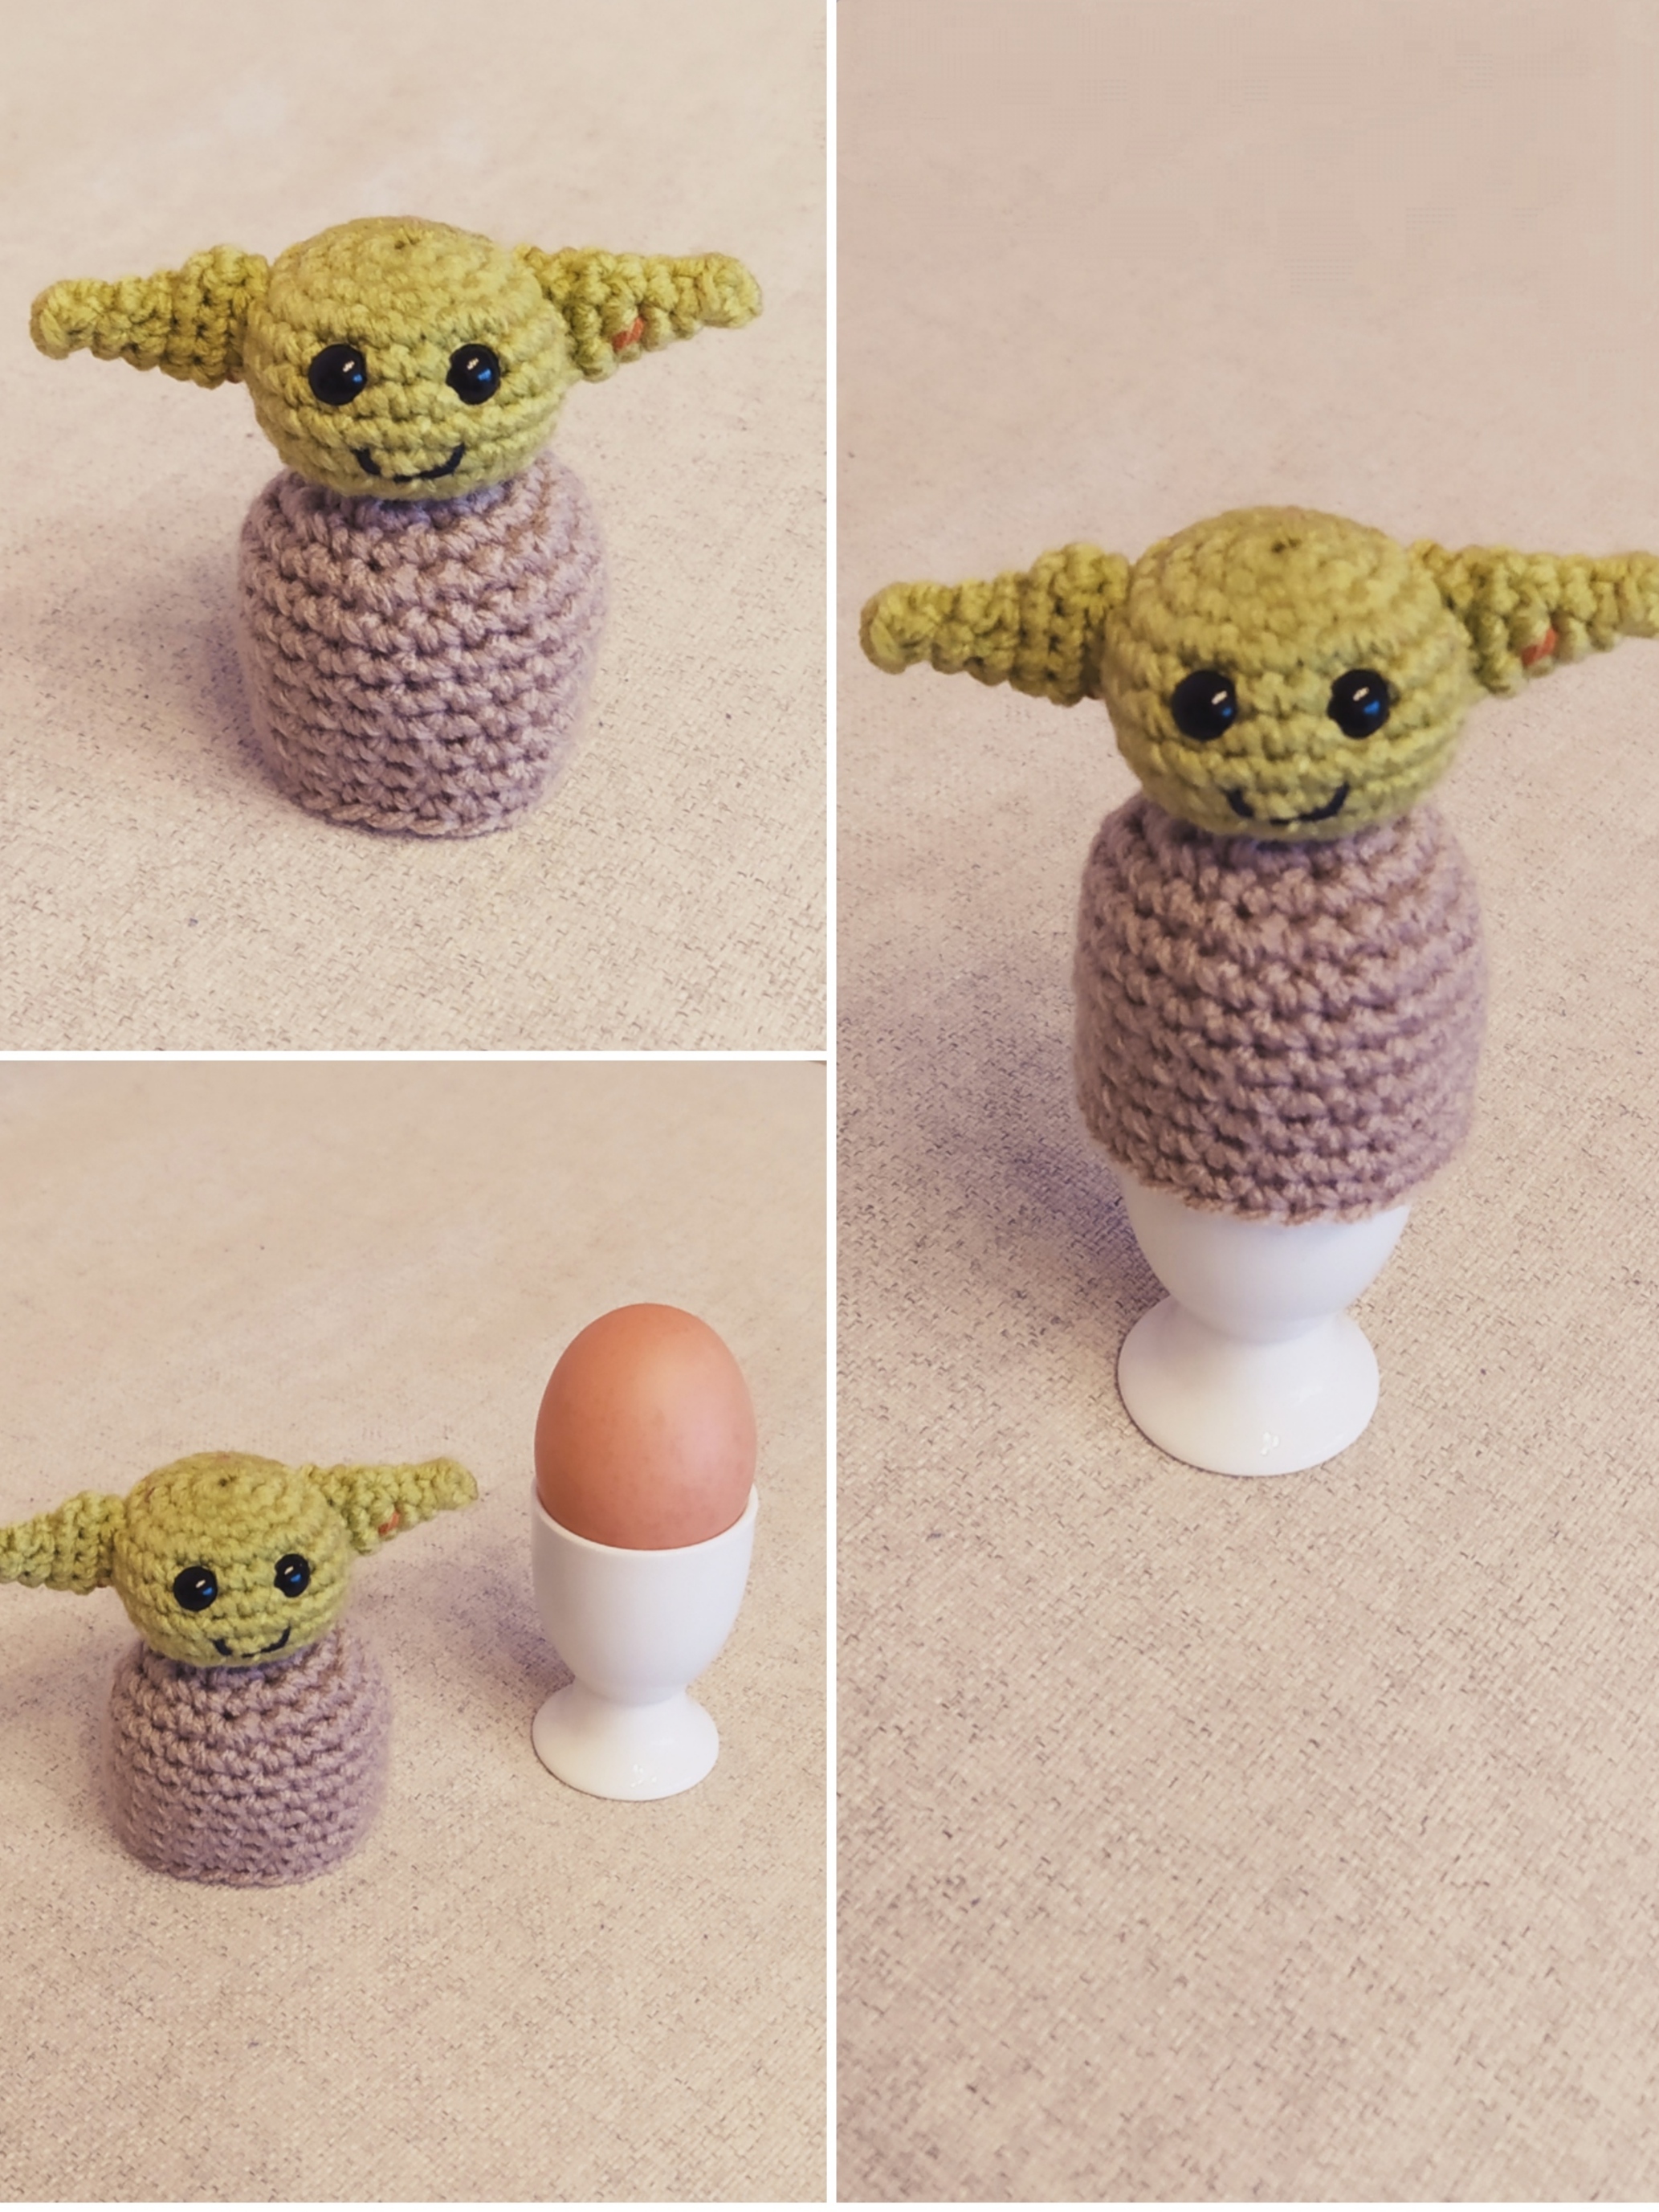
Egg Cozy Baby Yoda

Is not the Child the most adorable character of a TV show ever? I could not stop looking at him watching the series and now when the season is over, I miss him. So I crocheted one for me to think of baby Yoda when I am having a breakfast! As always: simple pattern, beginners are welcome! Join me if you miss baby Yoda, too!

IMG_20200122_161004

You will need:

  • 3,5 mm and 6 mm crochet hook (I have crocheted the head with the smaller hook so one cant see the fill)
  • light brown and green yarn
  • scissors
  • stitch marker
  • safety eyes (I had 5 mm)
  • sewing needle
  • black yarn to embroider the mouth
  • fiberfill

Abbreviations:

  • ch – chain
  • st – stitch
  • sl st – slip stitch
  • sc – single crochet
  • inc – 2 sc in 1 st
  • dec – crochet 2 st together
  • X N – repeat N times
  • at the end of every round total number of stitches is shown

If it is your first amigurumi attempt ever, you might want to have a look at my tricks for crocheting amigurumi and ideas for interesting amigurumi stuffing. I am sure you will find it helpful! Have fun crocheting!

The pattern

Good news first: now you can find nicecrocheting and my pattern on Instagram!

The body (light brown yarn):

Round 1: 5 sc in magic ring (5)
Round 2: inc X 5 (10)
Round 3: (sc in next st, inc) X 5 (15)
Round 4: (sc in next 2 st, inc) X 5 (20)
Round 5: (sc in next 3 st, inc) X 5 (25)
Rounds 6-12: sc in all st (25)

Fasten off, cut the yarn and weave in the end.

The head (green yarn):

Round 1: 6 sc in magic ring (6 )
Round 2: inc X 6 (12)
Round 3: (sc in next st, inc) X 6 (18)
Round 4: (sc in next 2 st, inc) X 6 (24)
Round 5-8: sc in all st (24)
Round 9: (sc in next 2 st, dec) X 6 (18)
Round 10: (sc in next 1 st, dec) X 6 (12)
Fasten off and cut the yarn leaving a tail for sewing the head to the body.

Ears (green yarn):

Round 1: 4 sc in magic ring (4)
Round 2: sc in all st (4)
Round 3: (2 sc in next st, sc in next st) X 2 (6)
Round 4: sc in all st (6)
Round 5: (3 sc in next st, sc in next 2 st) X 2 (9)
Round 6: sc in all st (9)
Fasten off and cut the yarn leaving a tail for sewing.

IMG_20200122_160729

Put the safety eyes in, sew the ears to the head, embroider the mouth and stuff the head. Your egg cozy is finished!!!

IMG_20200122_162629

Was it fun to crochet with this tutorial? Have a look at my other patterns, maybe you will find something you like there!

You may also like:

St. Valentine’s Day – 5 Crochet Gift Ideas for Him

IMG_20180126_095400

amigurumi, Uncategorized

Cute Plush Bunny Crochet Pattern

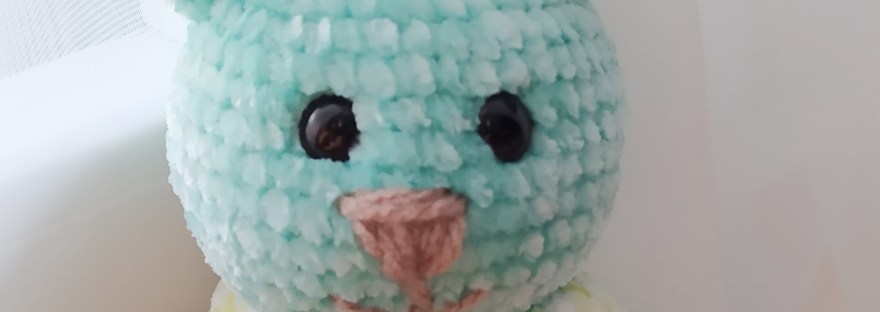
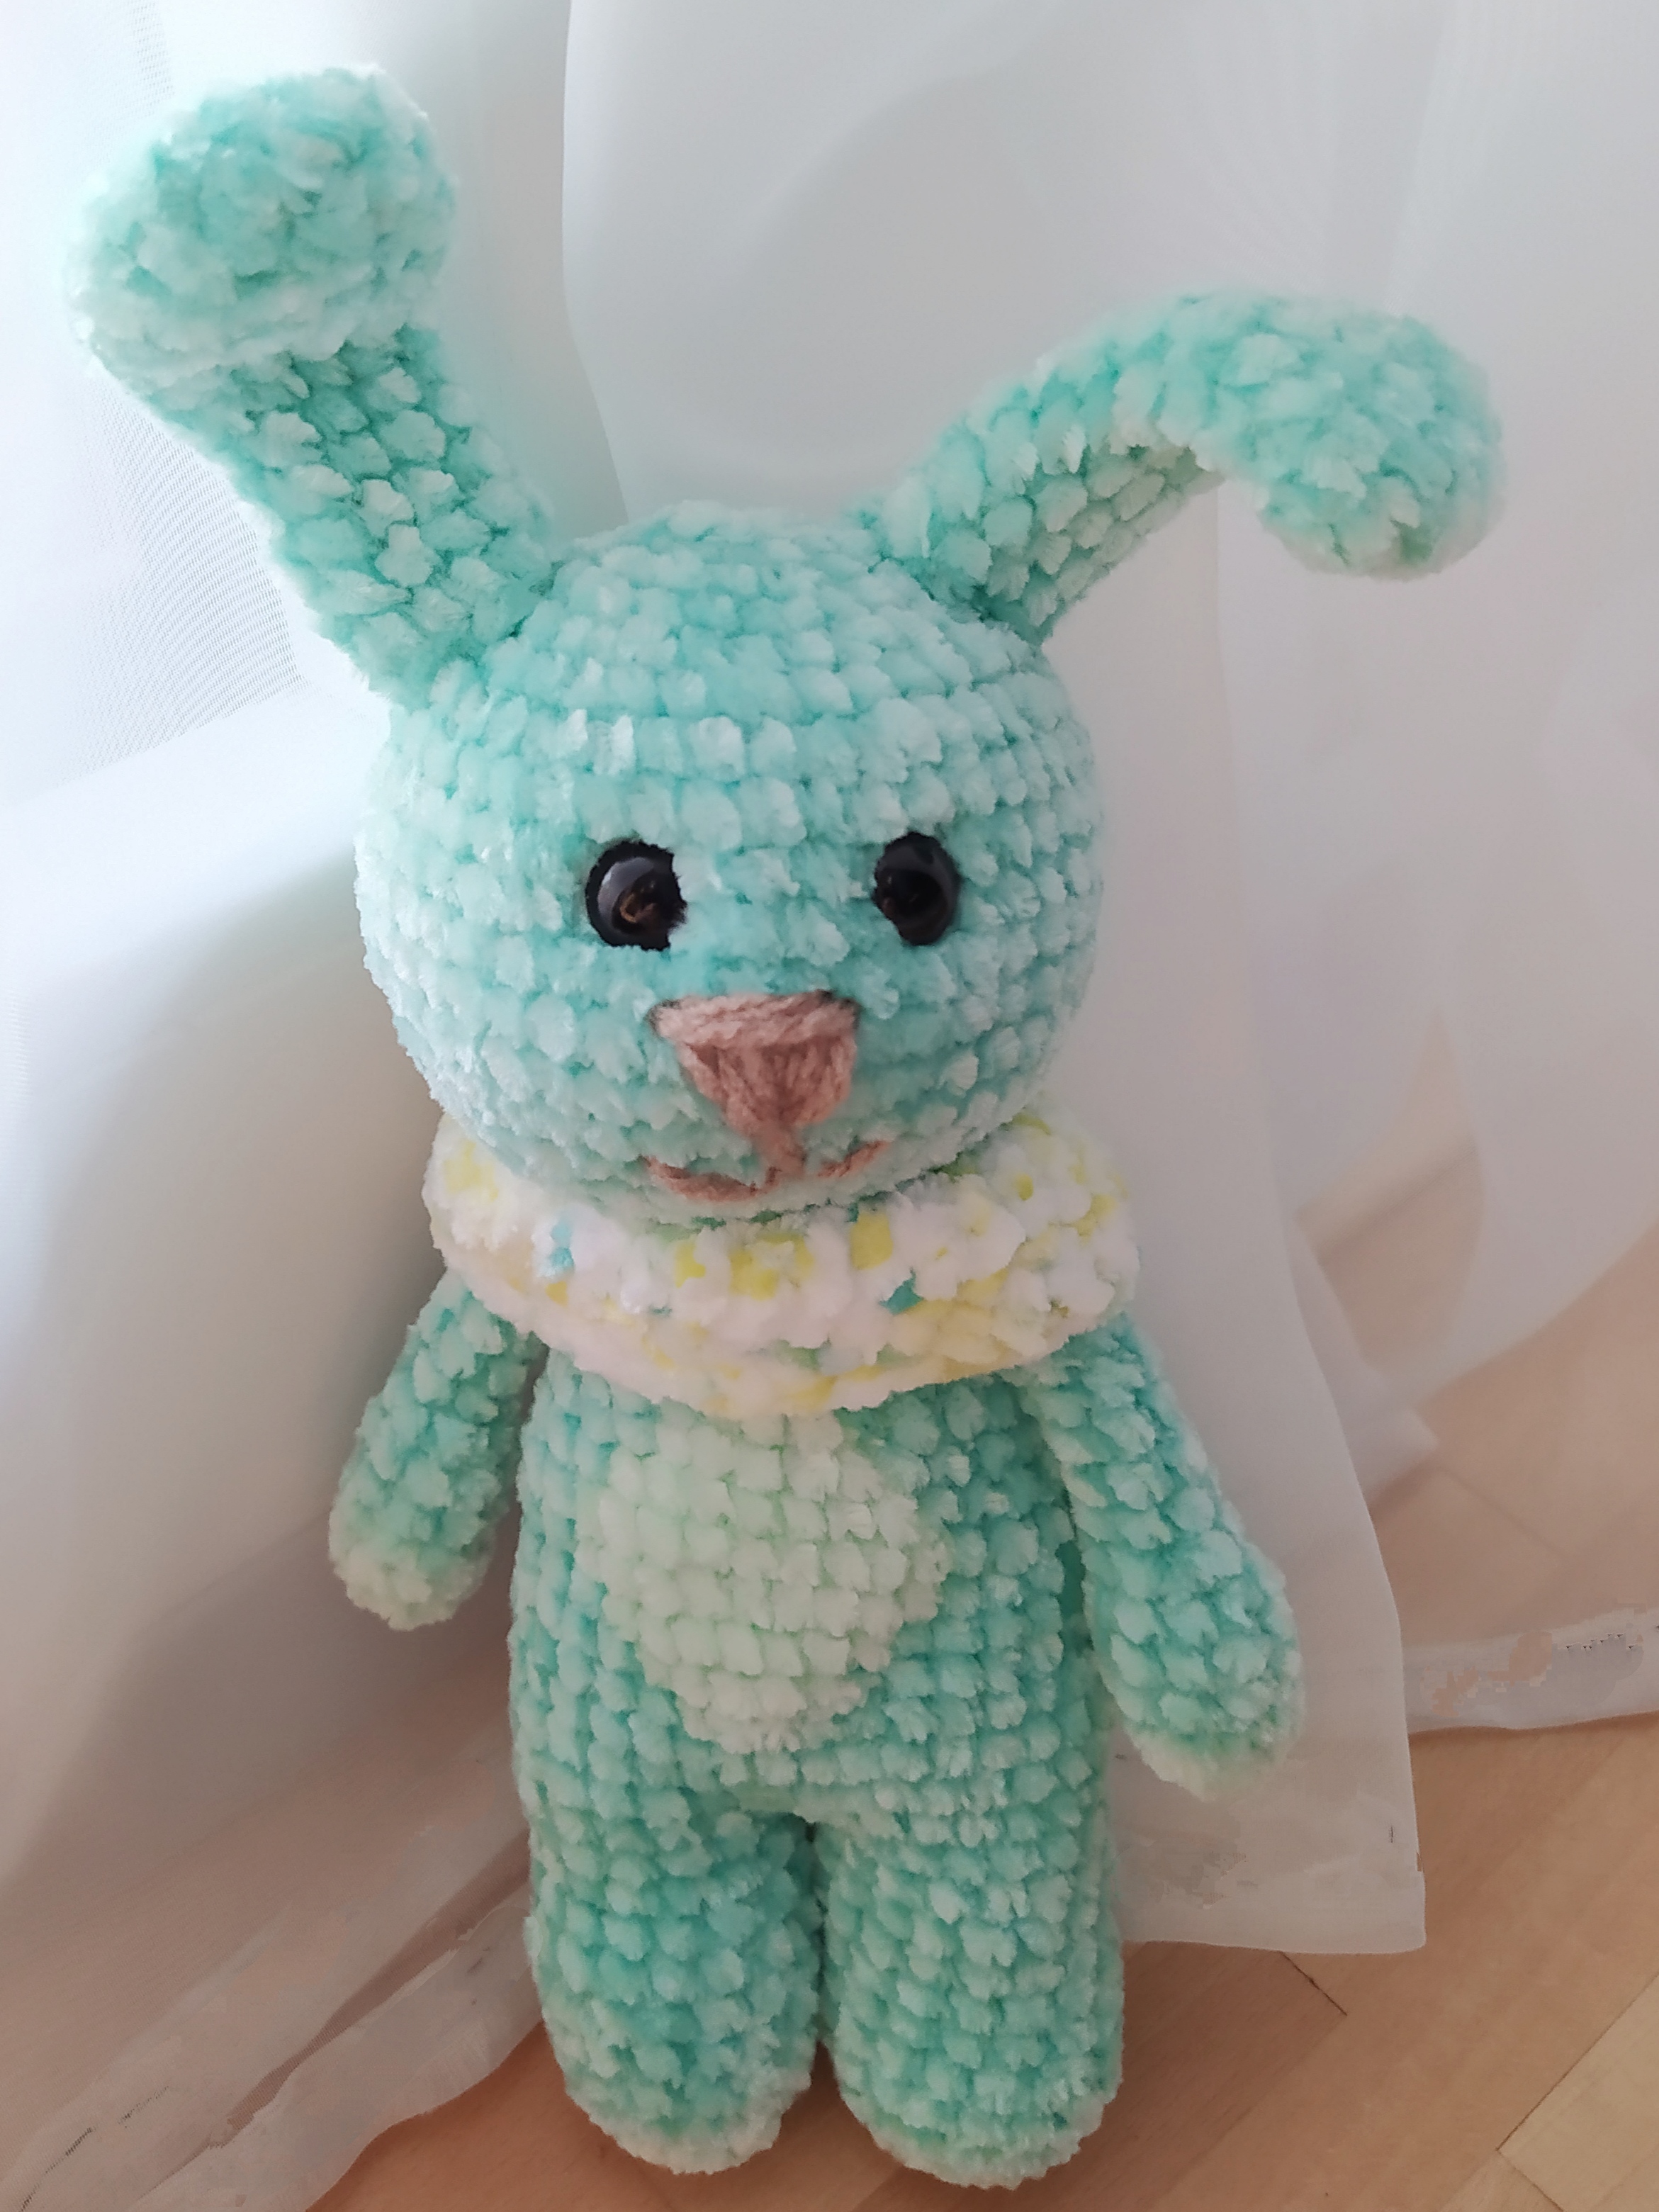
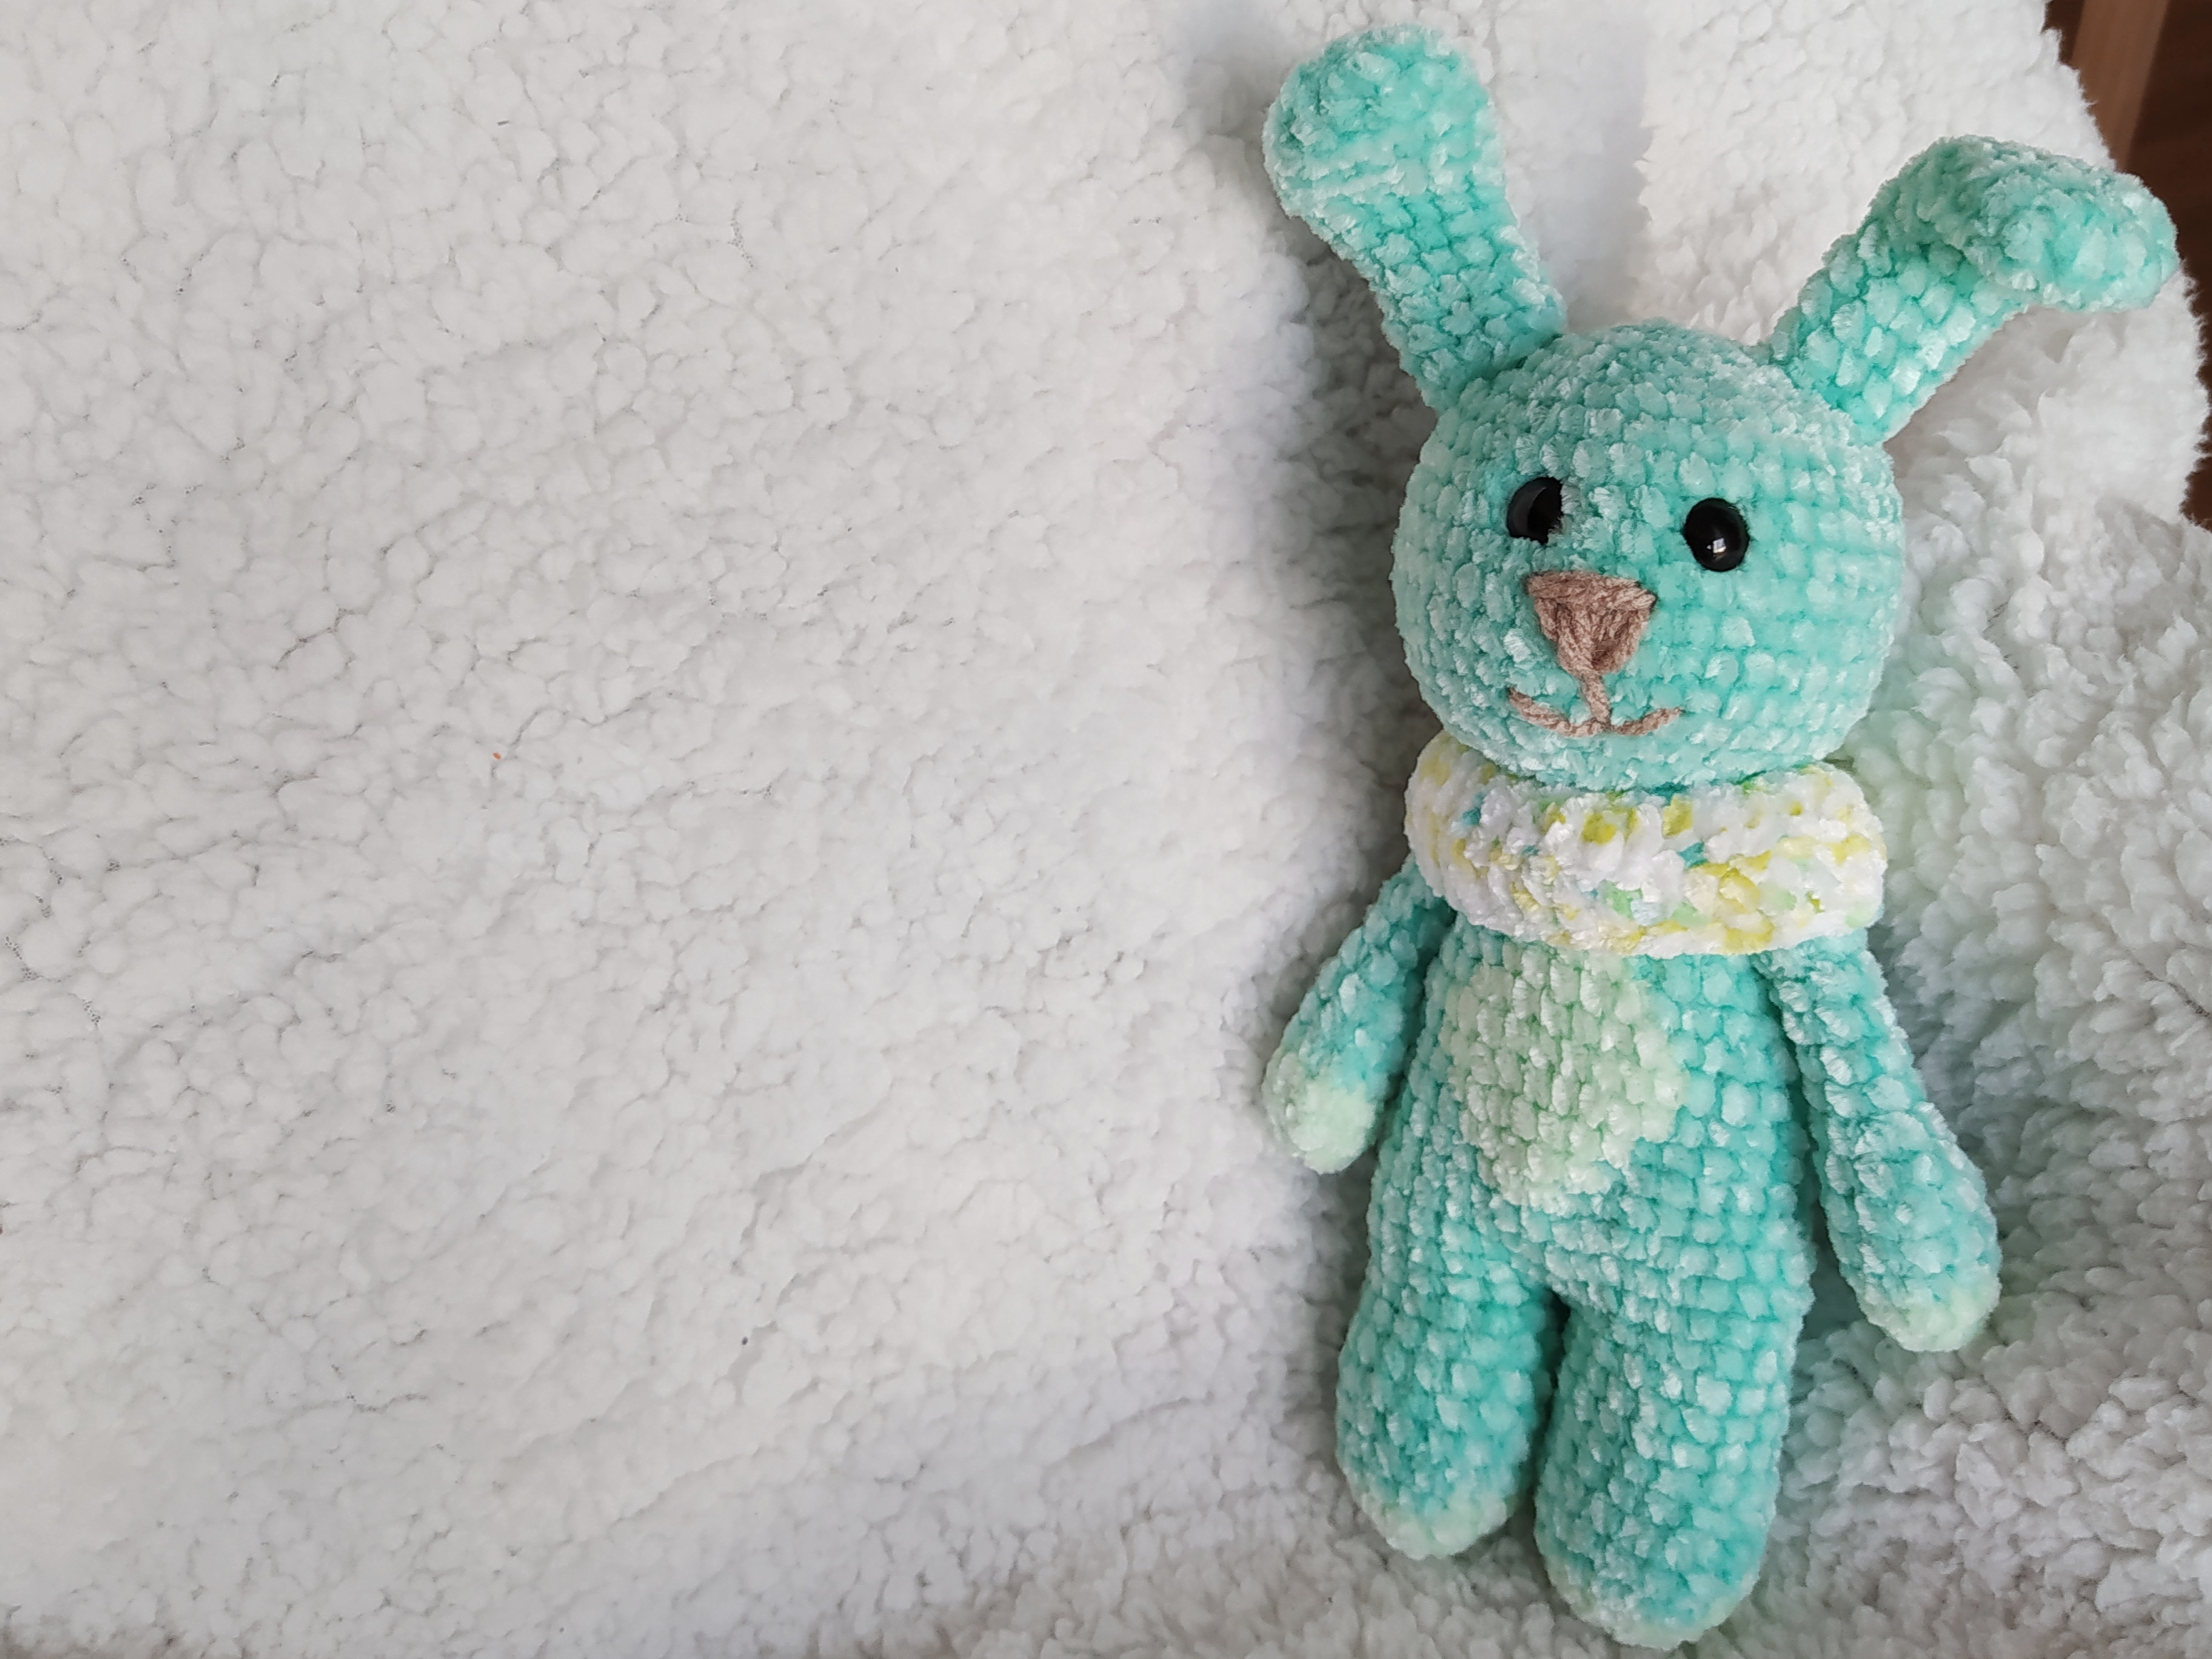
The free crochet pattern for the adorable bunny is here waiting for you! It’s very easy to make even with basic crochet skills but the result will look impressive, I promise! The bunny is so cute and stylish, perfect present for anyone!

IMG_20200114_151946

You will need:

  • 3,5 mm crochet hook
  • stitch marker
  • light turquoise, turquoise and white (for the scarf, take any colour you like) yarn, also light brown yarn leftovers for the nose
  • safety eyes (I had 10 mm)
  • sewing needle
  • scissors
  • fiberfill

Abbreviations:

  • ch – chain
  • st – stitch
  • sl st – slip stitch
  • sc – single crochet
  • dc – double crochet
  • inc – 2 sc in one st (used to increase the number of stitches)
  • dec – 2 sc together (used to decrease the number of stitches)
  • X 6 – repeat 6 times
  • at the end of every round total number of stitches is shown

If it is your first amigurumi attempt ever, you might want to have a look at my tricks for crocheting amigurumi and ideas for interesting amigurumi stuffing. I am sure you will find it helpful! Have fun crocheting!

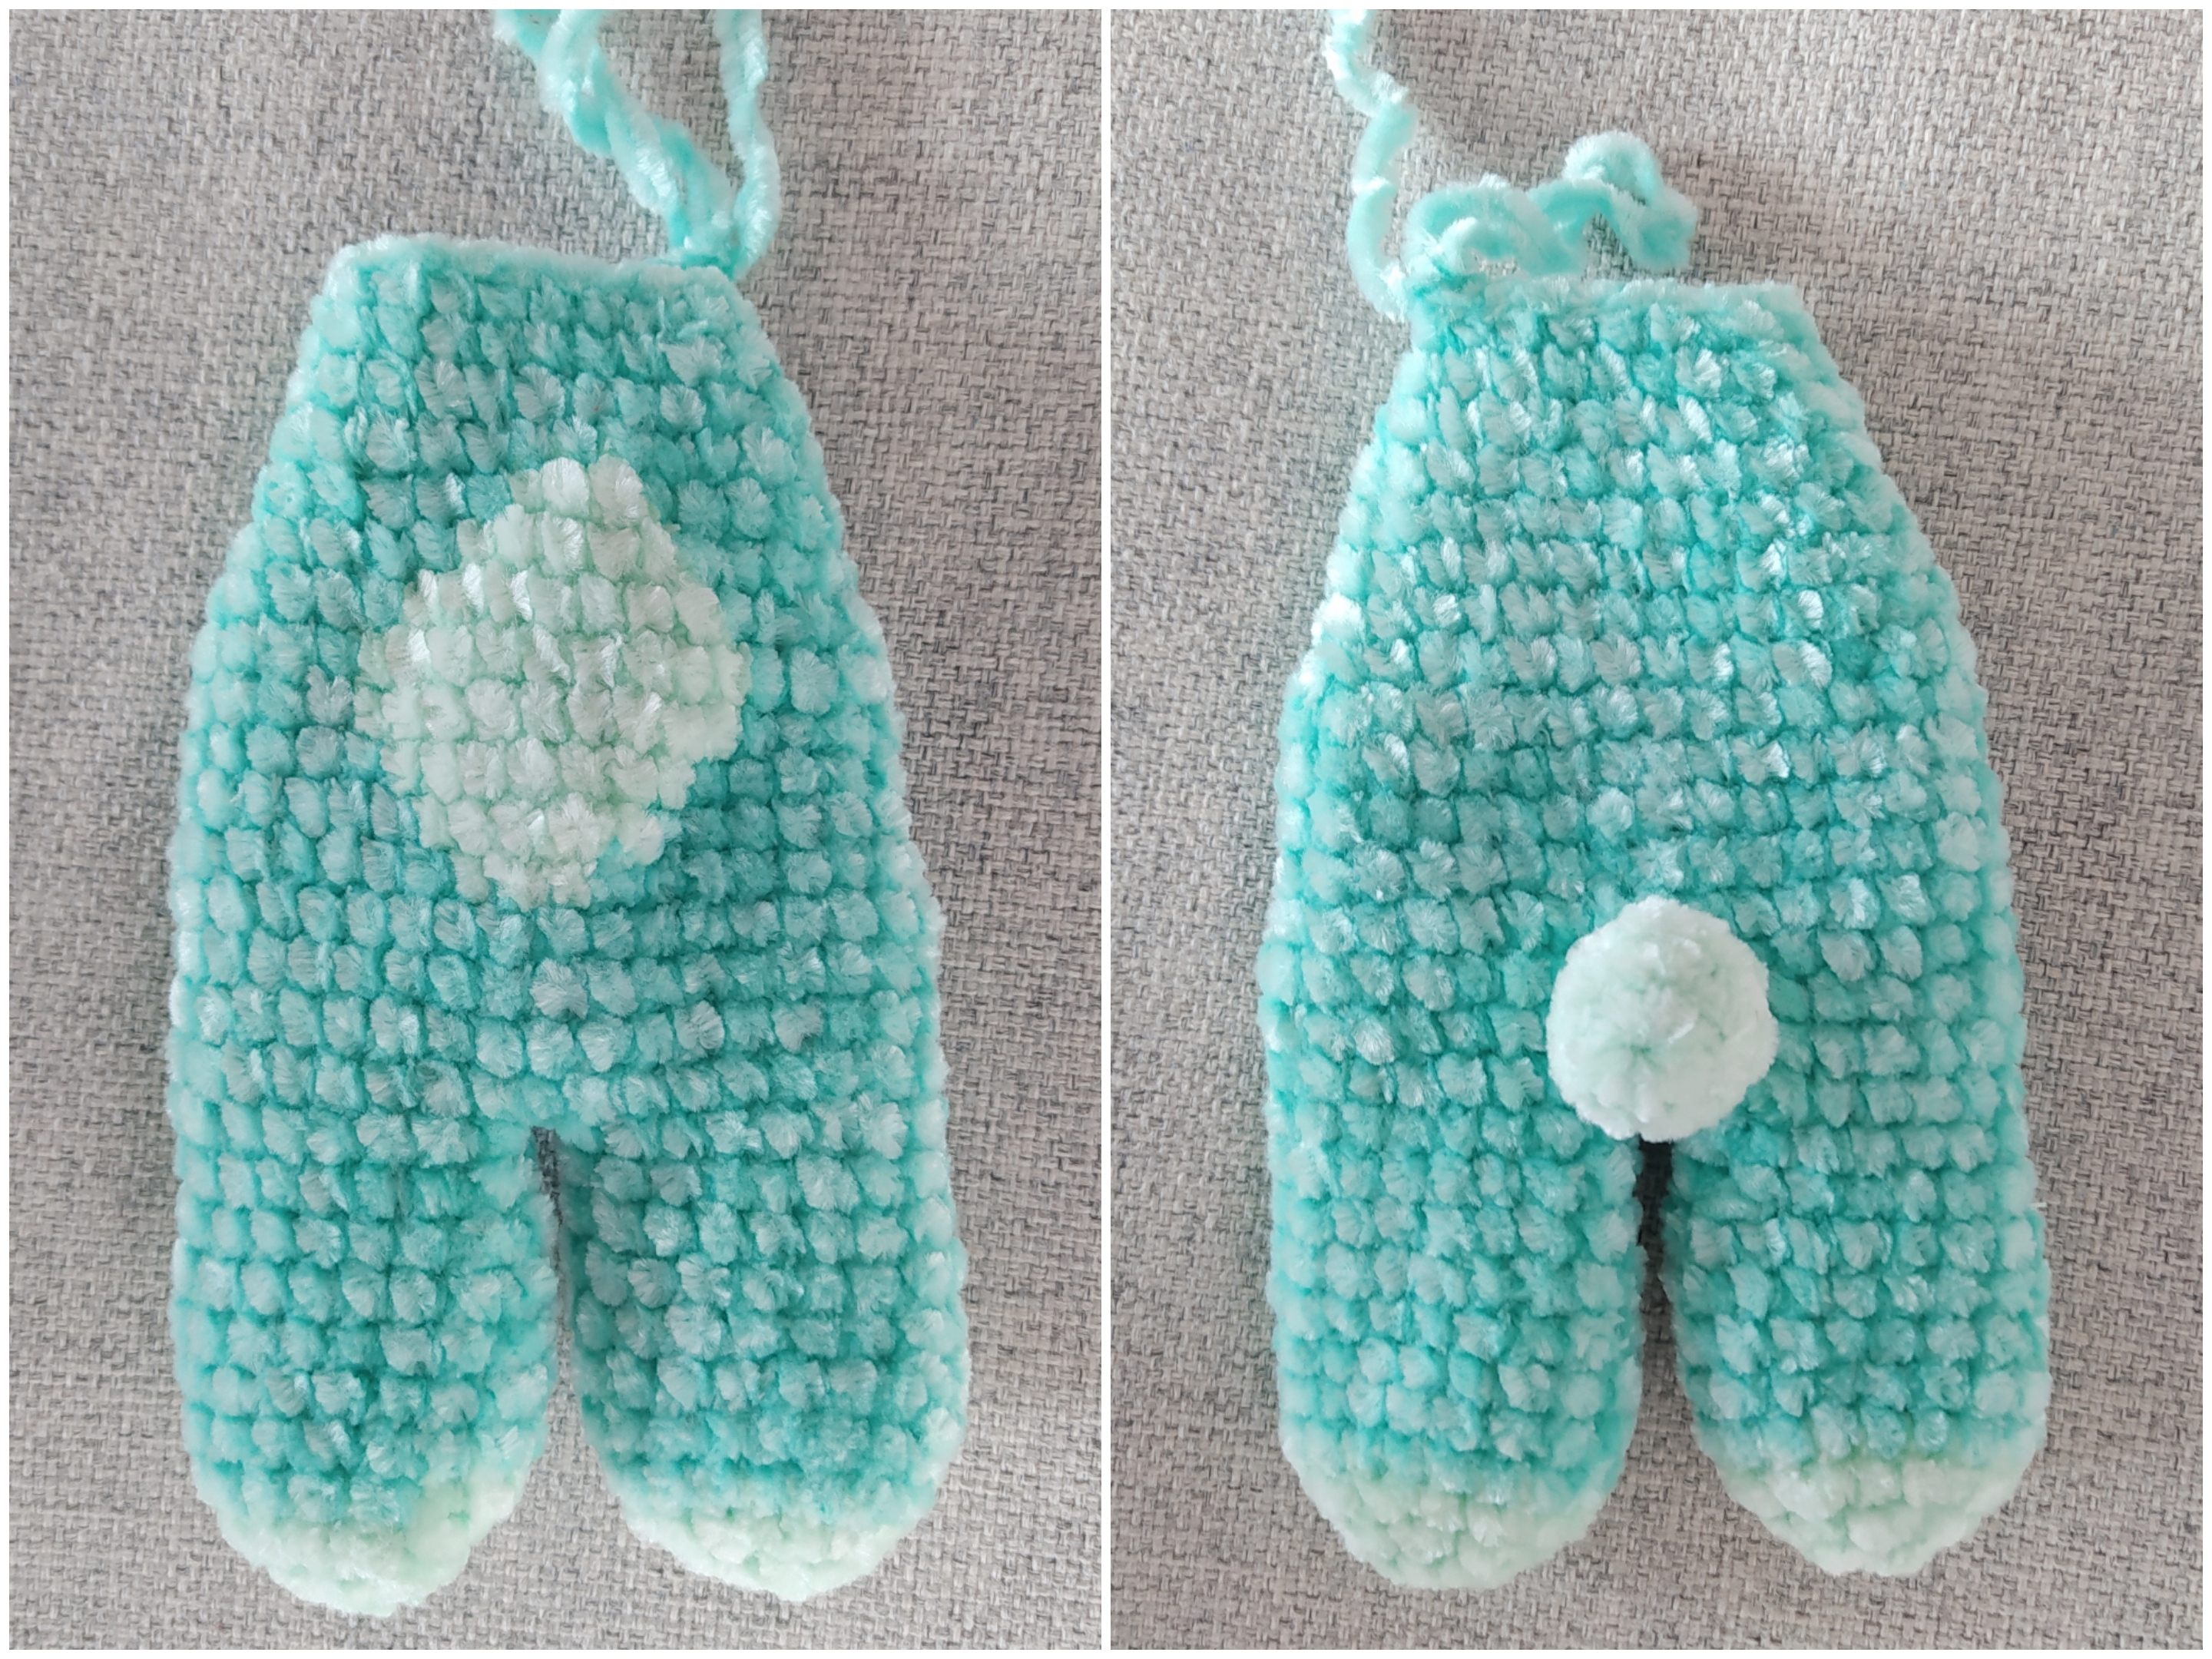
Legs + Body (start with light turquoise yarn):

Round 1: 6 sc in magic ring (6 )
Round 2: inc X 6 (12)
Round 3: (sc in next st, inc) X 6 (18)
Round 4-10: change to turquoise yarn; sc in every st (18) Fasten off, cut the yarn and weave in the end.
First leg is finished. Make the second leg exactly the same but do not cut the yarn, continue crocheting both legs together.
Round 11: sc in next 9 st, 1 ch, insert the hook in a st of the last round of the second leg and sc in next 18 st (around the whole leg), sc in next st (ch), sc in next 9 st, place the stitch marker here, it is the last st of the round (38)

IMG_20200110_215031

Rounds 12-15: sc in all st (38)

Round 16: sc in next 8 st, change to the light turquoise yarn (do not cut the turquoise yarn!), sc in next 3 st, change to turquoise yarn (do not cut the light turquoise yarn!), sc in next 27 st (38)

Round 17: sc in next 7 st, change to the light turquoise yarn (do not cut the turquoise yarn!), sc in next 5 st, change to turquoise yarn (do not cut the light turquoise yarn!), sc in next 26 st (38)
Round 18: sc in next 6 st, change to the light turquoise yarn (do not cut the turquoise yarn!), sc in next 7 st, change to turquoise yarn (do not cut the light turquoise yarn!), sc in next 25 st (38)
Rounds 19-20: sc in next 5 st, change to the light turquoise yarn (do not cut the turquoise yarn!), sc in next 9 st, change to turquoise yarn (do not cut the light turquoise yarn!), sc in next 24 st (38)

Round 21: dec, sc in next 3 st, change to the light turquoise yarn (do not cut the turquoise yarn!), sc in next 9 st, change to turquoise yarn (do not cut the light turquoise yarn!), sc in next 3 st, dec, sc in next 19 st (36)

Round 22: dec, sc in next 3 st, change to the light turquoise yarn (do not cut the turquoise yarn!), sc in next 7 st, change to turquoise yarn (do not cut the light turquoise yarn!), sc in next 3 st, dec, sc in next 19 st (34)

Round 23: dec, sc in next 3 st, change to the light turquoise yarn (do not cut the turquoise yarn!), sc in next 5 st, change to turquoise yarn (do not cut the light turquoise yarn!), sc in next 3 st, dec, sc in next 19 st (32)

Round 24: dec, sc in next 3 st, change to the light turquoise yarn (do not cut the turquoise yarn!), sc in next 3 st, change to turquoise yarn (now you can cut the light turquoise yarn, fasten it off), sc in next 3 st, dec, sc in next 19 st (30)

Round 25: dec, sc in next 8 st, dec, sc in 18 st (28)
Round 26: dec, sc in next 8 st, dec, sc in 16 st (26)
Round 27: dec, sc in next 8 st, dec, sc in 14 st (24)
Round 28: dec, sc in next 8 st, dec, sc in 12 st (20)
Fasten off and cut the yarn leaving a tail for sewing.

IMG_20200112_144449

Tail (light turquoise yarn):

Round 1: 6 sc in magic ring (6 )
Round 2: (inc, sc in next st) X 3 (9)
Round 3: sc in all st (9)
Round 4: (dec, sc in next st) X 3 (6)
Fasten off and cut the yarn leaving a tail for sewing. Sew the tail to the body.

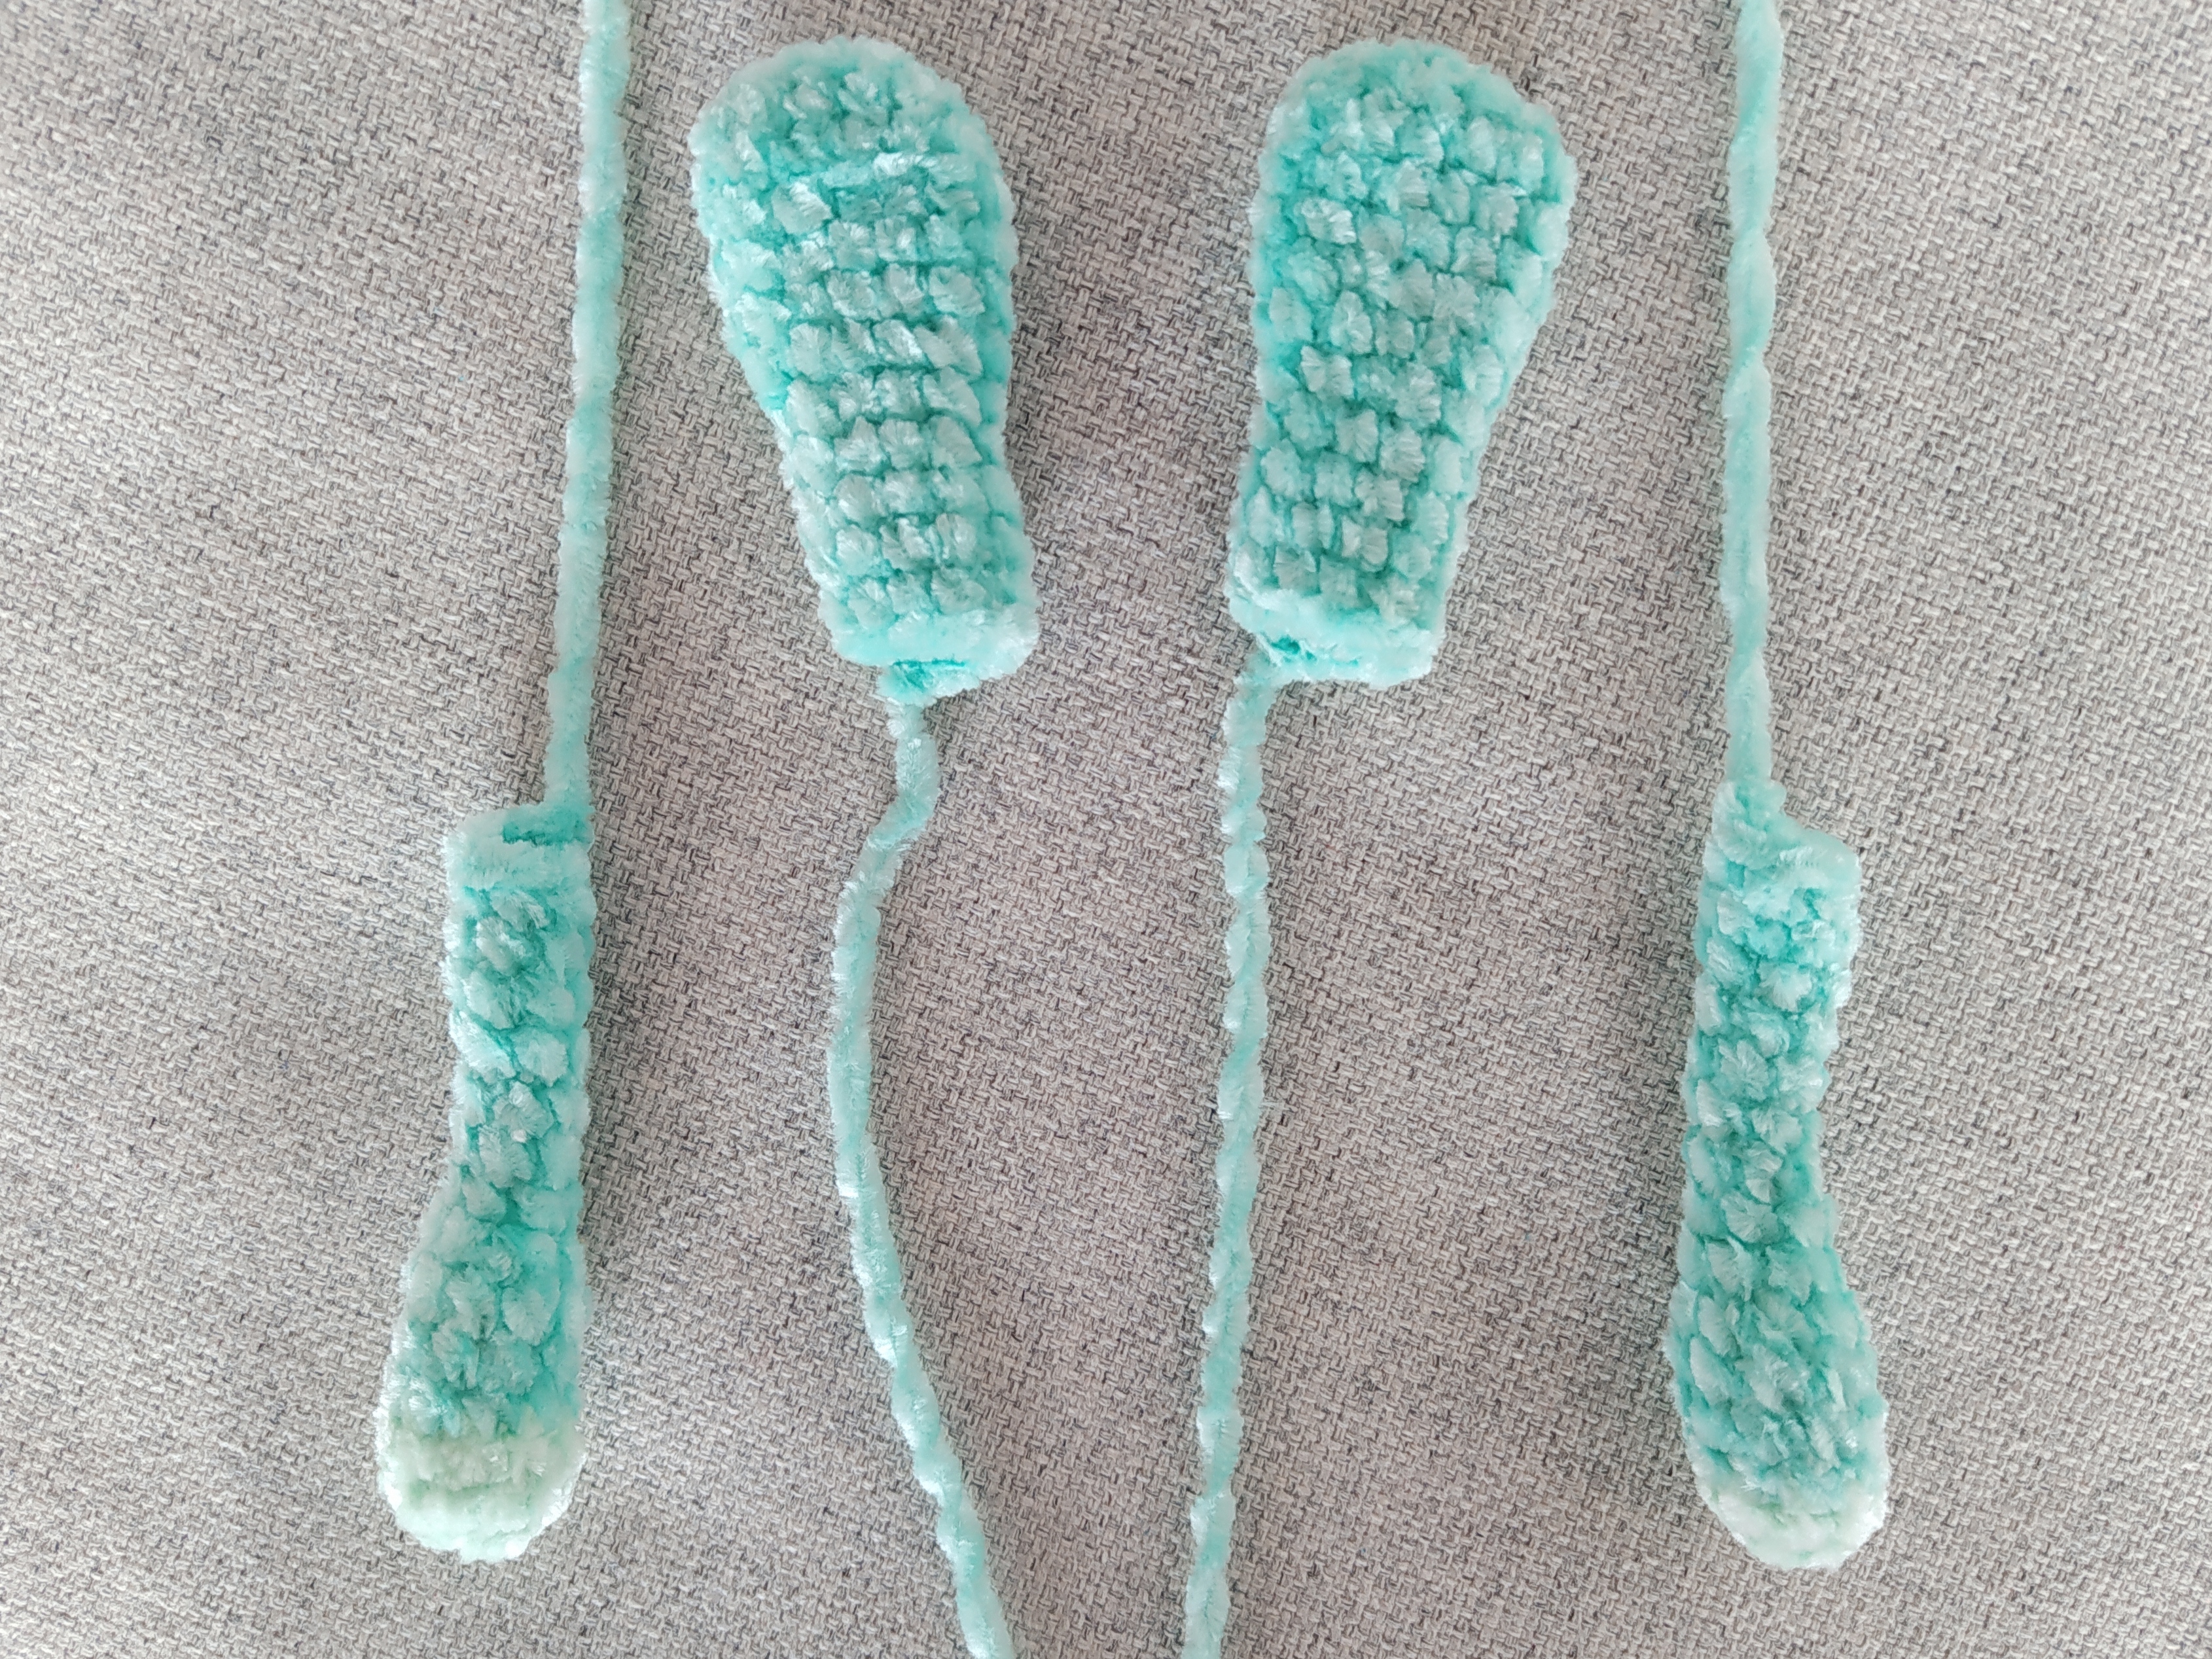
Arms (make 2, start with light turquoise yarn):

Round 1: 6 sc in magic ring (6 )
Round 2: (inc, sc in next st) X 3 (9)
Change to the turquoise yarn.
Rounds 3-5: sc in all st (9)
Round 6: (dec, sc in next st) X 3 (6)
Stuff the crocheted part of the arm.
Rounds 7-15: sc in all st (6)
Fasten off and cut the yarn leaving a tail for sewing.

Ears (make 2, turquoise yarn):

Round 1: 4 ch, 2 sc in the second from the hook, sc in next st, 3 sc in next st, sc in next 2 st (8)
Round 2: 3 sc in next st, sc in next 3 st, 3 sc in next st, sc in next 3 st (12)
Rounds 3-6: sc in all 12 st (12)
Round 7: (dec, sc in next 4 st) X 2 (10)
Rounds 8-12: sc in all st (10)
Fasten off and cut the yarn leaving a tail for sewing.

IMG_20200112_192623

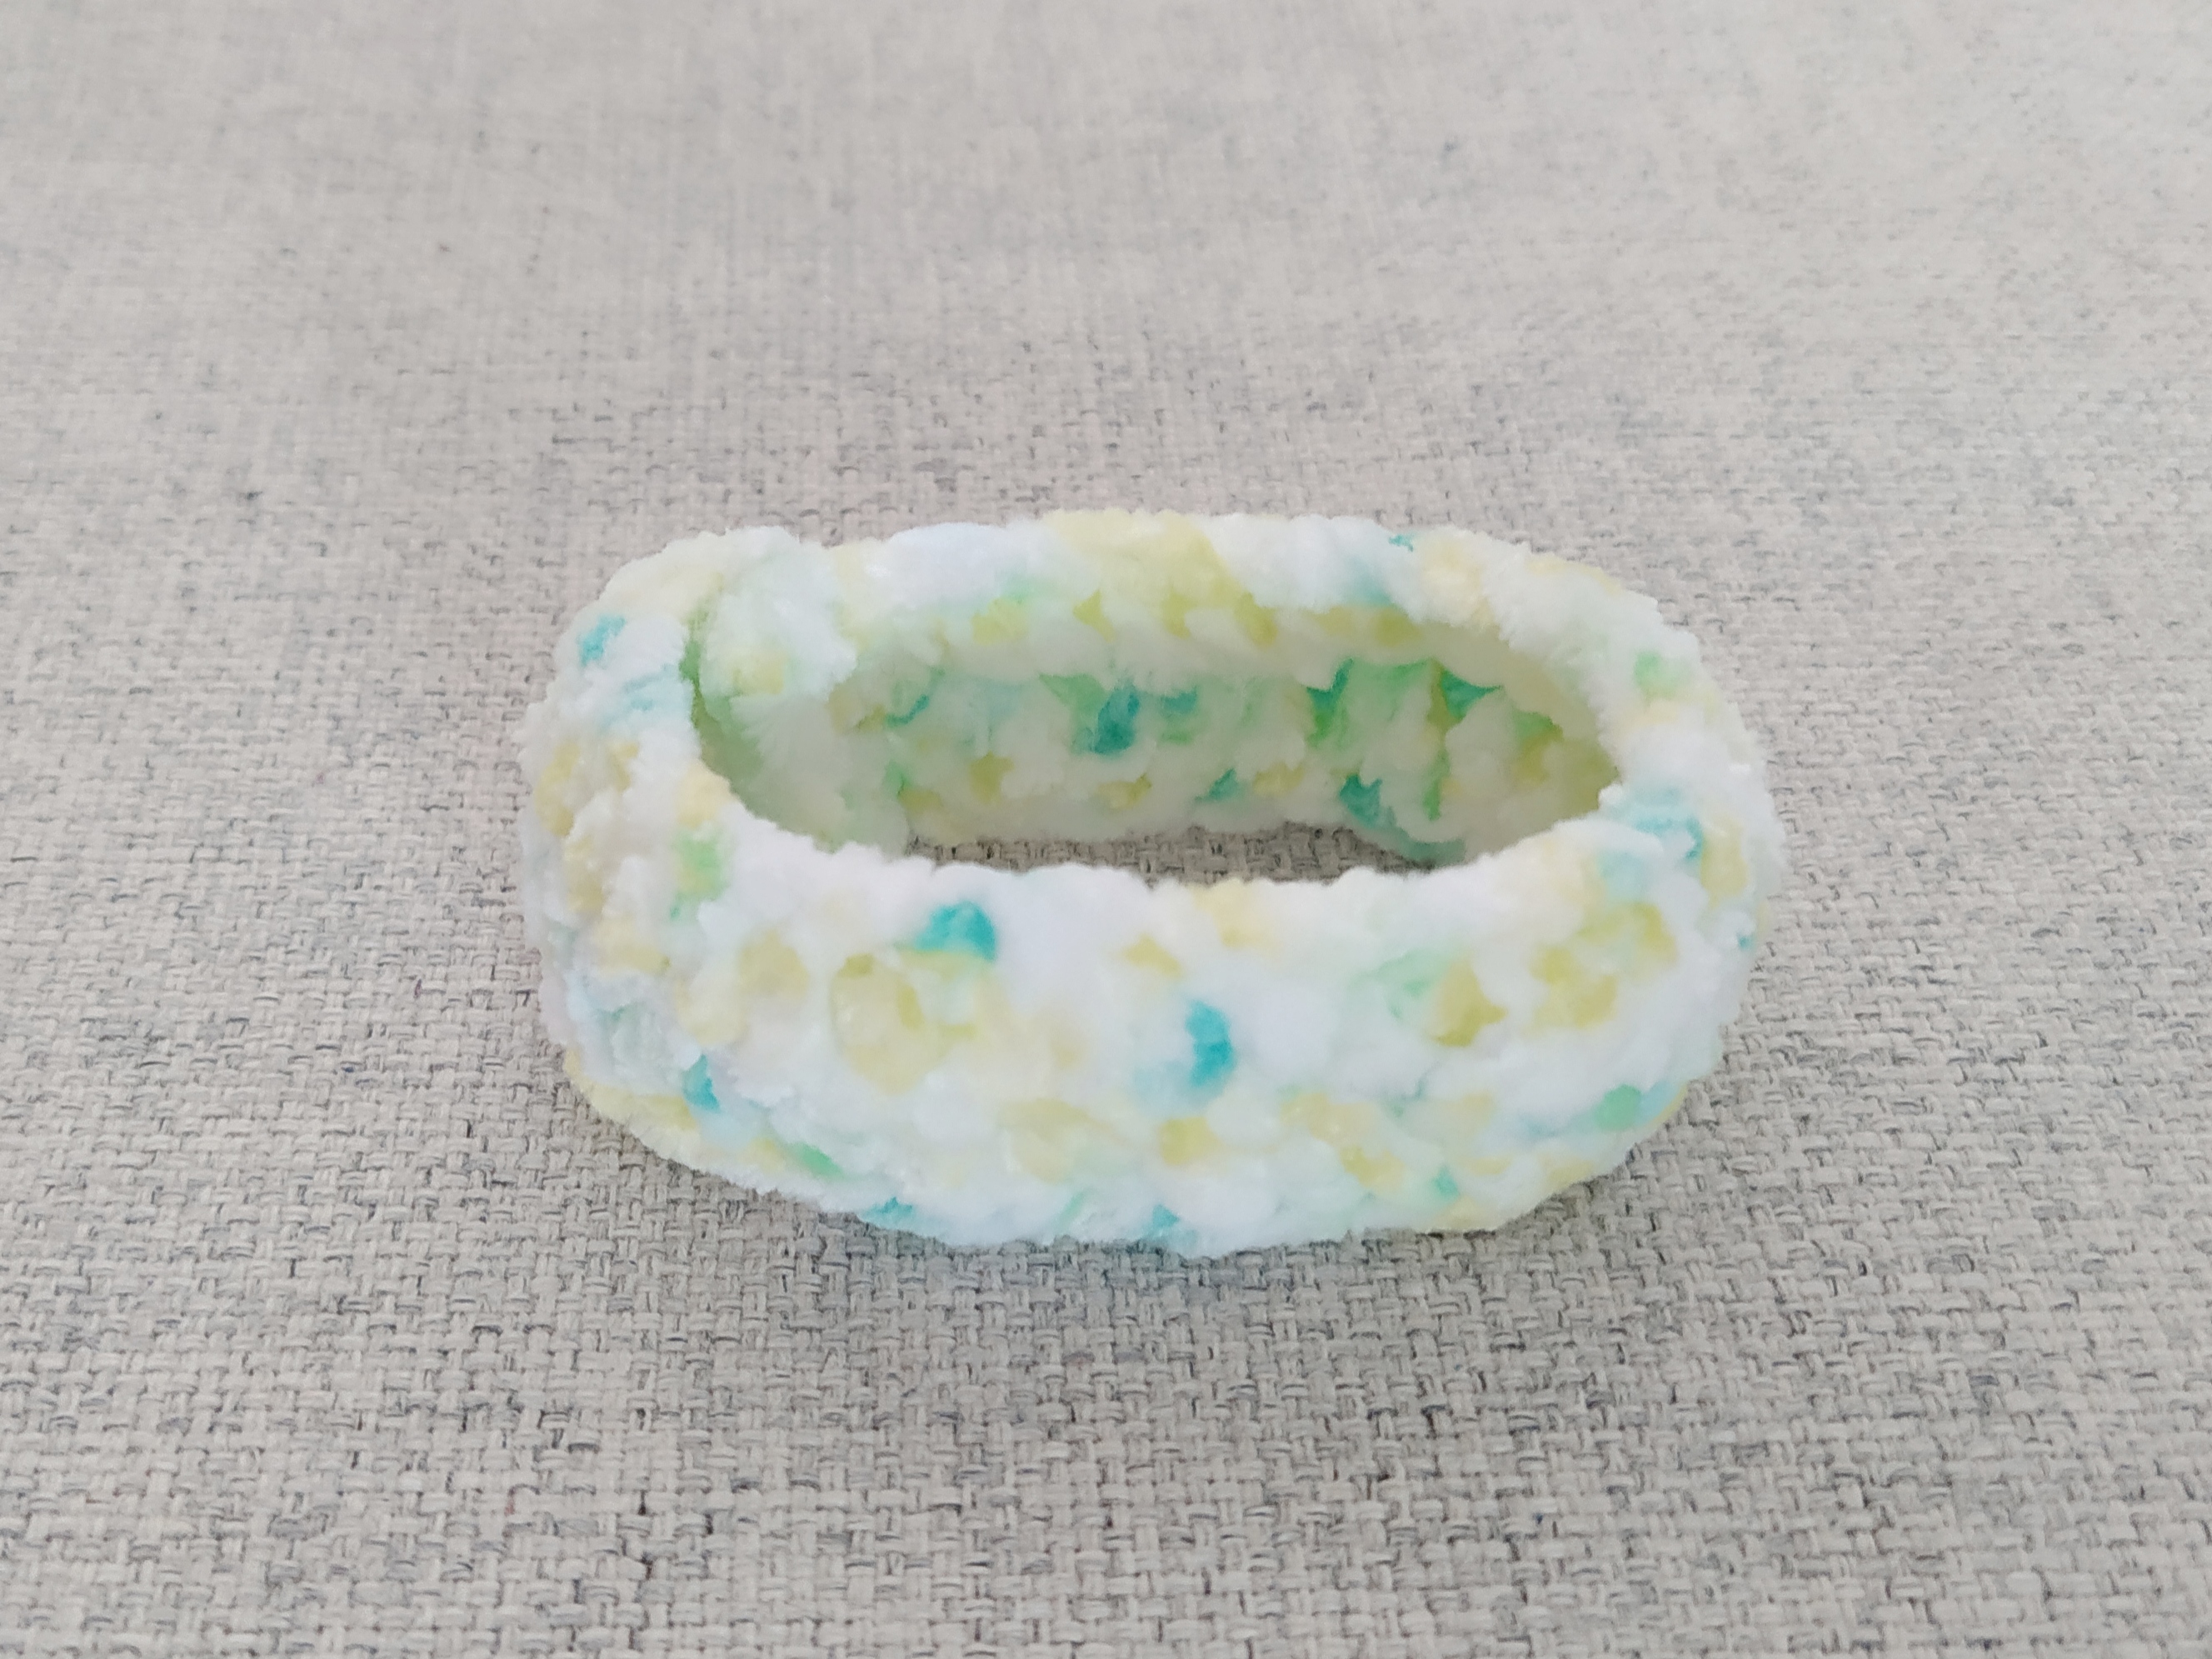
Scarf (turquoise yarn):

30 ch
Rounds 1-2: 3 ch,dc in all st
1 ch, join the scarf and crochet single stitches  through both sides. Fasten off, cut the yarn, weave in the end.

IMG_20200114_152533

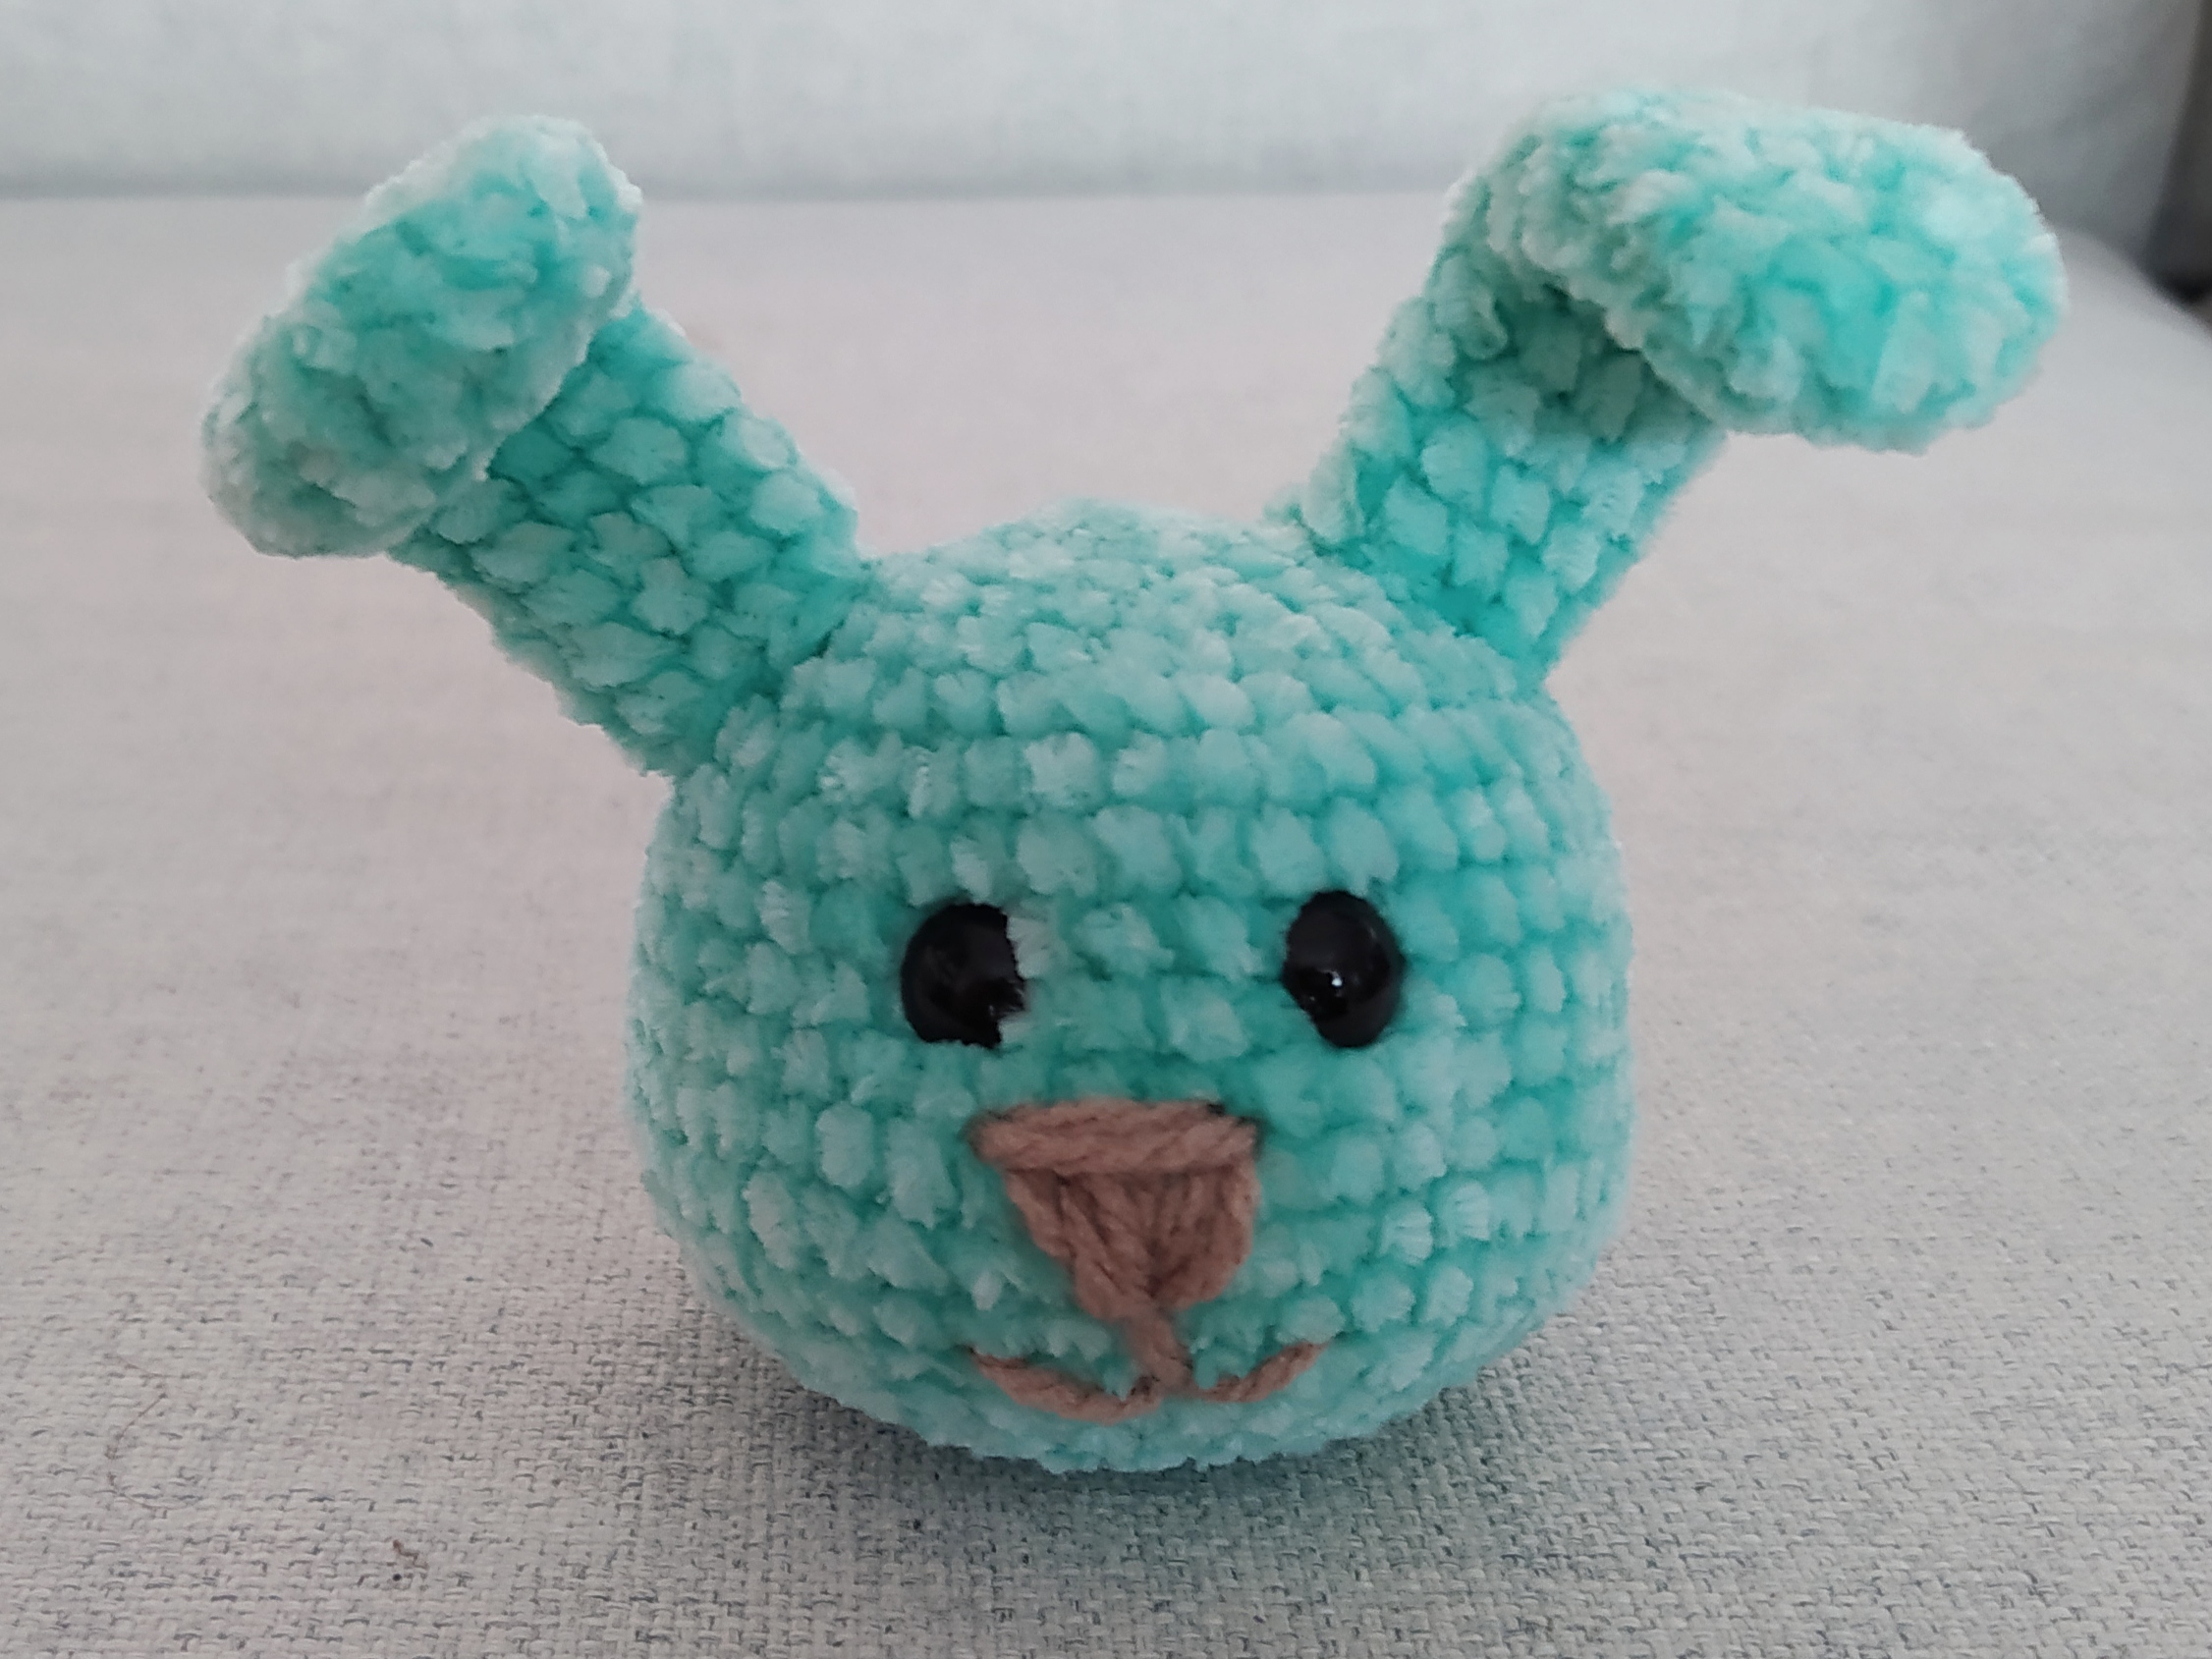
Head (turquoise yarn):

Round 1: 6 sc in magic ring (6 )
Round 2: inc X 6 (12)
Round 3: (sc in next st, inc) X 6 (18)
Round 4: (sc in next 2 st, inc) X 6 (24)
Round 5: (sc in next 3 st, inc) X 6 (30)
Round 6: (sc in next 4 st, inc) X 6 (36)
Round 7: (sc in next 5 st, inc) X 6 (42)
Rounds 8-14: sc in all st (42)
Round 15: (sc in next 5 st, dec) X 6 (36)
Round 16: (sc in next 4 st, dec) X 6(30)
Round 17: (sc in next 3 st, dec) X 6 (24)
Place the safety eyes (between the Rounds 9 and 10, 4 st between the eyes), embroider the nose and the mouth, sew the ears to the head.
Round 18: (sc in next 2 st, dec) X 6 (18)
Round 19: (sc in next st, dec) X 6 (12)
Round 20: (dec) X 6 (6)
Stuff the head and sew the last Round.

IMG_20200114_152615

Sew the arms to the body, stuff the body, put the scarf on the neck and sew the neck to the head. And the bunny is finished!

IMG_20200114_152437

Was it fun to crochet with this tutorial? Have a look at my other patterns, maybe you will find something you like there!

You may also like:

St. Valentine’s Day – 5 Crochet Gift Ideas for Him

IMG_20180126_095400