amigurumi, Uncategorized

The Nutcracker Story: Ballerina Marie Amigurumi Pattern

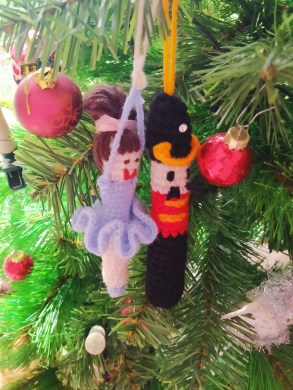
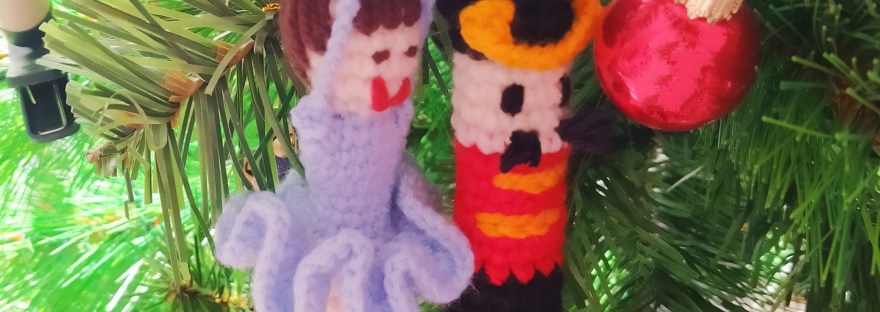
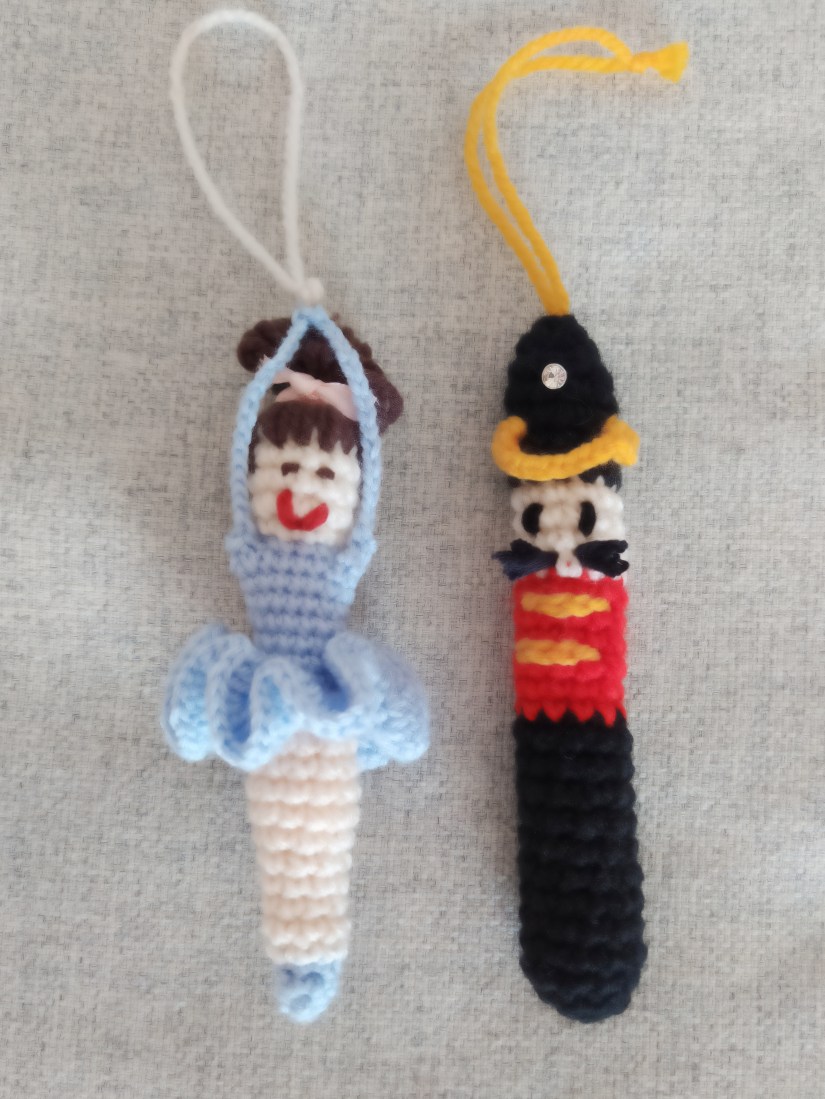
Inspired by the Nutcracker ballet! As Marie follows the Nutcracker to the beautiful Land of Sweets, her crocheted prototype appears after the Nutcracker pattern in my blog 🙂 By the way, this cute couple might be a perfect last minute Christmas gift for someone who loves the romantic story of Nutcracker.
IMG_20200112_131128

You will need:

  • 3,5 mm crochet hook
  • 2,5 mm crochet hook
  • light blue, brown, beige yarn (I have chosen the yarn in the way, that the blue yarn is thiner (matches to the 2,5 mm hook), and the beige yarn is one size thicker. This makes the waist proportions nicer)
  • red yarn leftovers for the mouth
  • a small piece of wire or a small scrunchy (for the hair bun) and a short decoration inkle
  • sewing needle
  • scissors
  • fiberfill

Abbreviations:

  • ch – chain
  • st – stitch
  • sl st – slip stitch
  • sc – single crochet
  • dc – double crochet
  • inc – 2 sc in one st (used to increase the number of stitches)
  • dec – crochet 2 sc together (used to decrease the number of stitches)
  • X N – repeat N times
  • at the end of every round total number of stitches is shown

If it is your first amigurumi attempt ever, you might want to have a look at my tricks for crocheting amigurumi . I am sure you will find it helpful! Have fun crocheting!

The Pattern:

Start with the light blue yarn.
Round 1: 6 sc in magic ring (6)
Round 2 – 3: sc in all st (6)
Change to the beige yarn.
Rounds 4 – 8: sc in all st (6)
Round 9: (sc in next st, inc) X 3 (9)
Rounds 10 – 12: sc in all st (9)
Round 13: (sc in next 2 st, inc)X 3 (12)
Round 14: sc in all st (12)
Change to the light blue yarn.
Round 15: in back loop only: sc in all st (12)
Rounds 16 – 19: sc in all st (12)
Round 20: sc in next 3 st, 3 sc in next st, sc in next 5 st, 3 sc in next st, sc in next 2 st (16)
Rounds 21-22: sc in all st (16)
Stuff
Round 23: sc in next 2 st, 2 ch, skip 4 st, sc in next 4 st, 2 ch, skip next 4 st, sc in next 2 st (12)
Round 24: (sc in next 2 st, dec) X 3 (9)
Change to the beige yarn.
Round 25: sc in all st (9)
Round 26: (sc in next 2 st, inc) X 3 (12)
Rounds 27-29: sc in all st (12)

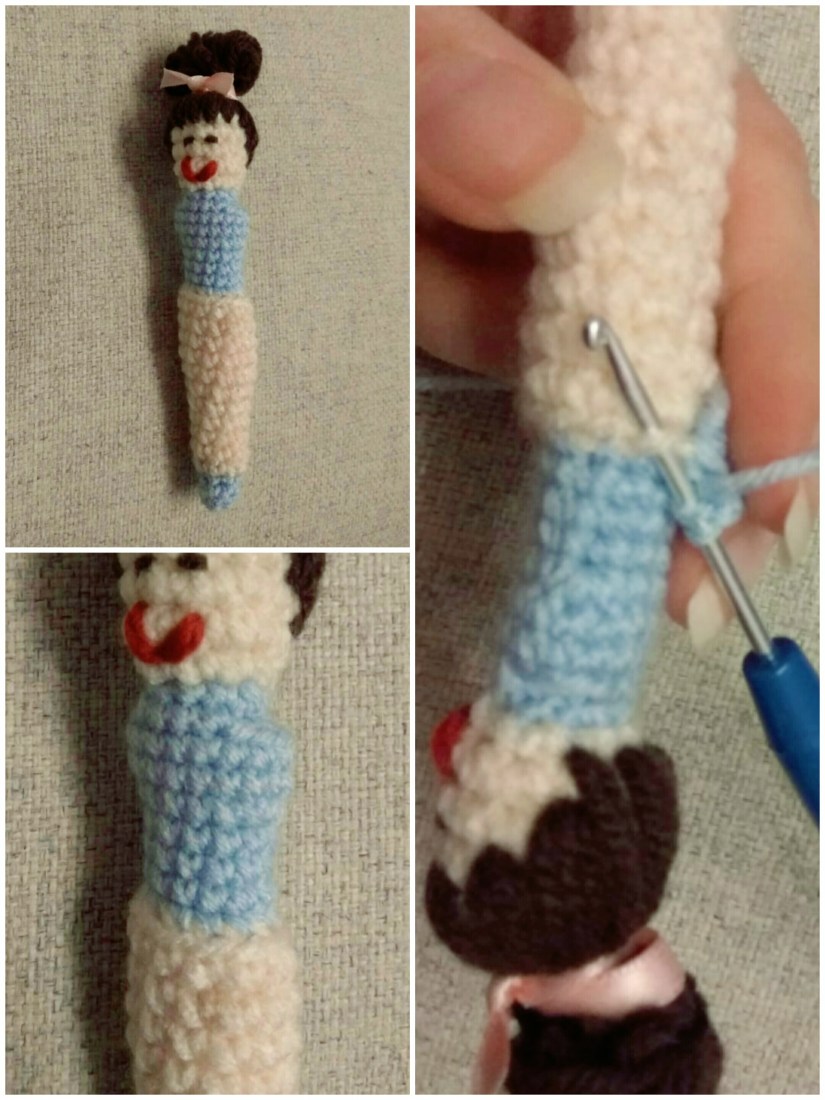
Embroider the mouth (on the Round 26, red yarn) and eyes (between the Rounds 27 and 28, brown yarn) one stitch apart from each other. Stuff the head.

Round 30: (sc in next 2 st, dec) X 3 (9) Do not fasten off, cut the yarn leaving a tail for sewing.

Sew the last round. Fasten off, weave in the end.

The hairs (brown yarn): I have decided to not crochet the hairs but to use the yarn. For that I have prepared 12 yarn sheafs: each consists of three yarn pieces 10 cm long, knotted together on one end. Pull each sheaf through the head on the hair line (described below) in the way that the knots stay inside and the hairs look out. Use the crochet hook for that.

The hair line:

I started from the stitch above the left eye between the Rounds 28 and 29. And then we go from the left to the right. Then put the hair bunches in 4 more stitches of the round to. Afterwards we go 1 Round down and one stitch to the right, place the hairs (6 hair bunches are used until now). Then we again go 1 Round down and one stitch to the right, place the hairs (7), as well as to the three next st to the right (10). After that we move 1 Round up and 1 stitch to the right (11), again 1 Round up and 1 stitch to the right. And now the line is joined, we take all the hairs and shape them in a bun on the top of the head (using the wire or the scrunchy). Place the decoration inkle on the bun.
IMG_20200108_224932

Skirt (light blue yarn):

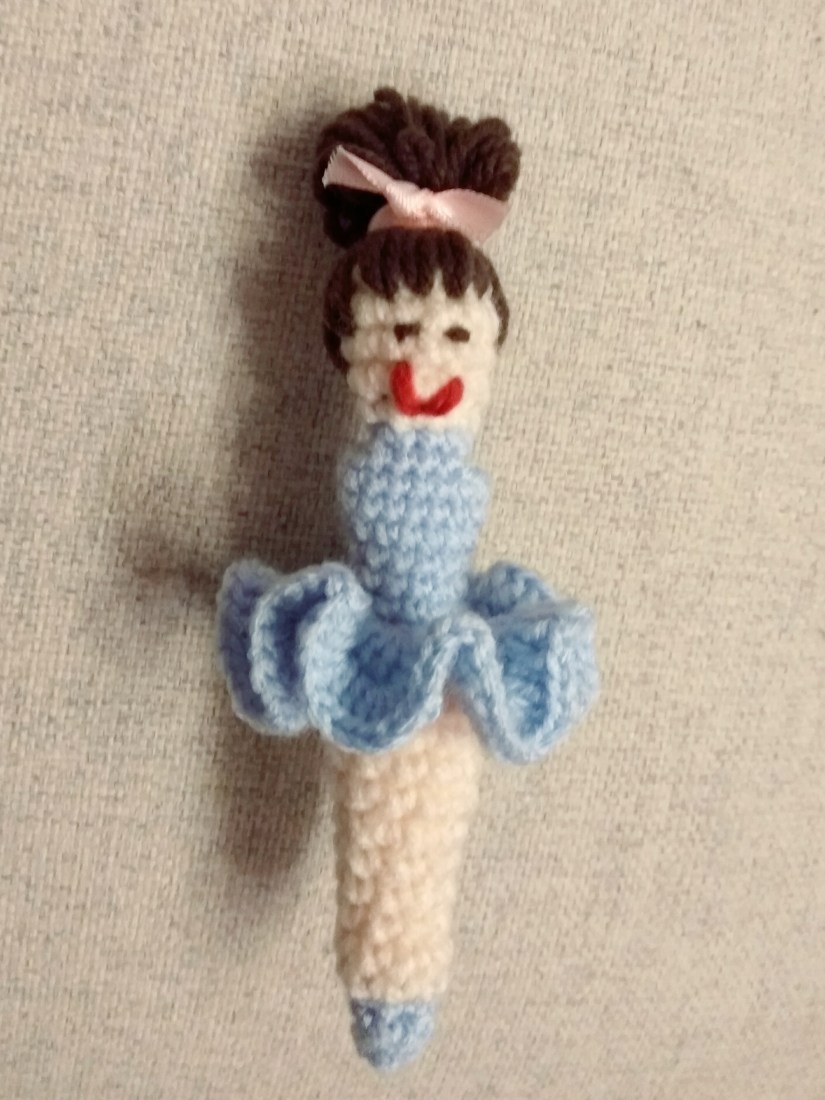
Crochet in the front loops of the last beige round. Insert the hook in the first loop, make 3 ch. Make it also in the beginning of the second round. Both rounds end with a sl st.
Round 1: 4 dc in all st
Round 2: keep crocheting this block until the round ends: (3 dc in next st, dc in next st).
IMG_20200108_224333

Arms (start with light blue yarn):
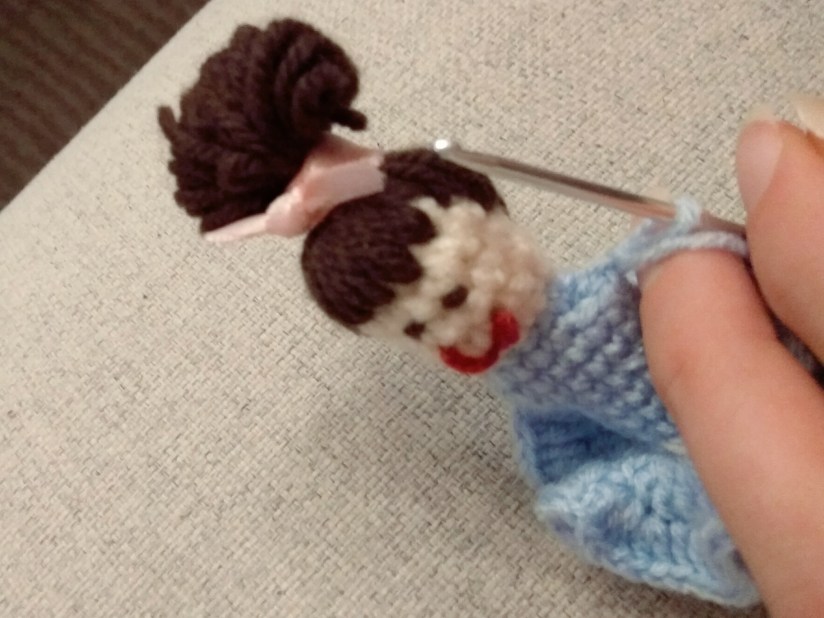
Place the crochet hook in the middle of a hole for the left arm, crochet around it (5 stitches: 4 st outside and 1 st at the neck), sl st, make 15 chain, cut the yarn.
IMG_20200108_224302
The right arm make in the same way but do not cut the yarn. Join with the last ch of the left arm, change to the beige yarn, make 50 chain and join to the 1st beige ch with a sl st. Fasten off, cut the yarn and weave in all ends.

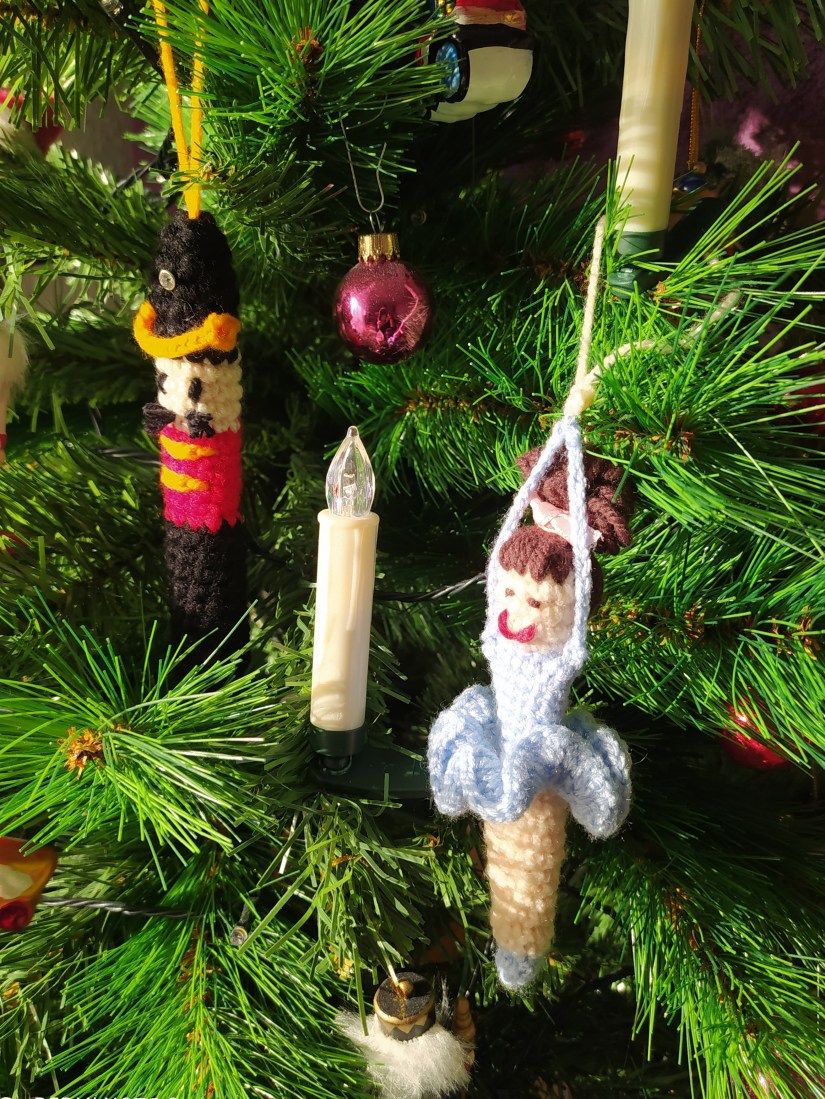
Marie is finished! If you want her to get the love story she deserves, do not forget to crochet the brave charming Nutcracker (tutorial here)! Do not they look cute together?
IMG_20200112_131223

Did you like to crochet with the tutorial? Check out my other patterns here!

You may also like:

St. Valentine’s Day – 5 Crochet Gift Ideas for Him

IMG_20180126_095400

Cupcake Box Free Crochet Tutorial with Pictures

IMG_20200104_212801

Crochet Princess Leia – Step-by-Step Tutorial here!

IMG_20180102_222852

3 Simple Stuffings Which Make Your Amigurumi Special
IMG_20180202_161505

My Crochet Highlights 2019

IMG_20191229_171502

amigurumi

Nutcracker Crochet Christmas Tree Decoration – the Quickest Pattern ever!

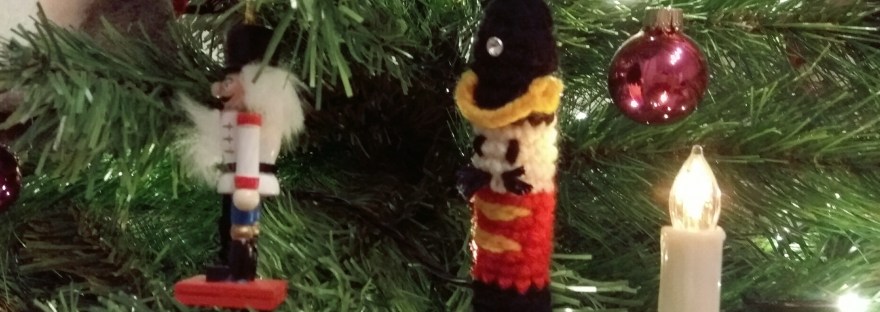
Yesterday I have watched the beautiful love story between Marie and the Nutcracker in ballet and it was just wonderful! The magical show has inspired me to create the decorations for a Christmas tree: simple figures of the characters.

The Nutcracker is ready so I share with you this simple pattern. Maybe some of your friends celebrate Christmas on Januar 7th? This would be a perfect last minute gift!

IMG_20200106_185934

You will need:

  • 3,5 mm crochet hook
  • black, red, yellow, beige yarn
  • decoration for the hat (I used an old earring)
  • sewing needle
  • scissors
  • fiberfill

Abbreviations:

  • ch – chain
  • st – stitch
  • sl st – slip stitch
  • sc – single crochet
  • hdc – half double crochet
  • inc – 2 sc in one st (used to increase the number of stitches)
  • dec – crochet 2 sc together (used to decrease the number of stitches)
  • X N – repeat N times
  • at the end of every round total number of stitches is shown

If it is your first amigurumi attempt ever, you might want to have a look at my tricks for crocheting amigurumi . I am sure you will find it helpful! Have fun crocheting!

The Pattern:

Start with the black yarn.
Round 1: 6 sc in magic ring (6)
Round 2: (inc) X 6 (12)
Rounds 3 – 13: sc in all 12 st (12)
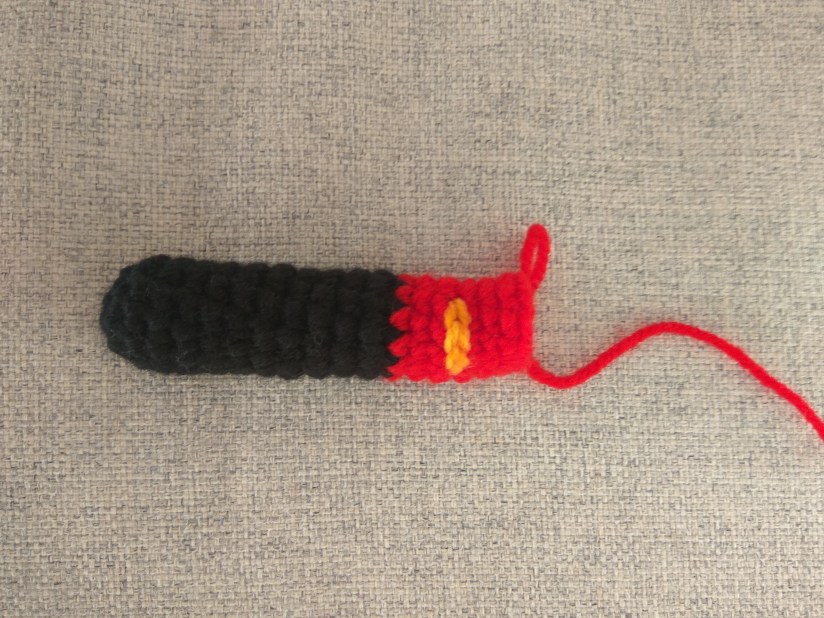
Change to the red yarn.

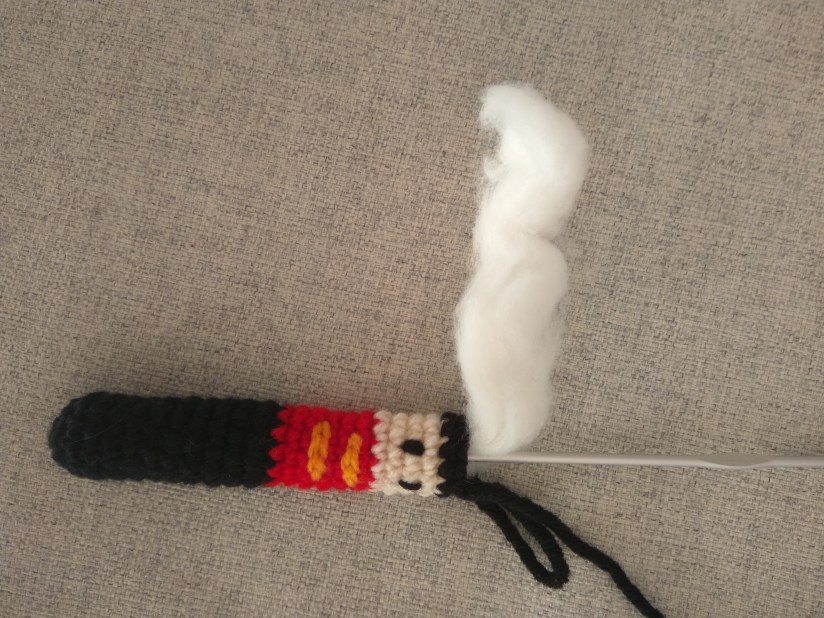
Rounds 14 – 20: sc in all st (12), do not cut the yarn. On the front side of the shirt sew two horisontal parallel stripes with yellow yarn (4 st long each). Stuff legs and body with fiberfill using the back side of a crochet hook. If your hook has a handle and does not fit here, use a chopstick or a manicure wooden stick.

IMG_20200106_151443

Change to the beige yarn.
Rounds 21 – 25: sc in all st (12). On the third beige round sew the eyes using black yarn (2 st between the eyes), stuff the head as you go.

IMG_20200106_153419
Change to the black yarn.
Rounds 26 – 30: sc in all st (12). Do not cut the yarn. Leave the crocheting to the side and make the decoration for the hat.

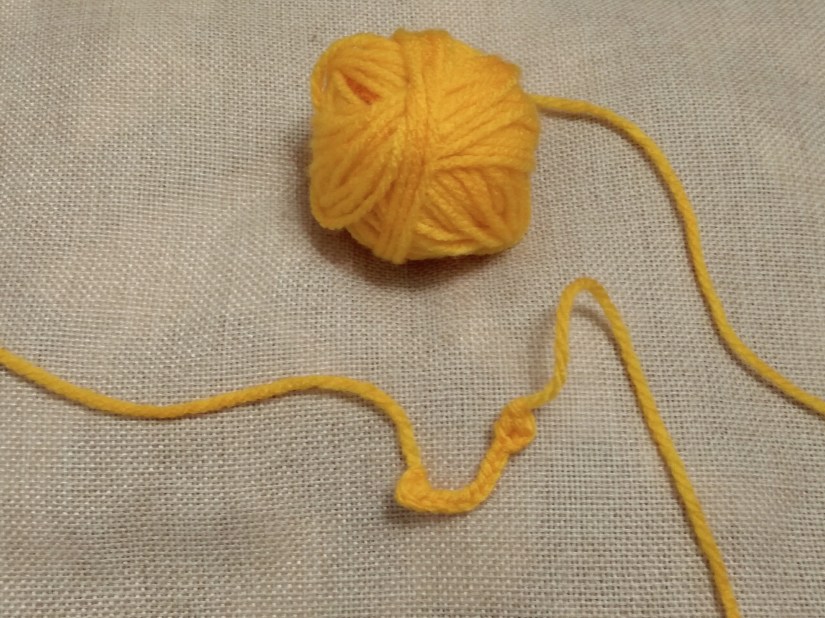
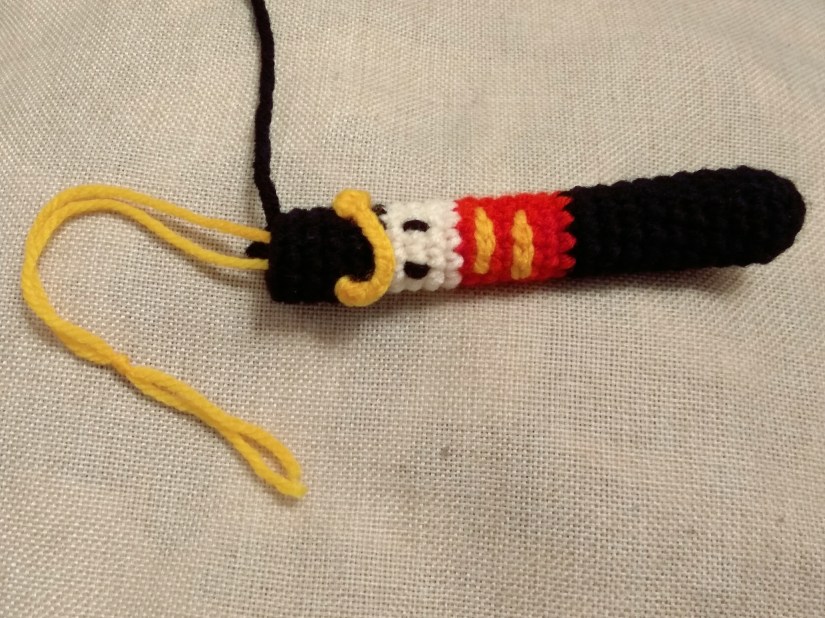
For that take the yellow yarn, crochet 2 ch (Important: Leave a long tail before the first st, we will need the long string for hanging the Nutcracker on a tree). Make a hdc in the 2nd ch from the hook and make 10 ch more. Then 1 ch, and again 1 hdc in the 2nd ch from the hook. Fasten off and cut the yarn leave a long tail (ideally as long as the first one).

IMG_20200106_182624

Now sew the yellow chain to the hat, and the long strings pull outside through the hole, knot them together, this is now a loop for hanging the Nutcracker. Place a decoration element you have prepared on the hat as well. As I said earlier, I just use a simple earring.

IMG_20200106_184146

Stuff the hat and continue crocheting:

Round 31: (dec) X 6 (6), fasten off, cut the yarn and weave in the end.

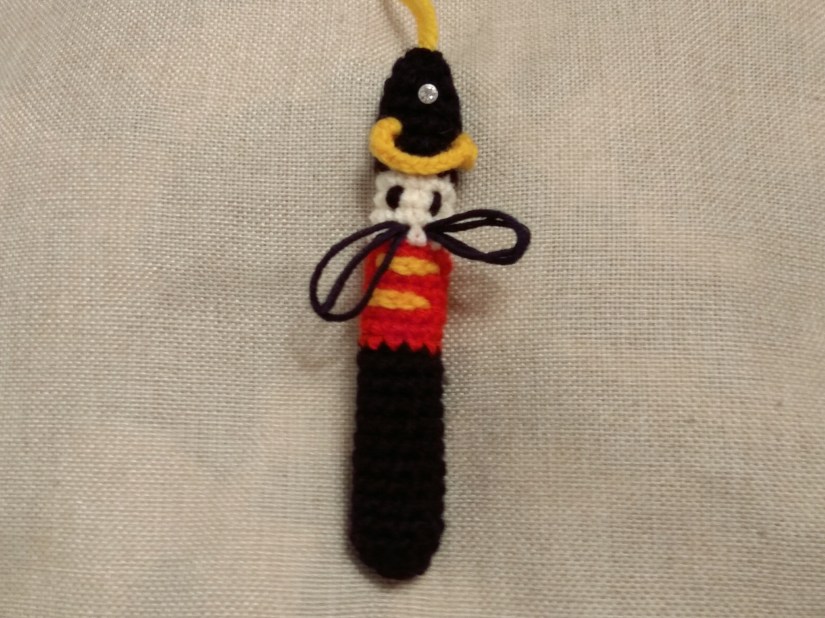
Make a mustache: just pull a knot with several strings of the black yarn through a st in the first beige round, cut the ends.

IMG_20200106_185441

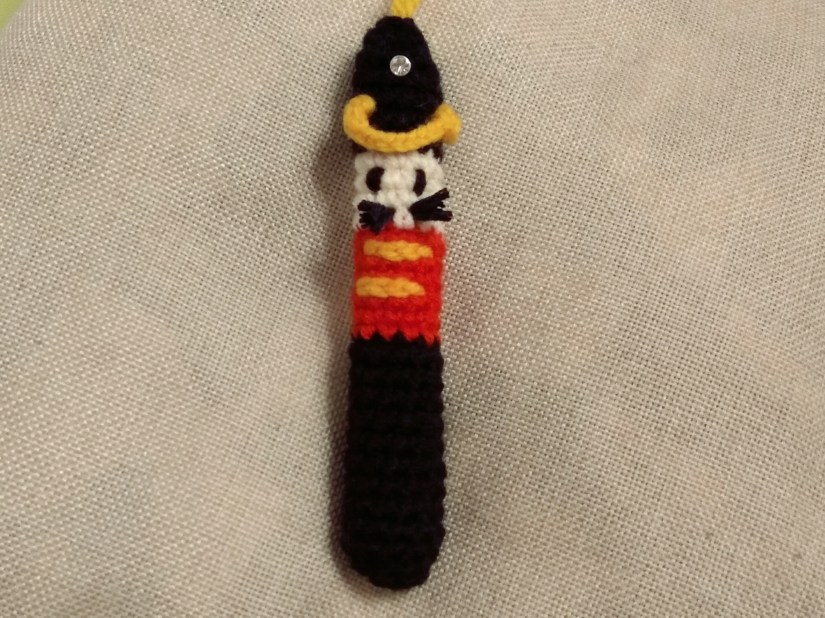
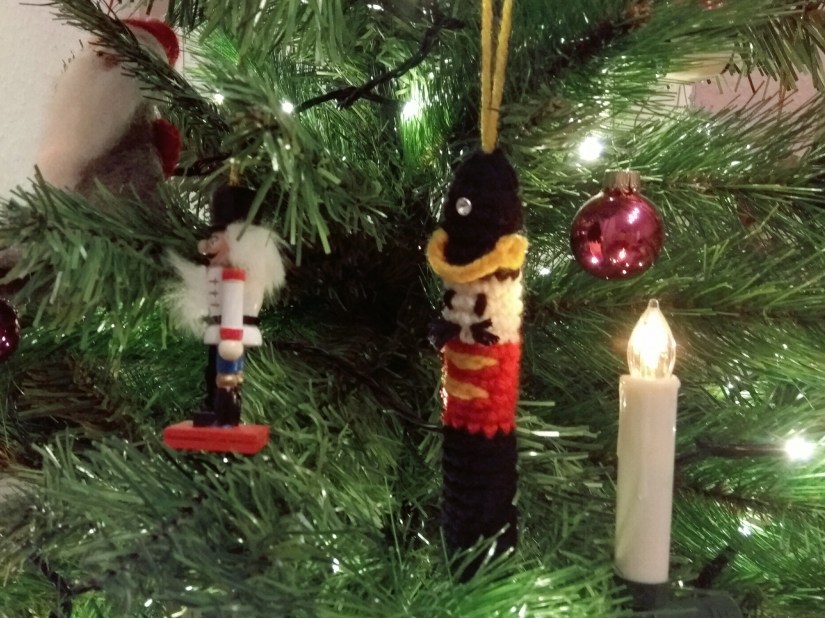
Voila, the Nutcracker is ready!!! Find a nice place on your Christmas tree for him!

IMG_20200106_192506

Did you like to crochet with the tutorial? Check out my other patterns here!

You may also like:

The Nutcracker Story: Ballerina Marie Amigurumi Pattern

IMG_20200112_131008

Cupcake Box Free Crochet Tutorial with Pictures

IMG_20200104_212801

My Crochet Highlights 2019

IMG_20191229_171502

amigurumi

3 Simple Stuffings Which Make Your Amigurumi Special
The New Year has arrived! This is time of new ideas for us. If the cuteness of your amigurumi is not enough for you anymore and you are wondering how to make the figures really special and interesting, this post is for you.
Instead of stuffing amigurumi just with a fiberfill you can be a bit more creative and your amigurumi will be brought to live 🙂 Here are 3 simple tricks I use to add a cool function to amigurumi figures. I am sure everyone of you has all the supplies at home.

1) Dried peas or coffe beans

If you want to make somthing heavy and stable (like a door stopper, for example) or you want that your toy sits without loosing a balance, just put dried peas or beans instead of fiberfill (or partly). This trick is also helpful if you want to make a small antistress toy. I often use coffee beans for that, because of nice aroma 🙂


2) Wires

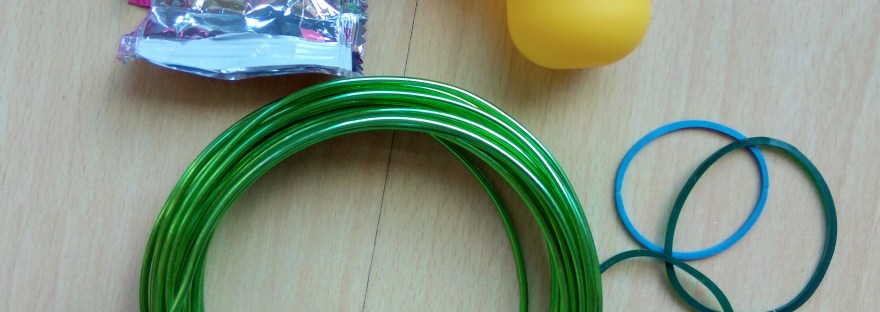
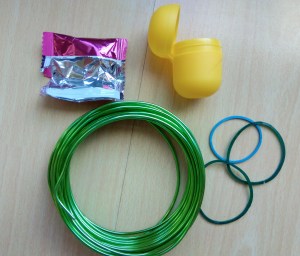
You want to make a flexible ballerina or a doll, whos arms position can be changed? Just put soft wires inside while stuffing. You should just take care that the sharp ends do not look out by making small circles on every end.


3) Noise makers

Amigurumi is a perfect gift for a kid, and we all know how much kids love noise 🙂 Good news: it is really easy to make and you do not need anything special for that. Just take a plastic egg from the Kinder surprise egg or any other small plastic container, fill it with dried beans. If you do not have a plstic container of a right size, use packages of candies. They make a lot of noise and you get some candies 🙂 Of course you could always buys a squeaker for toys, it would better fit for “flat” toys.


I hope this post has inspired you to play with amigurumi stuffing and see what happens!

Did you find the article helpful? Have a look at my other patterns, maybe you will find something you like there!

You may also like:

Five tips that make your amigurumi look great

IMG_20171212_093856


amigurumi, Uncategorized

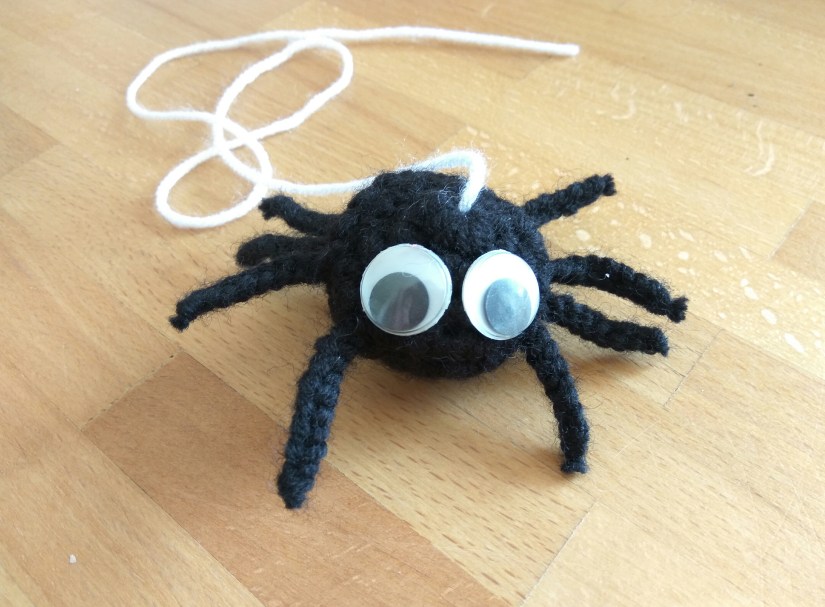
Crochet Halloween Decoration Spider in less than an hour!

Winter is coming! But first comes Halloween!
Perfect opportunity to show some creativity and crochet a scaaaring deco! Or maybe scaring and sweet, or just sweet!
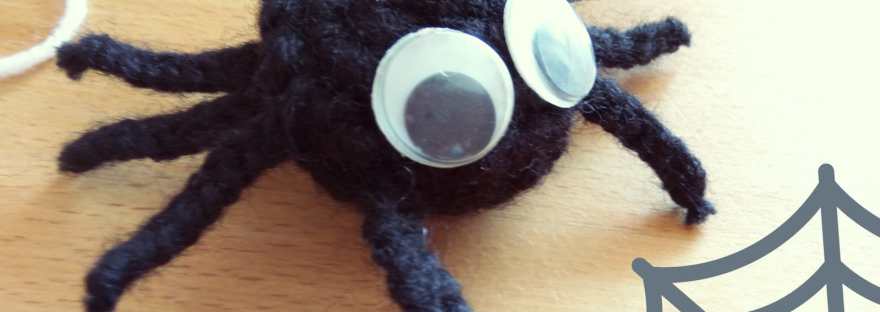
Little spiders for your mailbox will scare all your neighbours and contribute into the special atmoshere on the Halloween days!
The most important: the pattern is quick and easy and you don’t have to invest a lot of time into it!
Don’t forget to buy some sweets! I am sure, kids will be attracted by the little cute spiders!

IMG_20180910_155608

You will need:

  • 5.00 mm crochet hook
  • black yarn matching the hook, white thiner yarn
  • googly eyes
  • scissors and a sewing needle
  • fiberfill

Abbreviations:

  • ch – chain
  • st – stitch
  • sc – single crochet
  • inc – 2 sc in the same st
  • dec – 2 sc together
  • X 6 – repeat 6 times
  • at the end of every round total number of stitches is shown in brackets

Instructions:

Spider body:
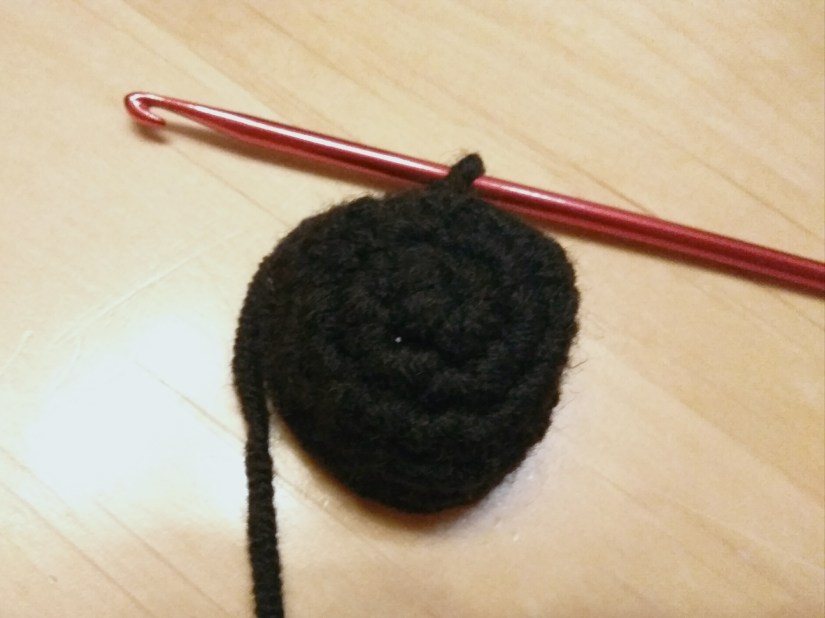
Round 1: 6 sc in magic ring (6 )
Round 2: inc X 6 (12)
Round 3: (sc in next st, inc) X 6 (18)

IMG_20180909_222834
Round 4-5: sc in all st (18)
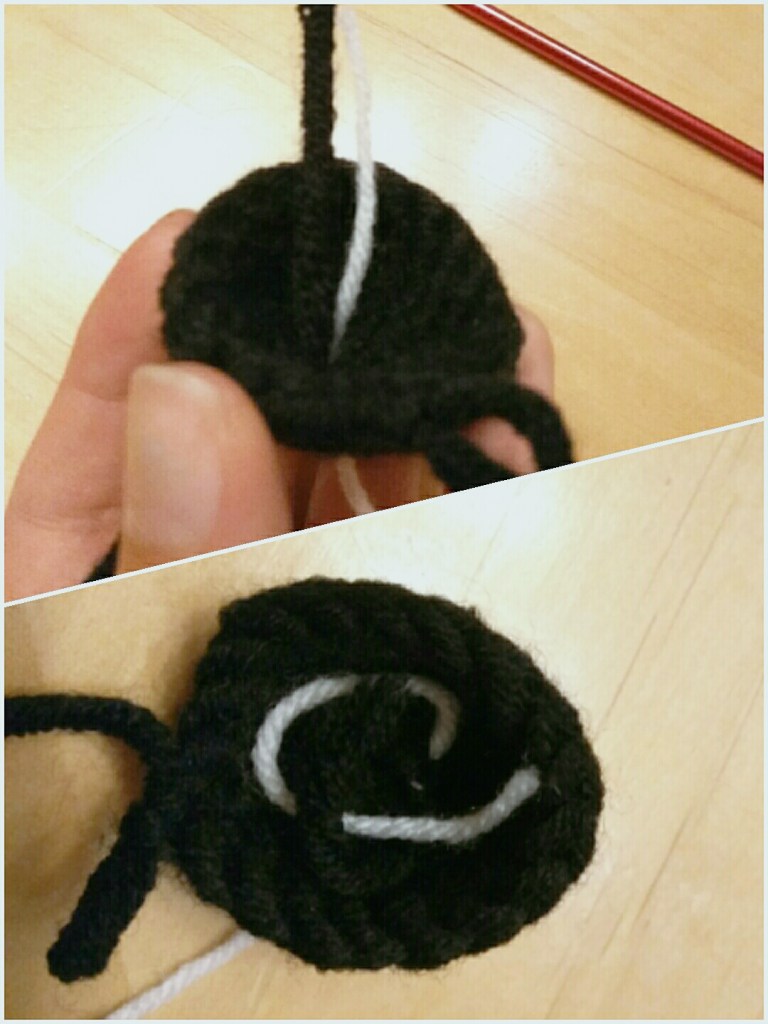
At this point you can make a spider net: just insert the white yarn in the body through the magic ring, make a knot with the end of the black yarn inside the spider body (see pictures below).

IMG_20180909_222906

Round 6: (sc in next st, dec) X 6 (12)
Stuff the body but not full (so there is some space left for inserting the legs).
Round 7: dec X 6 (6)
Close the body with a sewing needle.

Spider legs:
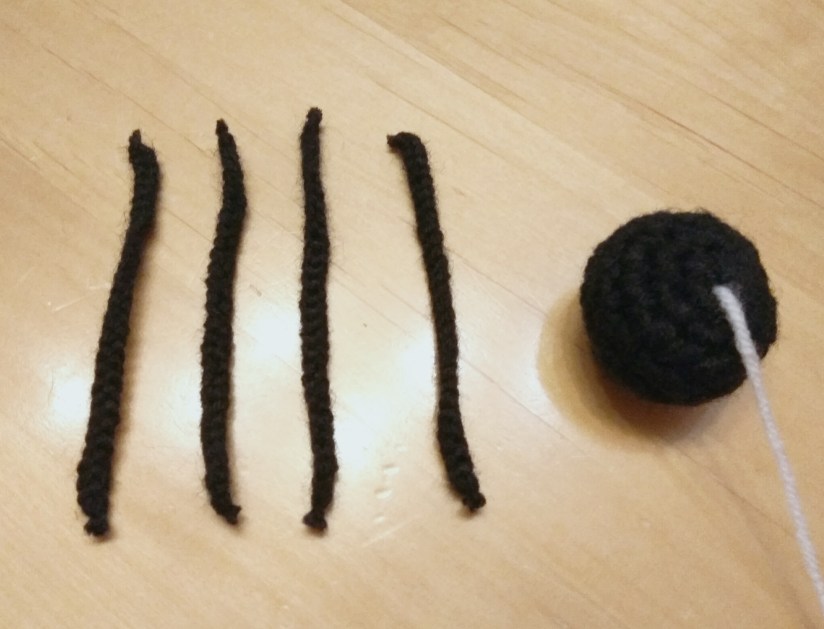
Make a chain 25 ch and cut the ends as short as possible. This is one pair of legs. As you know, we need 8 legs so make 3 more pairs.

IMG_20180909_223030

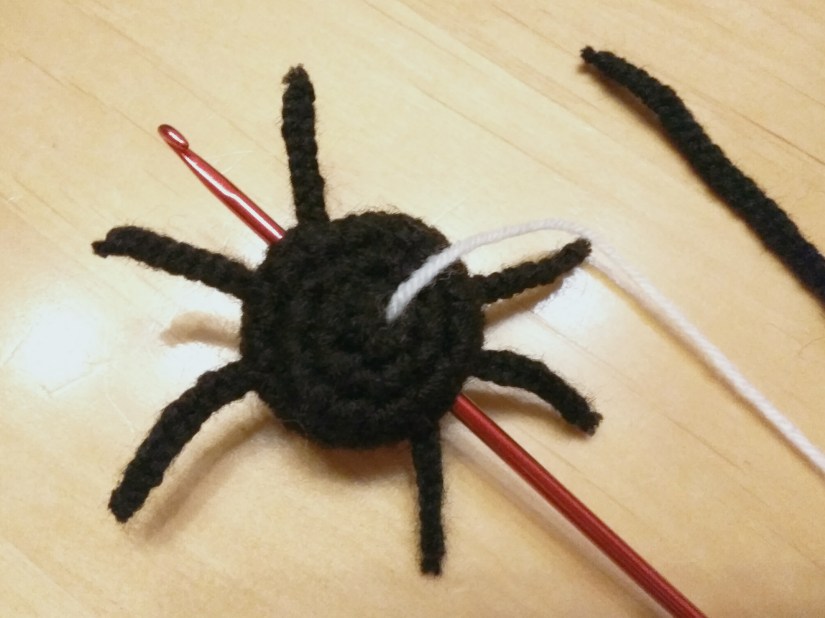
Insert the hook through the body and pull one of the chains through in the way that its two ends have the same length (as shown on the picture below). Do the same for other 3 chains.

IMG_20180909_223155

Stick the eyes on the body and the spider is finished! It did’t take long, right? Now you can attach it to your mailbox or enterance. Or you can crochet more spiders and decorate a room! This will look scaring! Have fun on Halloween!

IMG_20180910_155431

Think about crocheting a small basket for sweets? You can use this pattern for it, just take orange and/or black yarn instead of the packing twin!

Did you like to crochet with the tutorial? Check out my other patterns here!

amigurumi, Uncategorized

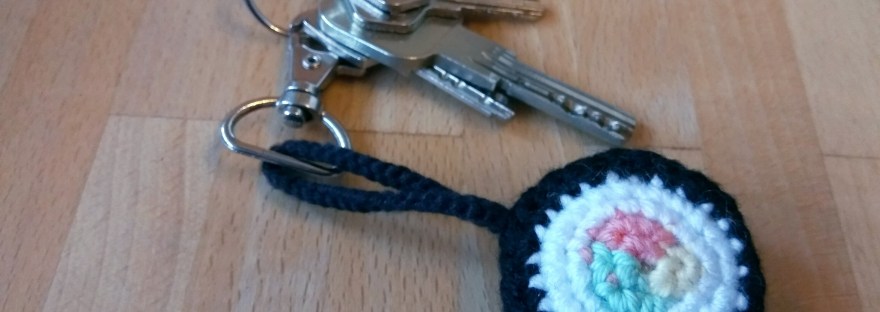
Crochet Key Ring Sushi

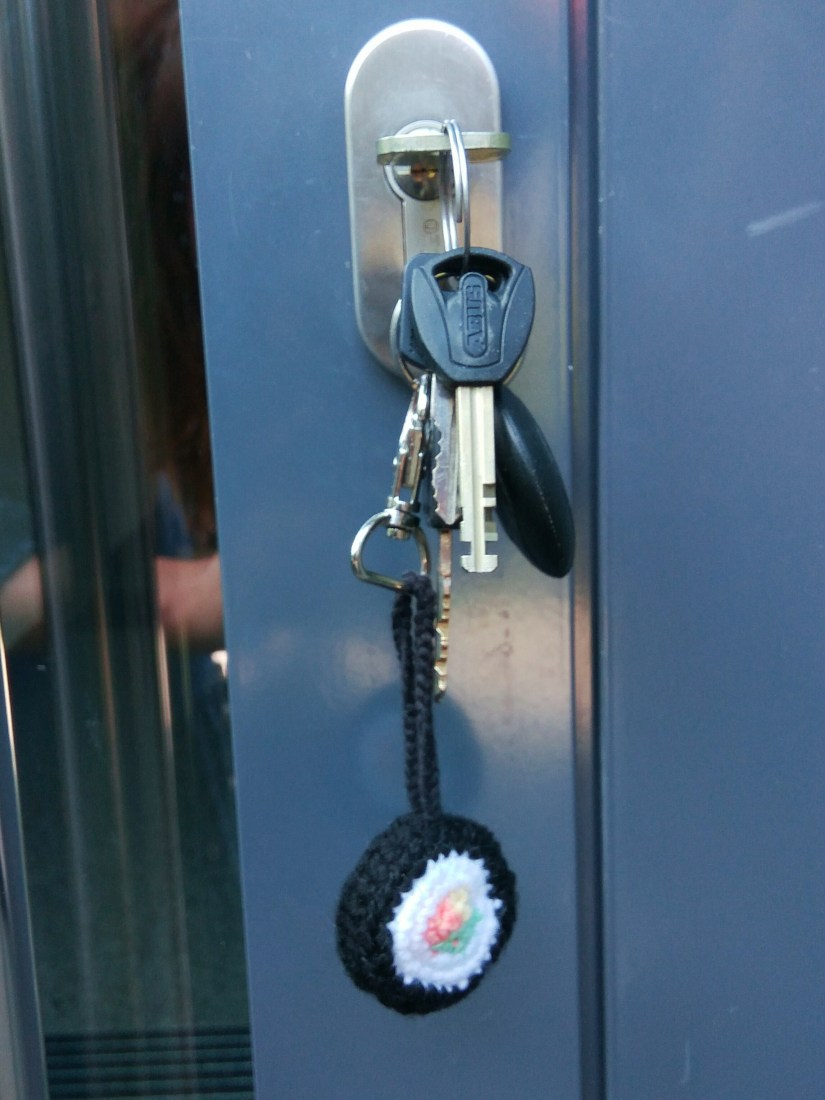
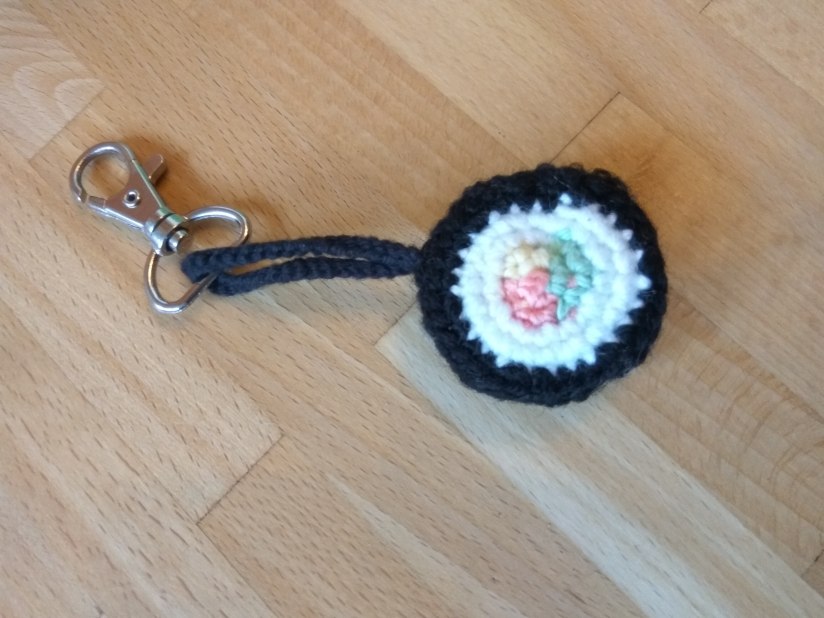
We moved into a new flat 3 months ago and my husband still has a key ring of a person before! It would be ok, but it is a big pink band with PETRA written on it. So I decided that it’s time to change it! We are huge sushi fans so I just thought: why don’t I crochet a sushi instead of being annoyed about the PETRA key ring? 🙂

The pattern is really easy, you should be able to make only the basic single crochet stitch. It will not cost you a lot of time but the result is quite impressive and you will get an unique key ring or an interesting idea for a present!

IMG_20180908_161334

You will need:

  • a crochet hook
  • pink/salmon colour, green, light yellow, white and black yarn
  • carabiner keyring (it’s optional, just make the total thing look fancier)
  • fiberfill
  • scissors and a sewing needle

Important to note: you can use a hook of any size (depending on desired size of the key ring), but it should match to the yarn size and that all yarns have the same thickness! Crochet the key ring tightly and try to weave in all the ends carefully – the key ring will be always in use and it should be durable!

Abbreviations:

  • ch – chain
  • st – stitch
  • sl st – slip stitch
  • sc – single crochet
  • inc – 2 sc in the same st
  • X 6 – repeat 6 times
  • at the end of every round total number of stitches is shown in brackets

Instructions:

Front part:
Work with pink, yellow and green yarn. Start with pink yarn.
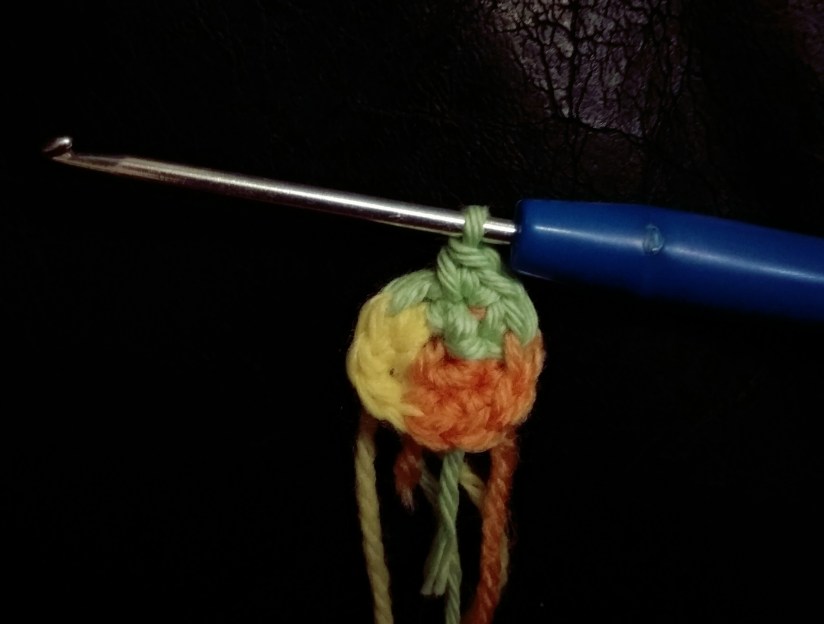
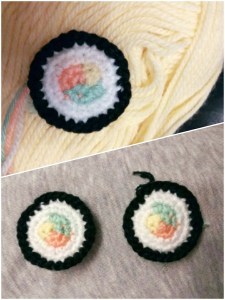
Round 1:  start making magic ring, crochet 2 sc in it, change to yellow yarn, crochet 2 sc in the same magic ring, change to green yarn, make two 2 sc (6 )
Round 2: change back to the pink yarn, inc X 2 (take care that you crochet in the pink st), change to the yellow yarn, inc X 2, change to the green yarn, inc X 2 (12)

IMG_20180901_083756
Round 3: change to white yarn (sc in next st, inc) X 6 (18)
Round 4: (sc in next 2 st, inc) X 6 (24)
Round 5: change to black yarn (sc in next 3 st, inc) X 6 (30)
Cut all the yarns leaving a tail (black yarn) for sewing.
Follow the instructions again to crochet the second side of the sushi, but use green yarn after pink, and only then yellow! On the picture below the sides look exactly that same and it was my mistake, so not repeat it! 🙂

IMG_20180901_083714

Side of the sushi:

Make 30 + 1 ch, turn to the other direction
Round 1: sc in all st, 1 ch
Round 2: sc in all st
Fasten off and cut the yarn.


Now you should think of the way you want to attach the sushi to the key. I will make a chain loop to attach the carabiner keyring. Crochet 20 ch, insert in the carabiner and pull both ends of the chain through the side part of the sushi. Connect the ends on the other side and do that really good!

Sew the front parts to the side (take care that the colours on both sides match!) aaaaand … the Sushi key ring is finished!!!

IMG_20180907_181547

Was it fun to crochet with this tutorial? Have a look at my other patterns, maybe you will find something you like there!