amigurumi

Octopus for Preemies: Save Lifes Crocheting! Free Pattern here!

IMG_20180112_141258


Did you know that you can save lifes crocheting? It was found that snuggling crocheted octopuses might make preemies feel safer!

The idea originated in Denmark, where researchers found that preemies who cuddles up with their octopus had more regular heartbeats, better breathing, and higher levels of oxygen in their blood. Moreover, the babies were also less likely to pull out their monitors and tubes. Apparently the tentacles of the octopus remind the babies of their mom’s umbilical cords, and the soft bodies of the toys remind them of the womb. Now hospitals in the whole world recieve the crocheted life savers from volunteers!

So if you want to make the world a little better and donate an octopus to a hospital, to make a perfect gift for newborn or just to crochet something for your baby, take a hook, yarn and follow the tutorial!

You will need:

  • 3.00 mm crochet hook
  • Blue cotton yarn (recommended for the hook size)
  • 6 mm safety eyes
  • Scissors and sewing needle
  • Fiberfill
  • Red embroidery floss for the mouth

Abbreviations:

  • ch – chain
  • st – stitch
  • sc – single crochet
  • inc – 2 sc in one st (used to increase the number of stitches)
  • dec – 2 sc together (used to decrease the number of stitches)
  • X N – repeat N times
  • at the end of every round total number of stitches is shown in brackets

For safety reasons there are some things you should think of:

  • The size of the toy: the head should not be smaller than 5 cm and the length of the arms should not exceed 20 cm.
  • Materials: the yarn should be 100% cotton. The toy should be able to hold 60° washing temperature. Because of that it’s better to stuff it with fiberfill. Don’t use wool, a baby can be allergic to it.
  • The toy should not include a lot of details and any decoration. It has to be as simple as possible! Use safety eyes and take care that the sewing holds very good.

Ok, now you know everything you need and we can finally start crocheting! Before you start have a look at my tricks for crocheting amigurumi. I am sure you will find it helpful! Have fun crocheting!

Bottom part:
Round 1: 5 sc in magic ring (5)
Round 2: inc X 5 (10)
Round 3: (sc in next st, inc) X 5 (15)
Round 4: (sc in next 2 st, inc) X 5 (20)
Cut the yarn.

Upper part:
Round 1: 6 sc in magic ring (6)
Round 2: inc X 6 (12)
Round 3: (sc in next st, inc) X 6 (18)
Round 4: (sc in next 2 st, inc) X 6 (24)
Round 5: (sc in next 3 st, inc) X 6 (30)
Round 6: (sc in next 4 st, inc) X 6 (36)
Rounds 7 – 10: sc in all st (36)
Round 11: (sc in next 16, dec) X 2 (34)
Round 12: (sc in next 15, dec) X 2 (32)
Round 13: sc in all st (32)
Round 14: (sc in next 14, dec) X 2 (30)
Round 15: (sc in next 13, dec) X 2 (28)
Round 16: sc in all st (28)
Round 17: (sc in next 12, dec) X 2 (26)
Round 18: sc in all st (26)
Round 19: (sc in next 11, dec) X 2 (24)
Round 20: sc in all st (24)
Round 21: (sc in next 10, dec) X 2 (22)
Round 22: sc in all st (22)
Round 23: (sc in next 9, dec) X 2 (20)
Round 24: sc in all st (20)
Don’t cut the yarn. Stuff the head, take the bottom part.

Arms:
The whole next round we crochet through the both parts making the arms. Insert the hook in both layers: upper and bottom parts.
Round 25: (sc in next st, 50 ch, 2 dc in next ch, sc in next 2 st, 50 ch, 2 dc in next ch) X 4
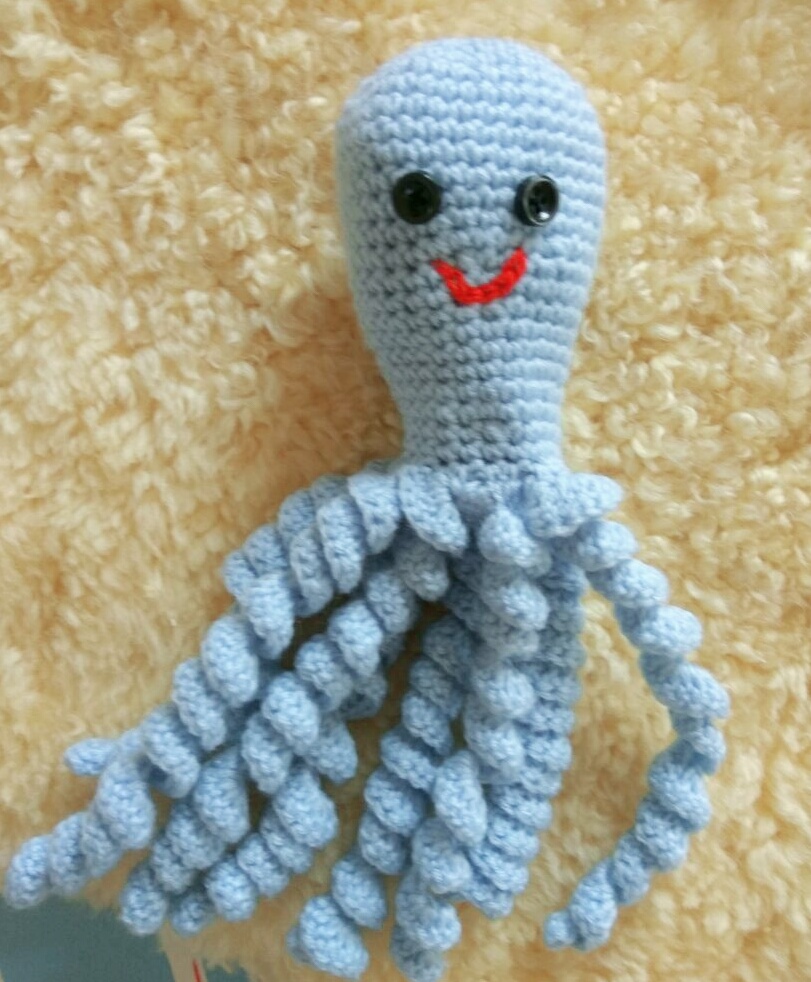
Cut the yarn and weave in the end.
IMG_20180112_140353

Was it fun to crochet with this tutorial? Have a look at my other patterns, maybe you will find something you like there!
amigurumi

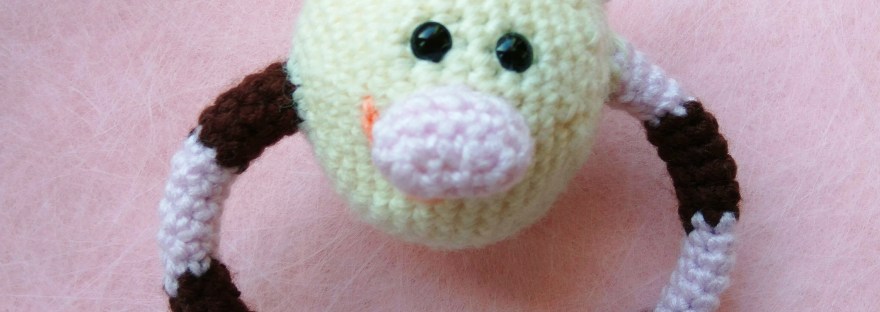
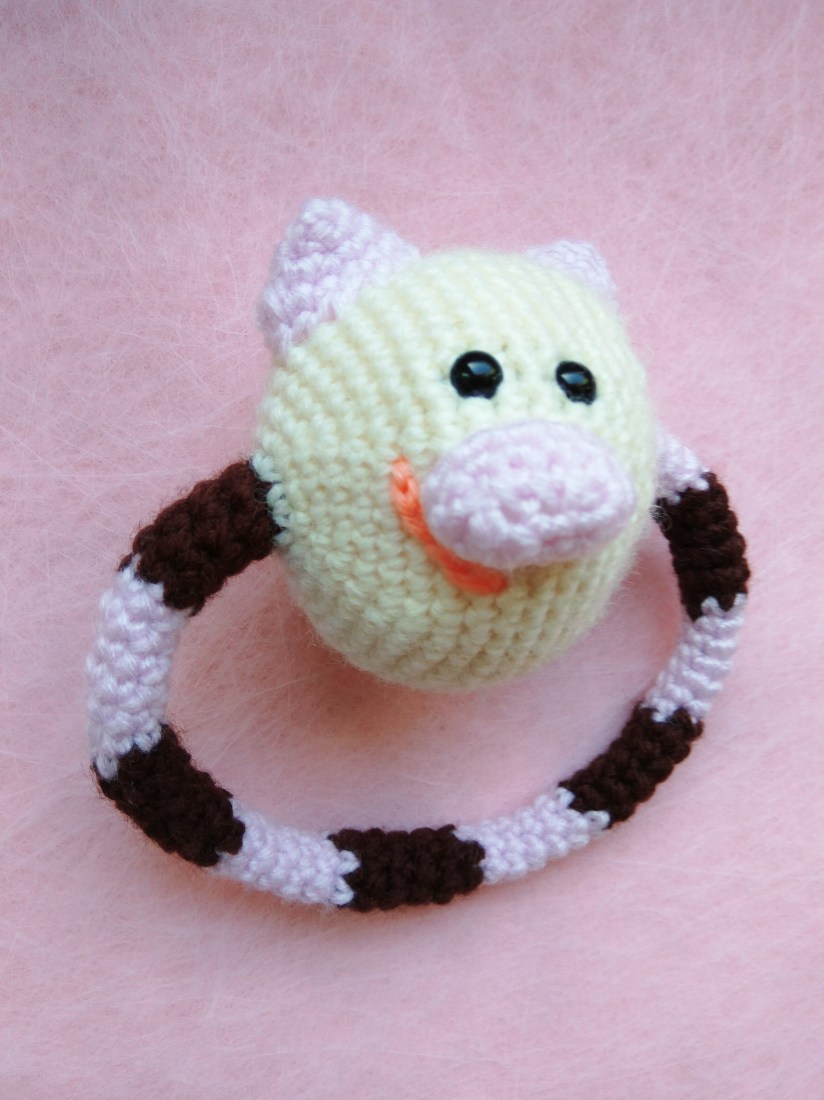
Funny Piggy Ring Rattle for Babies

Oh, this wonderful moment, when your baby starts not only to hold toys but to take them from you! Finally you can really play with him or her! Is it possible to teach a baby to take toys or does it happen by itself? I don’t know, but I am sure that a baby takes a toy only if it really wants the toy! And of course it has to be able to hold the toy (little hands are soo small!). A thin ring with a funny face is what you need right now! And again, there is no better toy that the one which is made by the mom!

This pattern is very very simple and 2 hours will be more than enough to complete it! I crocheted it so fast so I forgot to take pictures in the process. That’s why the tutorial contains only pictures of the result. But as I said, it’s easy! Just start and remember: you don’t have to take exactly the same colours or make the exact same face for the piggy. Just be creative and think what your baby will like!

IMG_20180114_091819

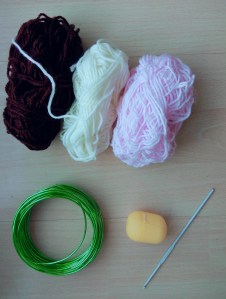
You will need:

  • 3.00 mm crochet hook
  • Beige, light pink and brown yarn
  • 6 mm safety eyes
  • Scissors and sewing needle
  • Fiberfill
  • Wires
  • Kinder Surprise plastic egg (or any other small container) and a couple of coffee beans (or any other noise makers)

IMG_20180114_091549

Abbreviations:

  • ch – chain
  • st – stitch
  • sc – single crochet
  • inc – 2 sc in one st (used to increase the number of stitches)
  • dec – 2 sc together (used to decrease the number of stitches)
  • X 6 – repeat 6 times
  • at the end of every round total number of stitches is shown in brackets

Before you start have a look at my tricks for crocheting amigurumi. I am sure you will find it helpful! Have fun crocheting!

Ring (start with light pink yarn):
Round 1: 6 sc in magic ring (6)
Round 2 – Round 6: sc in all 6 st (6)
Change to brown yarn.
Round 7 – Round 12: sc in all 6 st (6)
Round 13 – Round 54: sc in all st. Keep changing the colours every 6 rounds (6)
Change to beige yarn, we will crochet the head now.

Head:
Round 55: inc X 6 (12)
Round 56: (sc in next st, inc) X 6 (18)
Round 57: (sc in next 2 st, inc) X 6 (24)
Round 58: (sc in next 3 st, inc) X 6 (30)
Round 59: (sc in next 4 st, inc) X 6 (36)
Round 60: (sc in next 5 st, inc) X 6 (42)
Round 61: (sc in next 6 st, inc) X 6 (48)
Round 62 – Round 68: sc in all st (48)
Round 69: (sc in next 6 st, dec) X 6 (42)
Round 70: (sc in next 5 st, dec) X 6 (36)
Now insert safety eyes (one eye between rounds 63 and 64, the second one between rounds 66 and 67), embroider a mouth. Insert a wire in the ring but don’t stuff it. Insert a noise making container in the head, stuff the head.
Round 71: (sc in next 4 st, dec) X 6 (30)
Round 72:  (sc in next 3 st, dec) X 6 (24)
Round 73: (sc in next 2 st, dec) X 6 (18)
Round 74: (sc in next st, dec) X 6 (12)
Round 75: dec X 6 (6)
Cut the yarn leaving a tail for sewing. Sew the head to the second end of the ring.

Nose (work with light pink yarn):
5 ch
Round 1: (3 sc in next st, sc in next 2 st) X 2 (10)
Round 2: (sc in next st, inc, sc in next 3 st) X 2 (12)
Round 3 – Round 4: sc in all st (12)
Cut the yarn leaving a tail for sewing, stuff the nose and sew it to the head.

Ears (work with rose yarn, make two):
4 sc in magic ring (4)
Round 1: inc X 4 (8)
Round 2: (inc, sc in next 2 st, inc) X 2 (12)
Round 3: (inc, sc in next 4 st, inc) X 2 (16)
Cut the yarn leaving a tail for sewing, stuff the ears and sew them to the head.

So, it looks like the rattle is finished! You did a good job, I hope your baby will have a lot of fun with the piggy rattle!


Was it fun to crochet with this tutorial? Have a look at my other patterns, maybe you will find something you like there!