

December is almost there! It’s time to create a special athmosphere of a miracle around. We exchange all home decorations with christmas specialities. Candels, Nutcrackers, angels and stars are everywhere. Kitchen towels of christmas colours, tablecloth with winter ornaments and special egg warmers for decorating the breakfast table on Sunday!

You will need:
- 3.5 mm or 4 mm crochet hook
- White and red yarn recommended for the hook
- Scissors
- Small piece of cardboard
Abbreviations:
- ch – chain
- sl st – slip stitch
- st – stitch
- sc – single crochet
- dec – 2 sc together (used to decrease the number of stitches)
- X 5 – repeat 5 times
- at the end of every round total number of stitches is shown in brackets
Instructions:
The hat:
We start with the rubber, take white yarn and make 5 ch (the last, 5th ch is a turning ch)
Rounds 1-35: sc in next 4 st IN BACK LOOPS ONLY, 1 turning ch (4)

Round 36: now we are going to close the rubber. Insert the hook in the last st of the last and the first rounds at the same time, make sl st in next 4 st (4)
Now we are crocheting the “body” of the hat. So I start counting the rounds again. And by the way, we should change to the red yarn now.
Round 1: 1 ch, sc in next 35 st (35)

Round 2: (sc in next 5 st, dec) X 5 (30)
Round 3: sc in all st (30)
Round 4: (sc in next 4 st, dec) X 5 (25)
Round 5: sc in all st (25)
Round 6: (sc in next 3 st, dec) X 5 (20)
Round 7: sc in all st (20)
Round 8: (sc in next 2 st, dec) X 5 (15)
Round 9: sc in all st (15)
Round 10: (sc in next st, dec) X 5 (10)
Round 11: sc in all st (10)
Round 12: (dec) X 5 (5)
Round 13: Closing the hat: dec, skip 1 st, sl st, fasten off, cut the yarn and weave in all ends.
Pompon:
Now we are making the pompons. It is so much easier than it looks, so no worries! We should cut two identical rings out of the cardboard piece, put them together and make a cut (as it is shown on the picture below). I also added the dimensions I have, but it is very individual, just decide what size your pompon should be.

Then we reel up the yarn on the rings. Try to destribute the yarn equally and remember: the longer you are reeling up, the thicker your pompon will be.

When you think it is enough, or you have no more space, just insert scissors between the rings through the yarn layer (as shown on the picture below by the red scissors :). Try to hold the pompon together so it doesn’t fall apart. Now we tie the pompon together: To do so take a new yarn piece (around 10 cm long) and reel it once between the rings, make a knot and tighten it. Make one more knot and remove the cardboard rings.

Now form the pompon, fluff it up. If some parts are a bit longer that the others, just cut them a little. Don’t cut two ends of the connecting yarn, we need them for attaching the pompon to the hat.

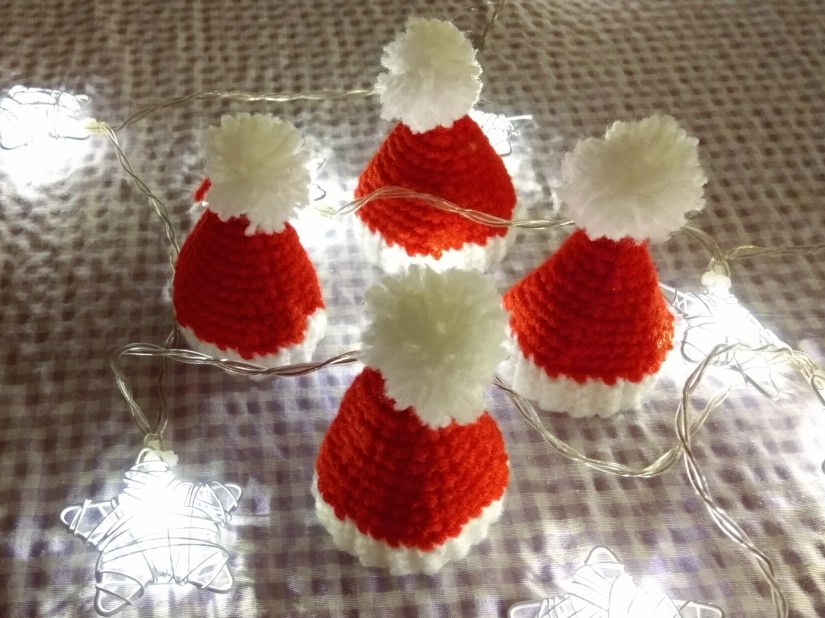
Now attach the pompon to the hat using the tails. And the Santa’s Hat Egg Cosy is finished! You might consider to make one for every family member and get a “Breakfast Set”. Perfect for having a breakfast in December! I am sure, everyone would be happy to get it as a Christmas gift!
Merry Christmas! Ho Ho Ho!
Did you like to crochet with the tutorial? Check out my other patterns here!
You might also like:
Mulled Wine Mug Cosy – Cabled Pattern


2 thoughts on “Egg Cosy Santa’s Hat – Crochet Tutorial”