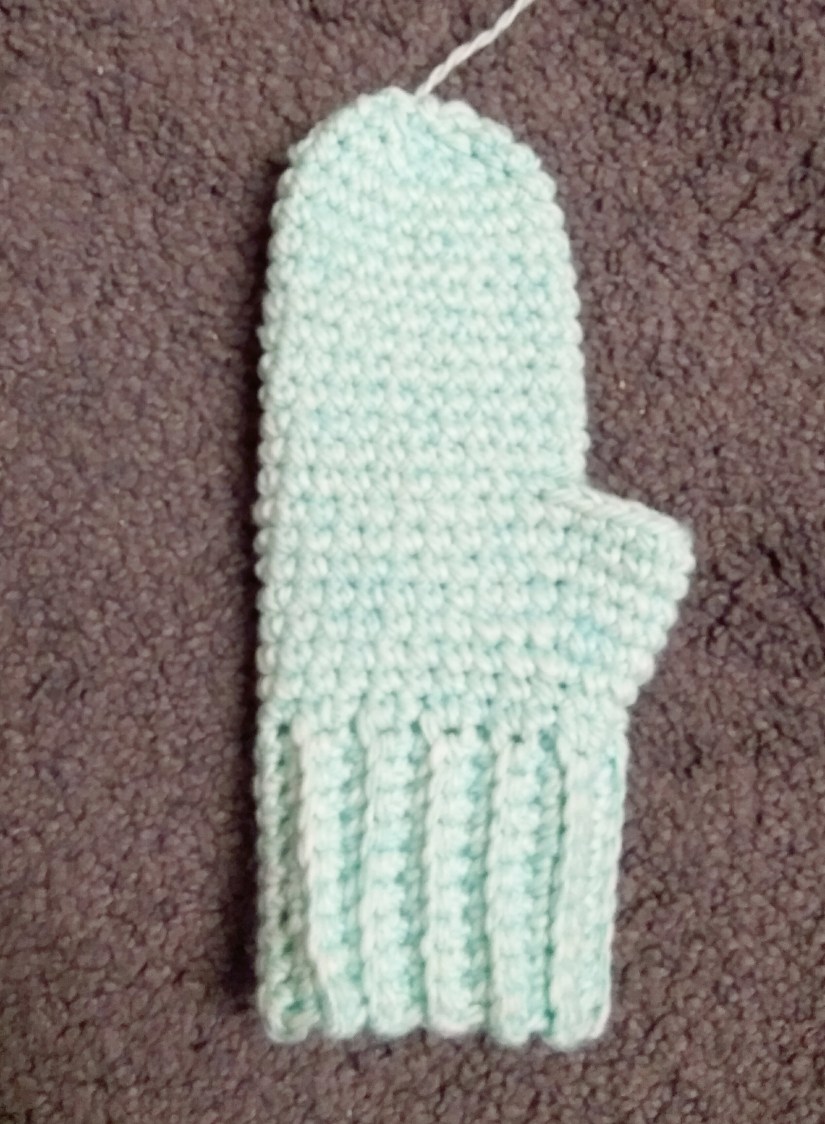
Are you looking for a quick crochet pattern to make a nice Christmas gift? Or do you just want to be prepared for the cold winter? In the both cases you are looking at the right article! I have crocheted the mittens for me and it took around 2 hours. It is not only quick but also easy to crochet: you need to know only a regular single stitch! Have fun following the instructions and keep your hands warm!

You will need:
- 6 mm crochet hook
- Turcouise yarn recommended for the hook (generally it is a good idea to use a bigger hook but if we want to have warm mittens, the hook should match the yarn. Otherwise the crocheting will be not tight enough and the wind can come through!)
- Scissors
Abbreviations:
- ch – chain
- st – stitch
- sc – single crochet
- inc – 2 sc in one st (used to increase st number)
- dec – 1 sc in two st (used to decrease st number)
- X 6 – repeat 6 times
- number of st in every round is indicated in brackets at the end

Instructions:
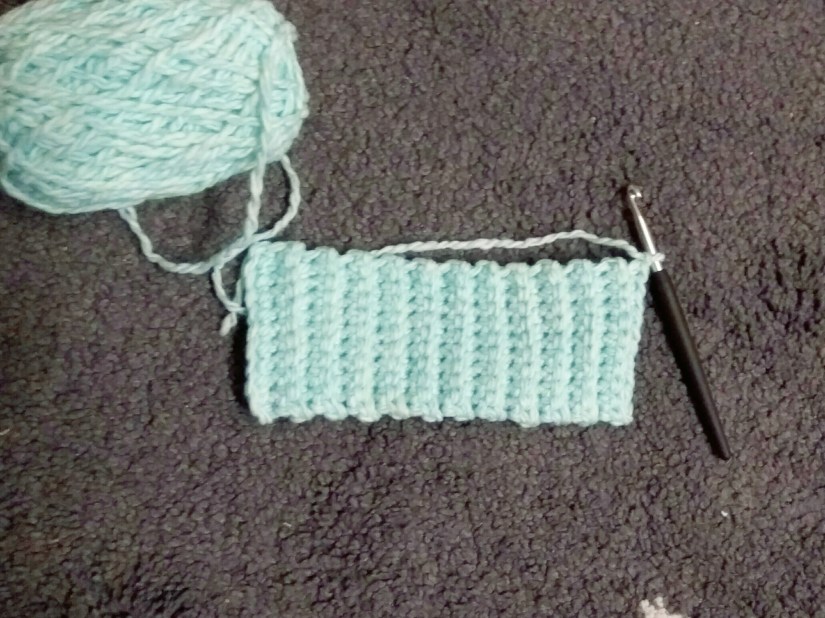
We srart with making a ribbing: make 11 ch (the last, 11th ch is a turning ch)
Rounds 1-24: sc in all 10 st IN BACK LOOPS ONLY, 1 turning ch (10)
Round 25: now we are going to close the rubber. Insert the hook in the last st of the last and the first rounds at the same time, make sl st in next 10 st (10)
Now we are crocheting the “body” of the mitten. So I start counting the rounds again.
Rounds 1-2: sc in all 24 st (24)
Round 3: sc in next 10 st, inc, sc in next st, inc, sc in next 11 st (26)
Round 4: sc in next 10 st, inc, sc in next 3 st, inc, sc in next 11 st (28)
Round 5: sc in all st (28)
Round 6: sc in next 10 st, inc, sc in next 5 st, inc, sc in next 11 st (30)
Round 7: sc in all st (30)
Round 8: sc in next 10 st, inc, sc in next 7 st, inc, sc in next 11 st (32)
Round 9: sc in next 11 st, 1 ch, skip 9 st, sc in next 12 st (24)
Rounds 10-21: sc in all st (24)

Round 22: (sc in next 2 st, dec) X 6 (18)
Round 23: (sc in next st, dec) X 6 (12)
Round 24: (dec) X 6 (6)
Sew the next round. Fatsen off, cut the yarn and weave in the end.
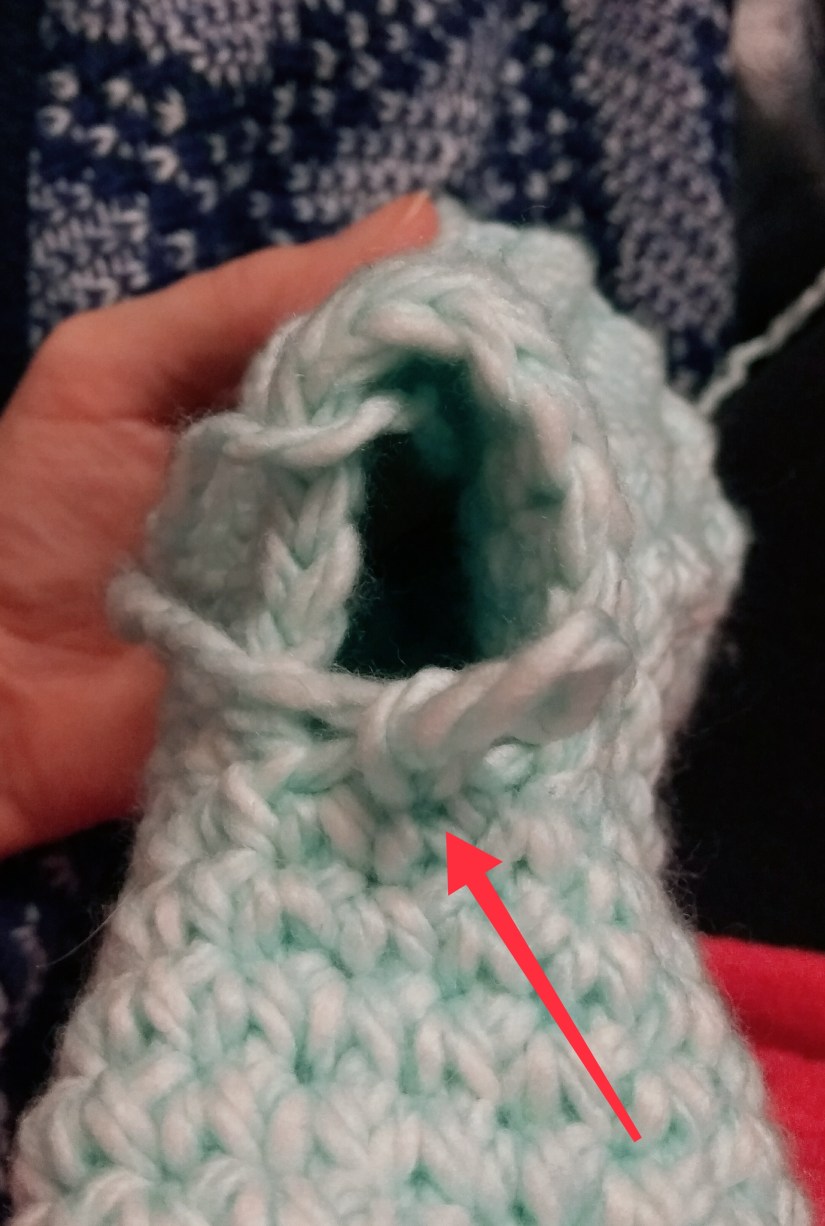
Thumb:
Round 1: Start crocheting in the ch of the Round 9. Insert there the hook, make 1 ch, dec, sc in next 7 st, dec (10)
Rounds 2-12: sc in all 10 st (10)
Round 13: (dec) X 5 (5)
Sew the next round. Fasten off, cut the yarn and weave in the end.
The first mitten is finished! Now follow the instructions again with one change – the Round 3 should look like that: sc in next 11 st, inc, sc in next st, inc, sc in next 10 st (26) and keep the order till the end of the mitten. It will be a right mitten!

Now enjoy your new mittens and keep yourself warm!
Merry Christmas!
Did you like to crochet with the tutorial? Check out my other patterns here!
You might also like:

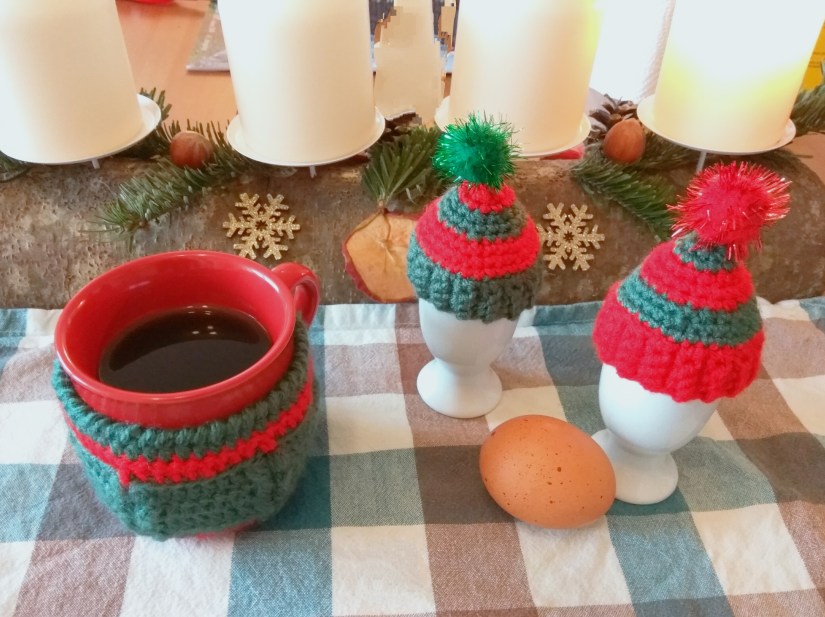
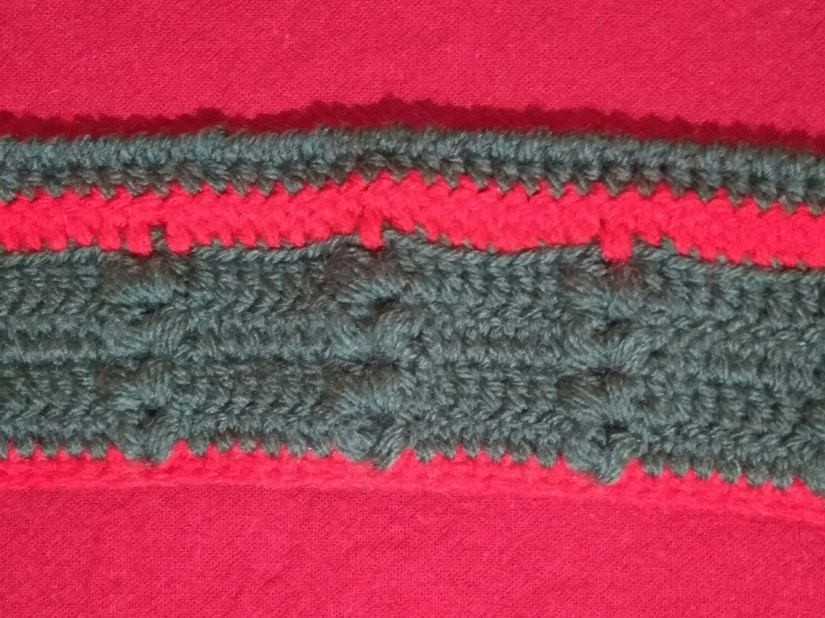
Mulled Wine Mug Cosy – Cabled Pattern