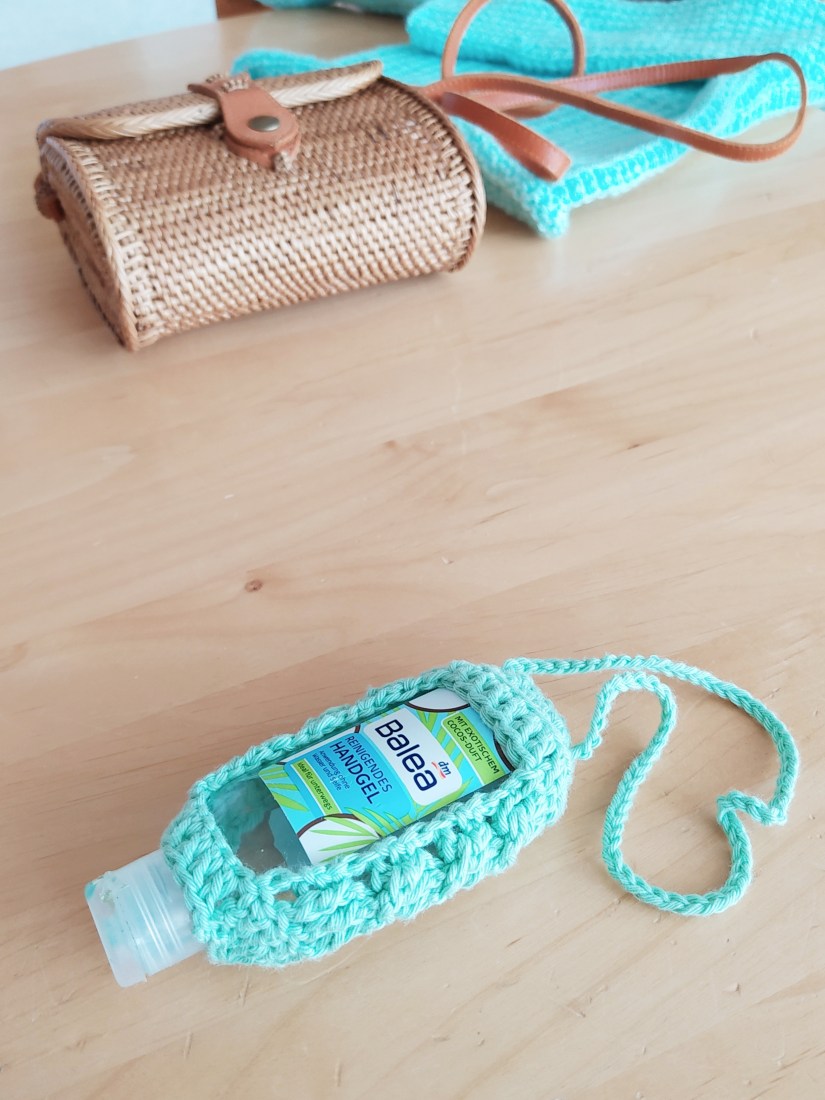
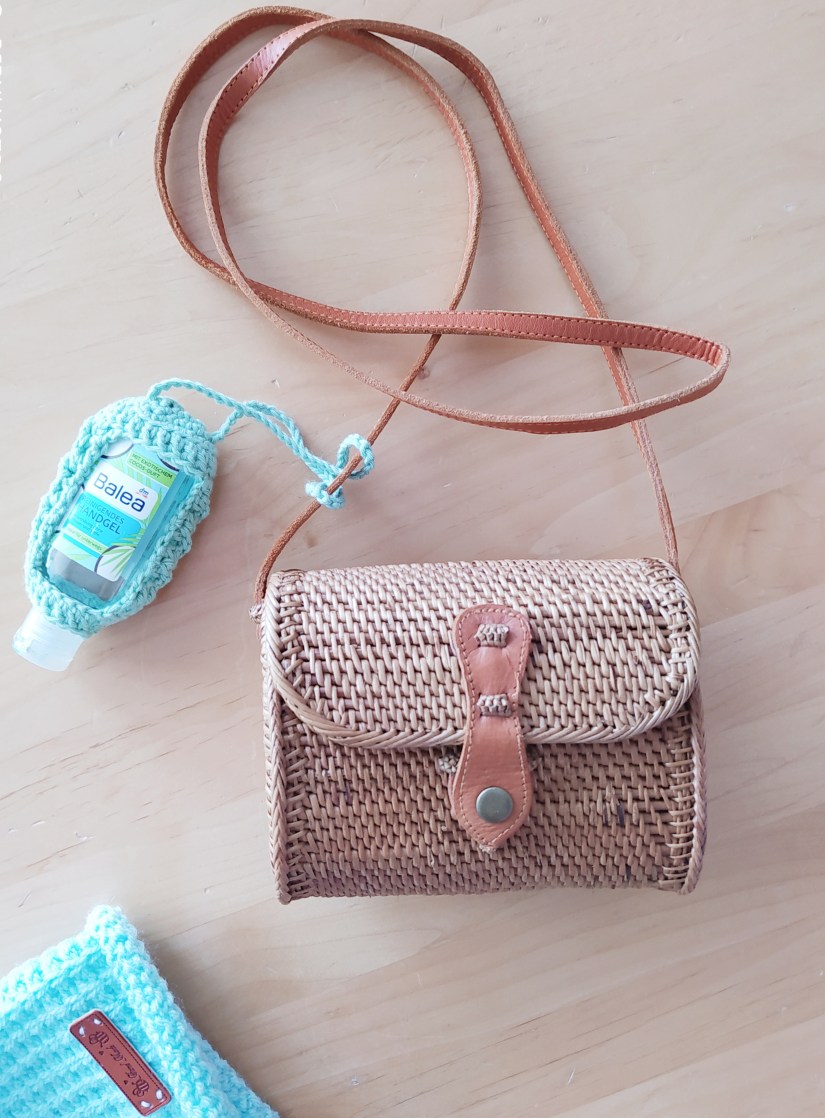
This week famous Corona virus has reached Freiburg. But we have got nothing to worry about if we keep taking care of simple hygiene measures! Regular hands disinfection after contacts with door handles in public places is one of them. To keep a disinfection lotion always close and still be stylish? Possible if you have a nice looking lotion case 🙂 I have crocheted one yesterday and now I want to share the pattern with you! You can hang it on your purse or belt.
PS: I was really lucky to get the last bottle of disinfection in a store so if you still have none, go and get one right now!
You will need:
- 3,5 mm crochet hook
- Cotton green yarn leftovers
- scissors
Abbreviations:
- ch – chain
- st – stitch
- sl st – slip stitch
- sc – single crochet
- dc – double crochet
- inc – 2 sc in one st (used to increase the number of stitches)
- FPdc – front post double crochet
- BPdc – back post double crochet
- BPtrc – back post treble crochet (American terms)
- X N – repeat N times
- at the end of every round total number of stitches is shown
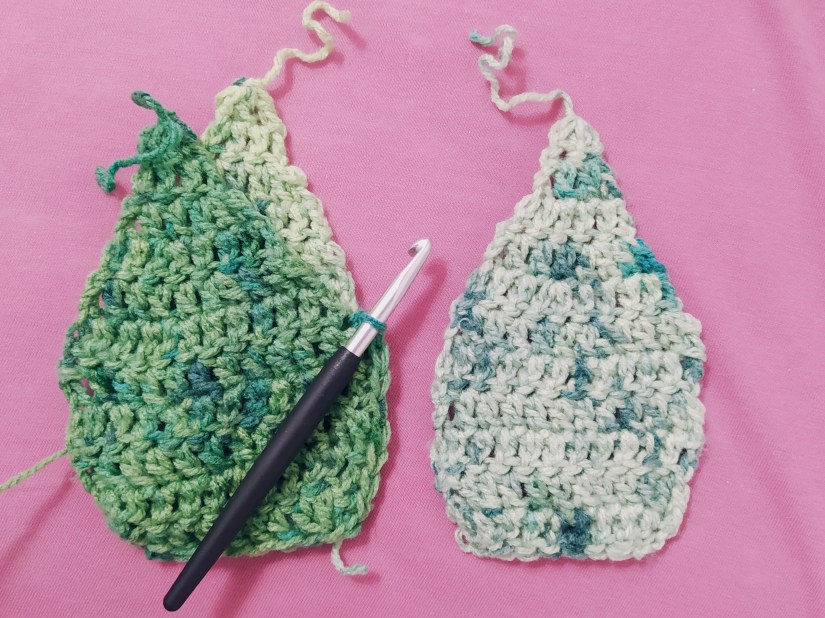
The pattern:
5 ch
Round 1: 3 sc in the 2nd ch on the hook, sc in next 2 st, 3 sc in next st,s in next 2 st (10)
Round 2: inc, sc in next st, inc, sc in next 2 st, inc, sc in next st, inc, sc in next 2 st (14)
Round 3: sc in next st, inc, inc, inc, sc in next 4 st, inc, inc, inc, sc in next 3 st (20)
3 sl st, dc in next 5 st, 3 ch, turn the crochetness.
Now we crochet a side part of the case. Just continue crocheting up the line 5 st thick. Turn the crochetness after every round. 3 turning st are counted as a st.
Crochet up, I will call the next round R2 and count the rounds further.
R2: skip 2 st and BPtrc in the 3rd st, BPdc in the previous st (the 2nd skipped st), BPtrc in the previous st (the 1st skipped st), dc in the last st of the round (5)
R3: 3 ch, FPdc in next 3 st, dc in next st (5)
R4-7: repeat R2, R3, R2, R3
R8: 3 ch, BPdc in next 3 st, dc in next st (5)
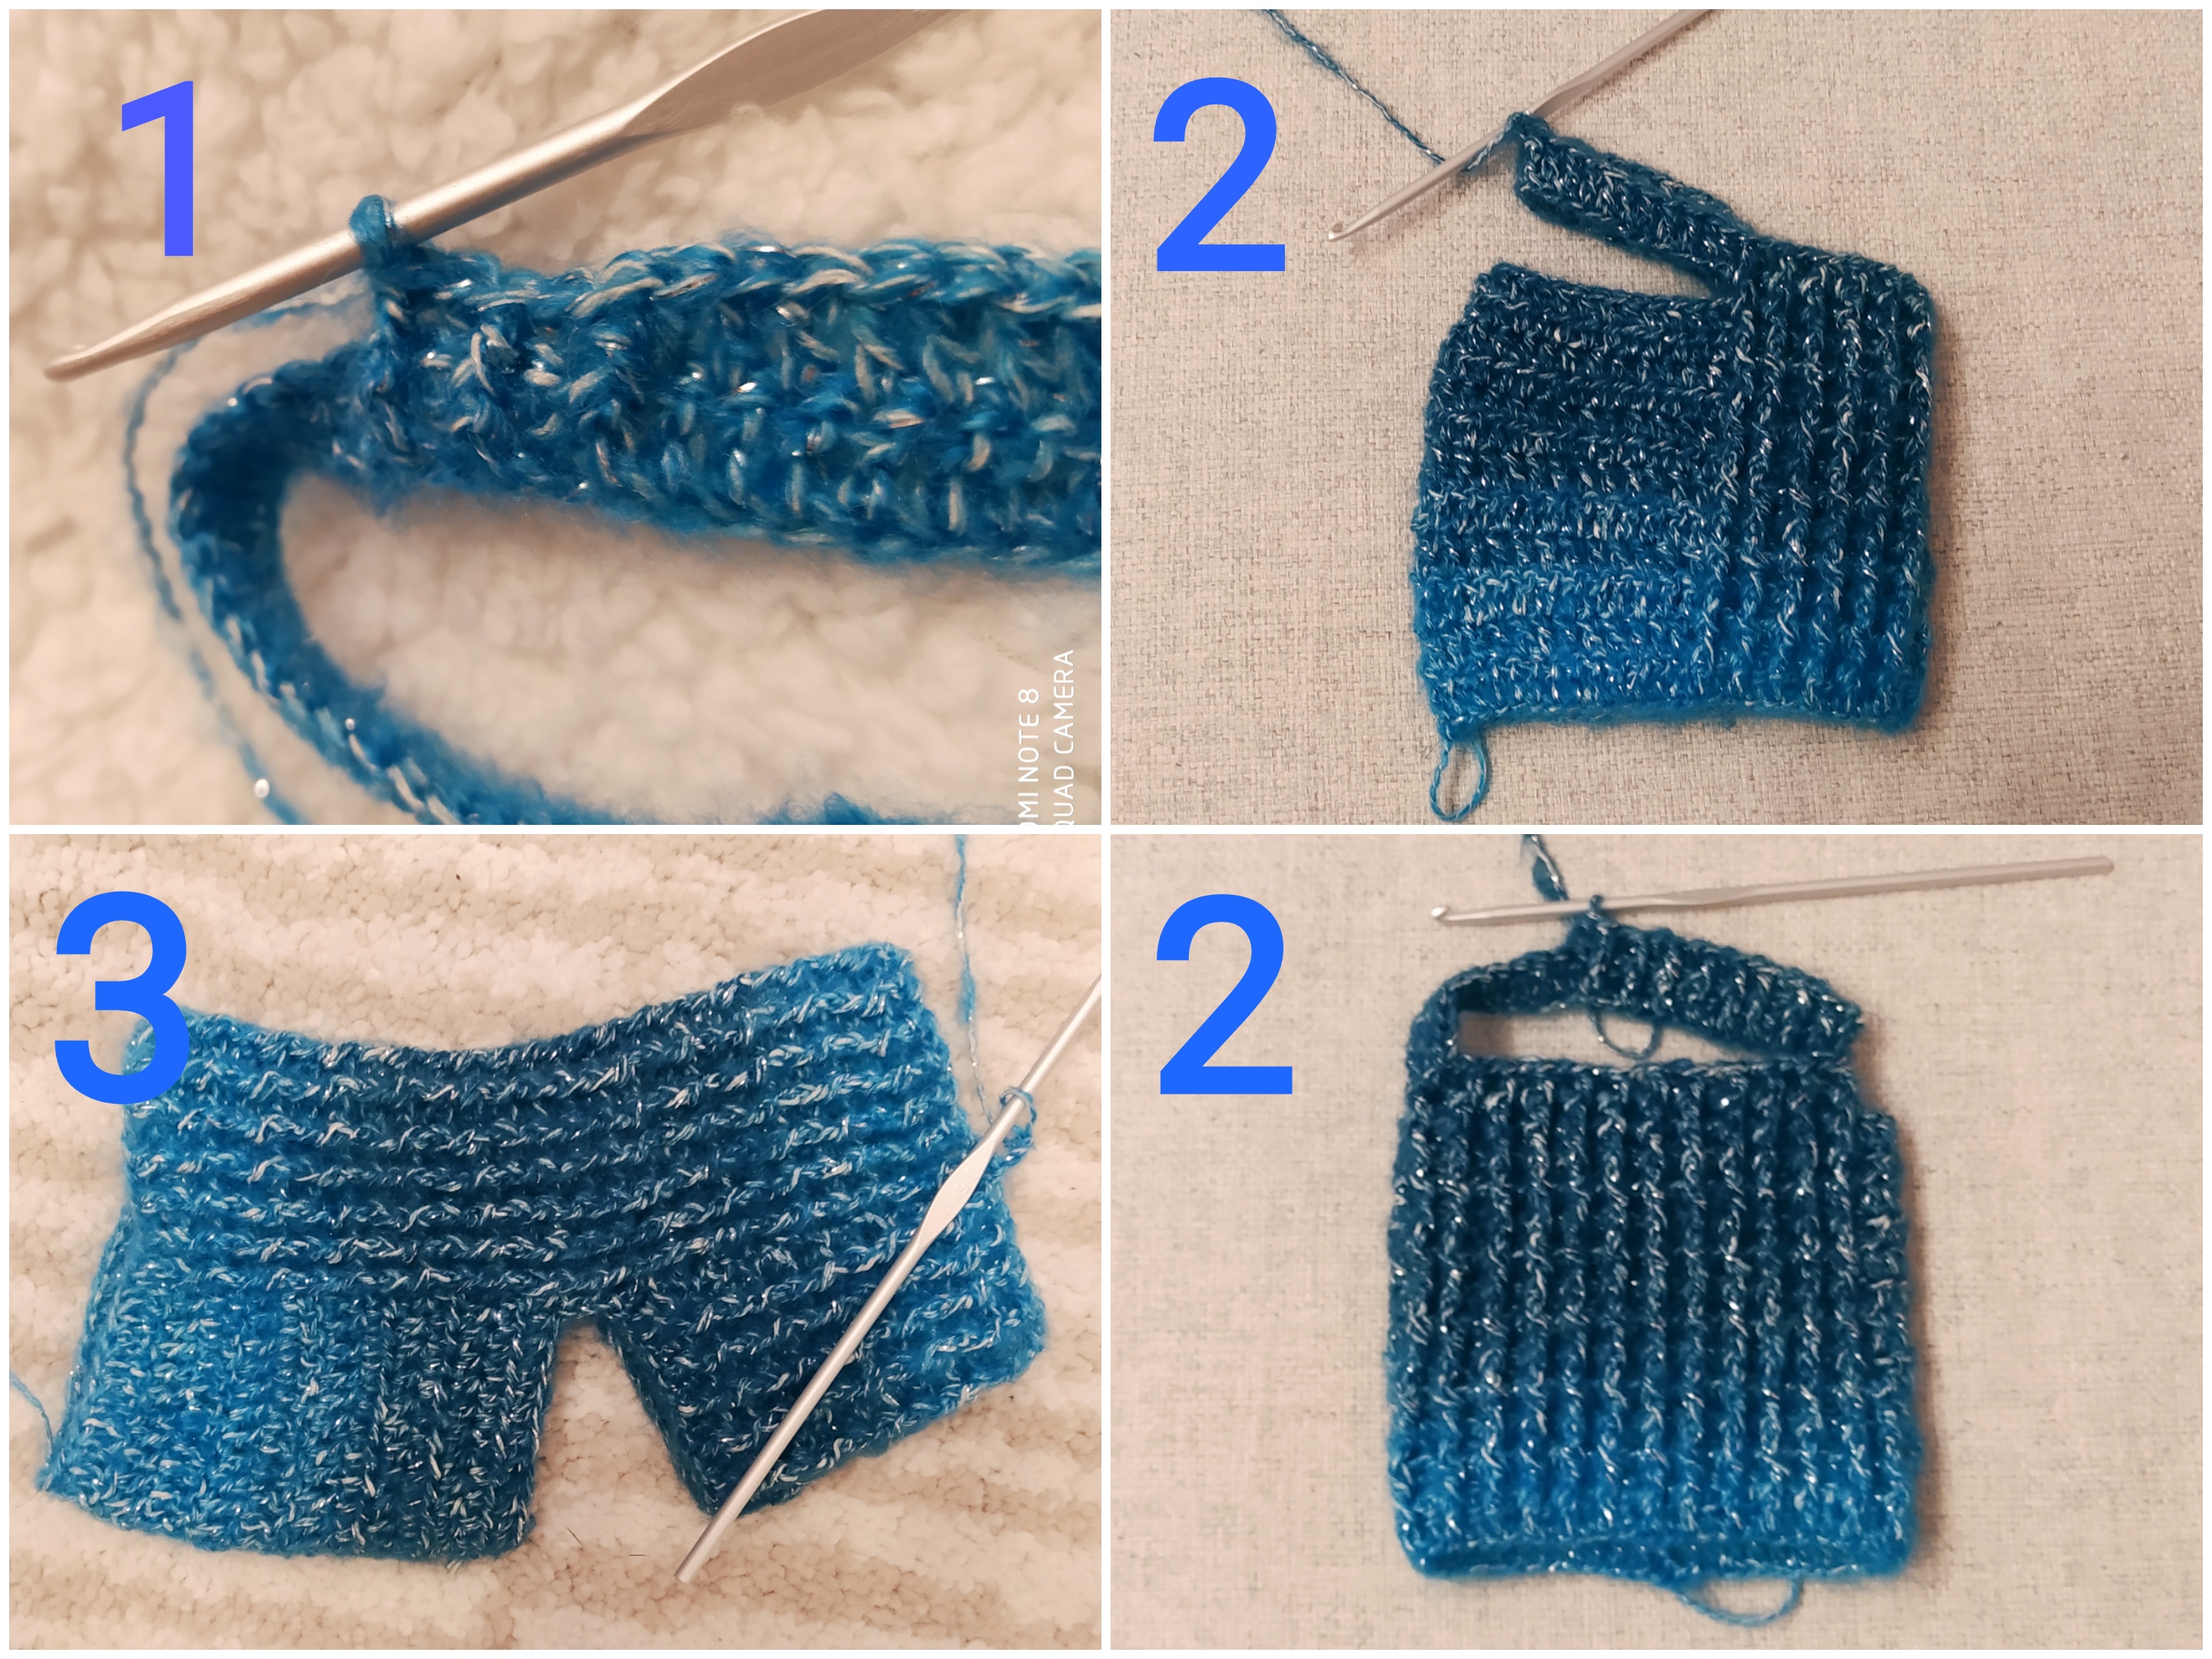
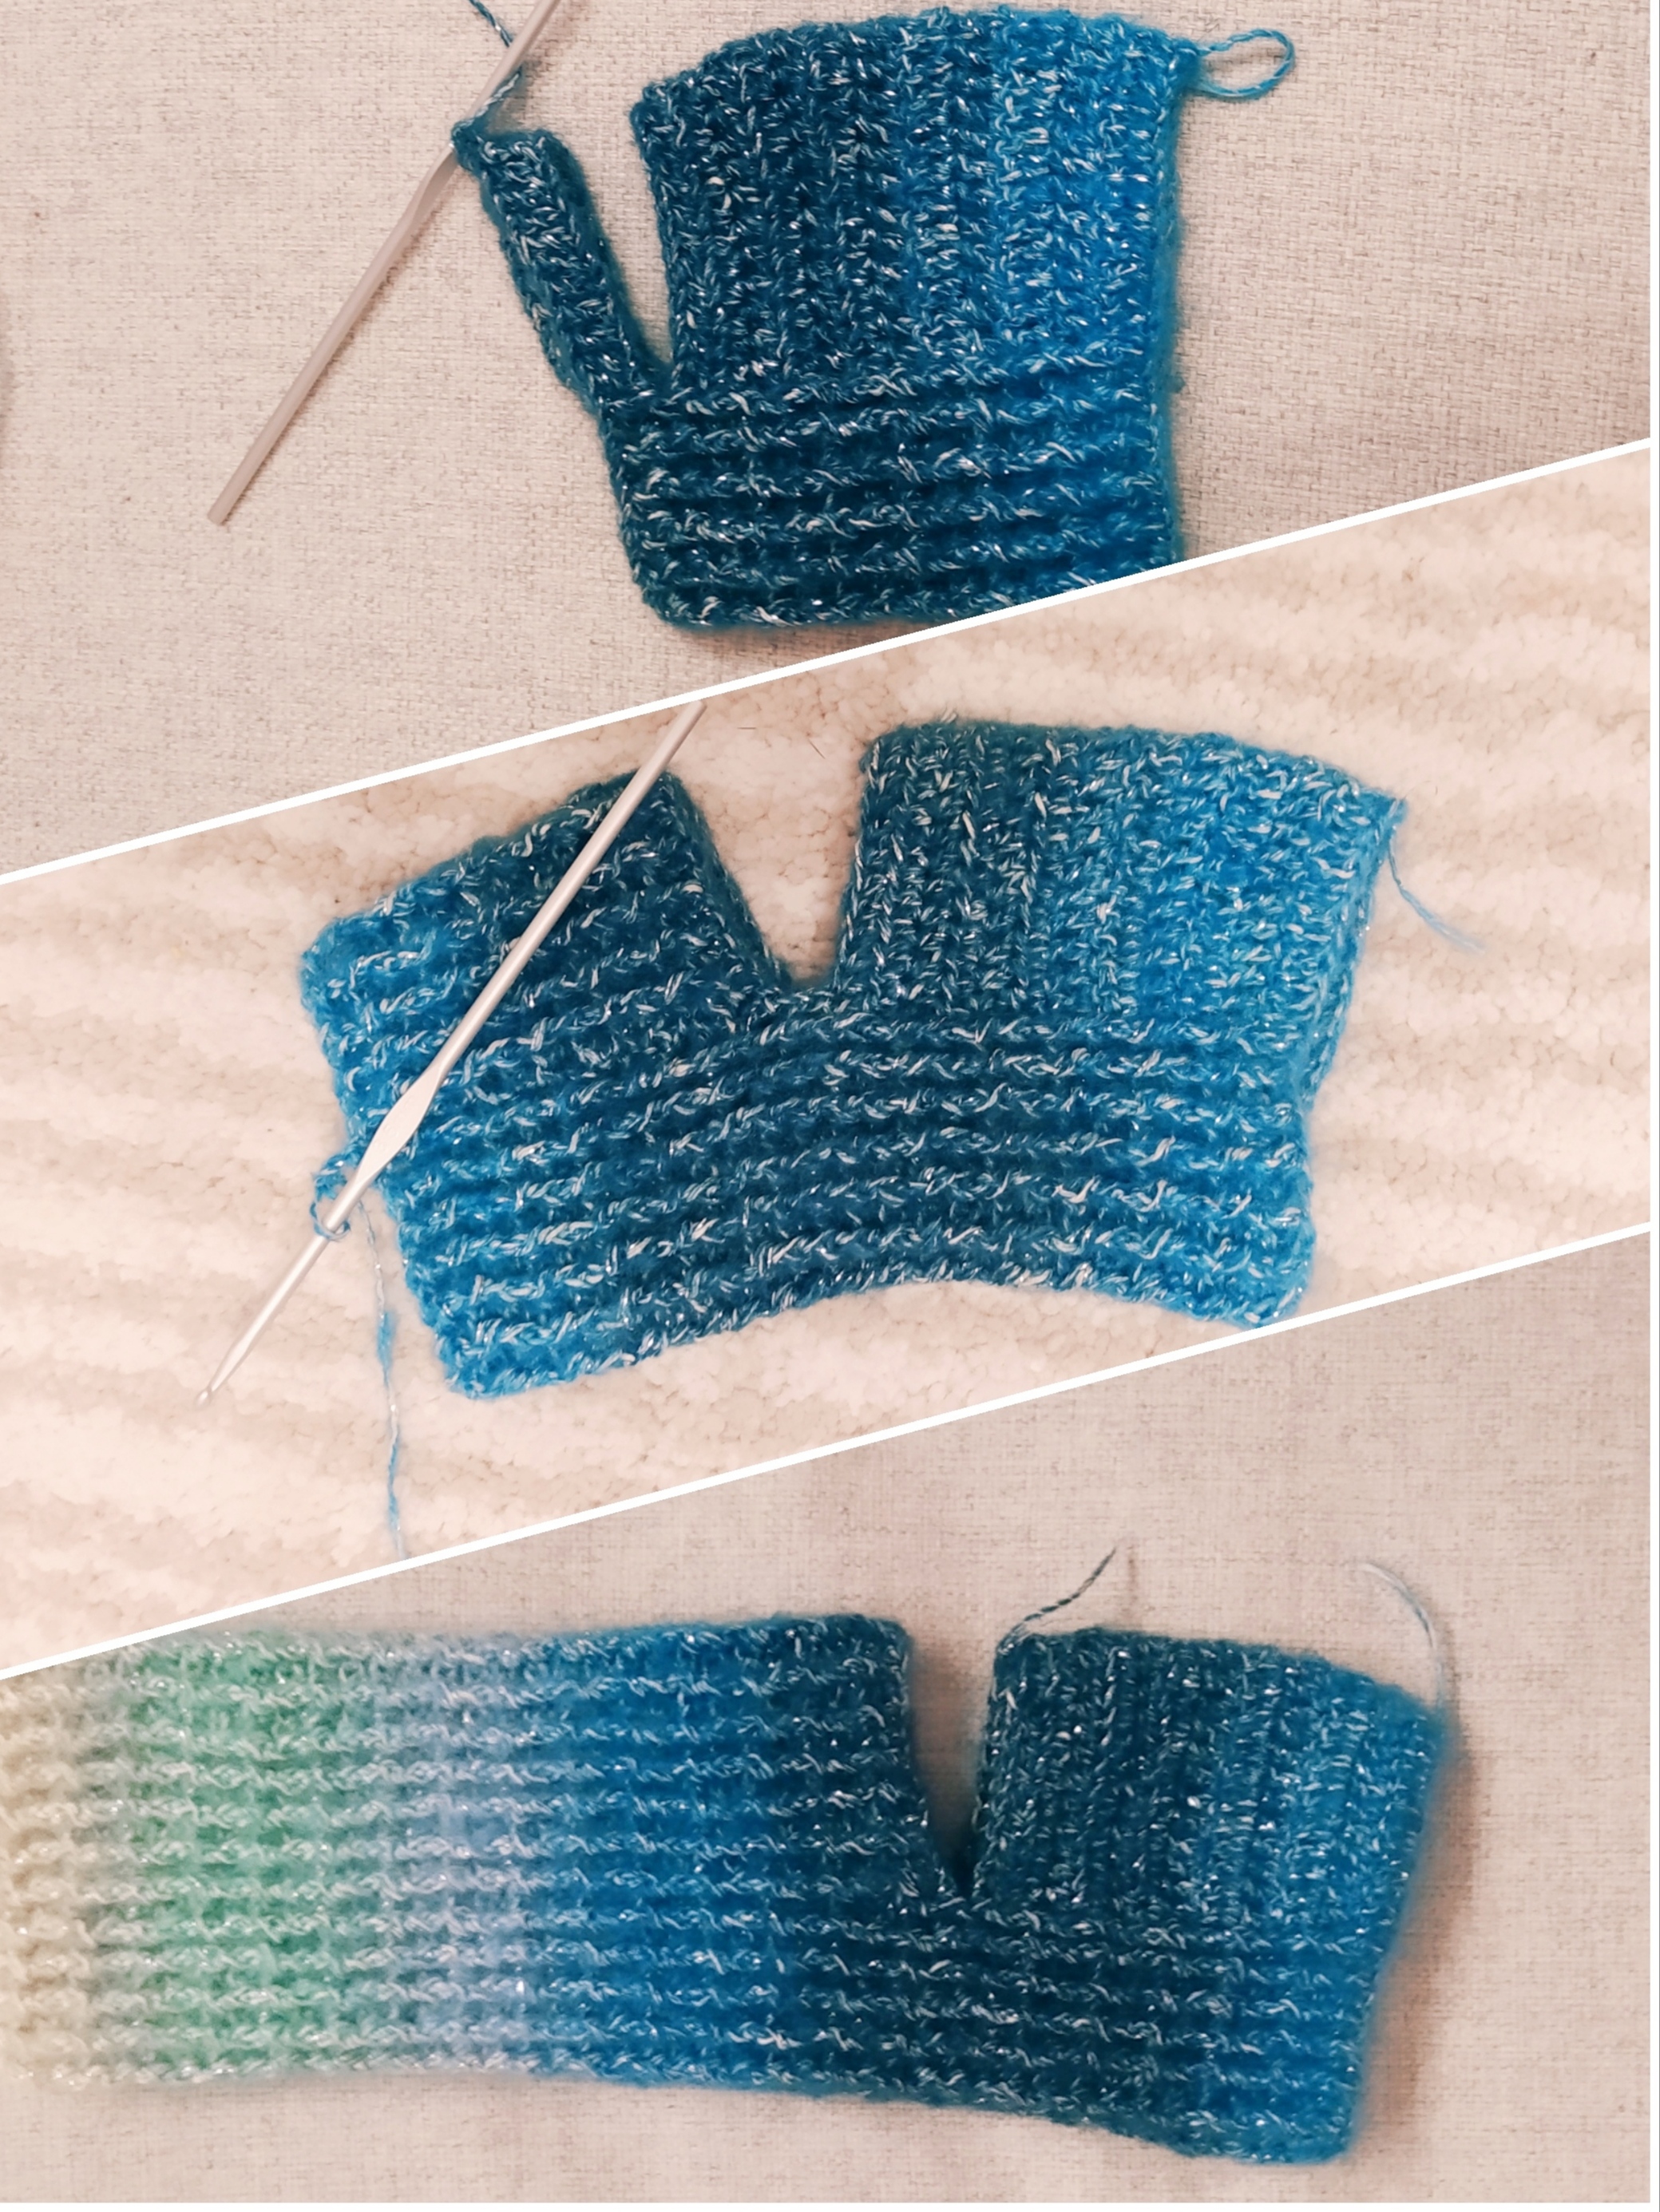
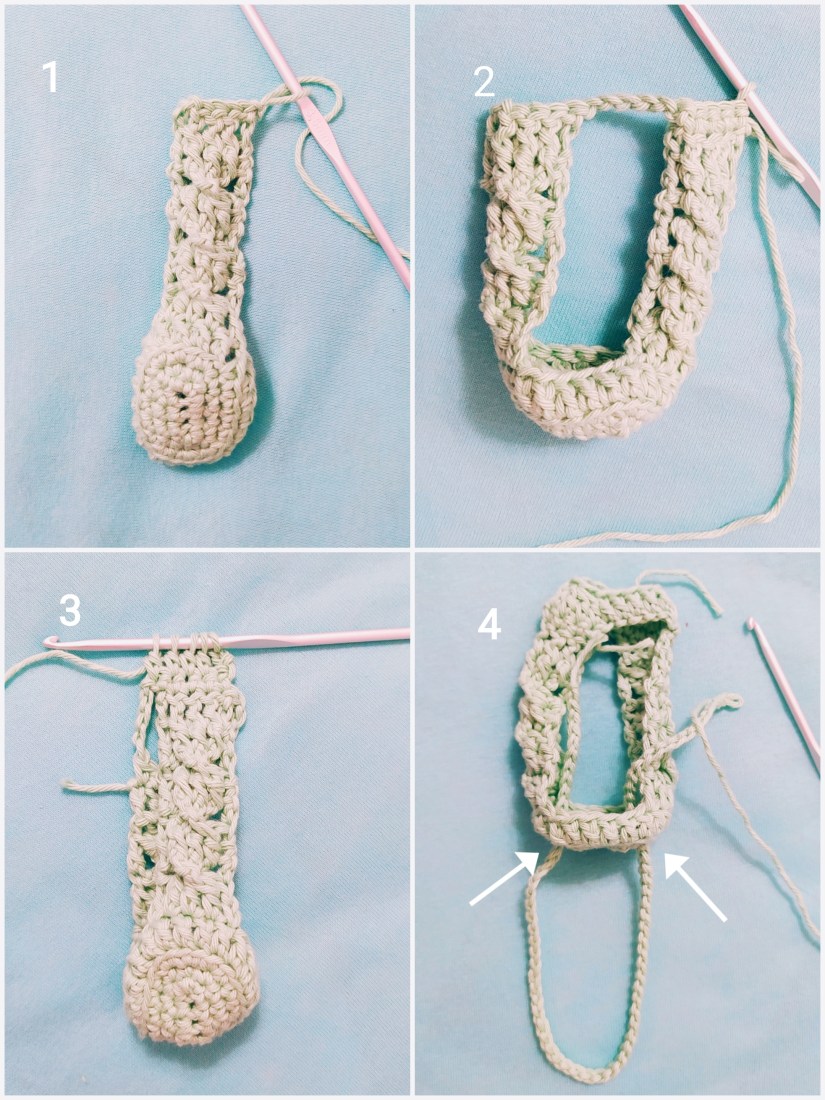
Your current crocheting is pictured on the Pic 1 below. Fasten off, cut the yarn and weave in the end.
Now look at the bottom part (Round 3) and skip 5 st from the side part you have completed. Insert the hook in the 6st st and make dc in next 5 st. 3 ch and turn the crochetness. Repeat R2-R8 but don’t fasten off, 5 ch, SC in next 5 st (upper round of the first side part), 5 ch, sc in next 6 st.
You are now at the pic 2 below.
Round 4: 2 ch and crochet 4 dc the next 4 at all together, dc in next 5 st, next 5 dc together, dc in next 5 st. Picture 3 below. Fasten off and cut the yarn.
85 Ch, pull it through the bottom part in two side points, join the chain inside the case. See the Picture 4 below. Cut the yarn.
Weave in all ends. Place the disinfection lotion bottle inside.
Aaand tadaaa, the case is finished! Hang it on your purse!
Was it fun to crochet with this tutorial? Have a look at my other patterns, maybe you will find something you like there!
You may also like:
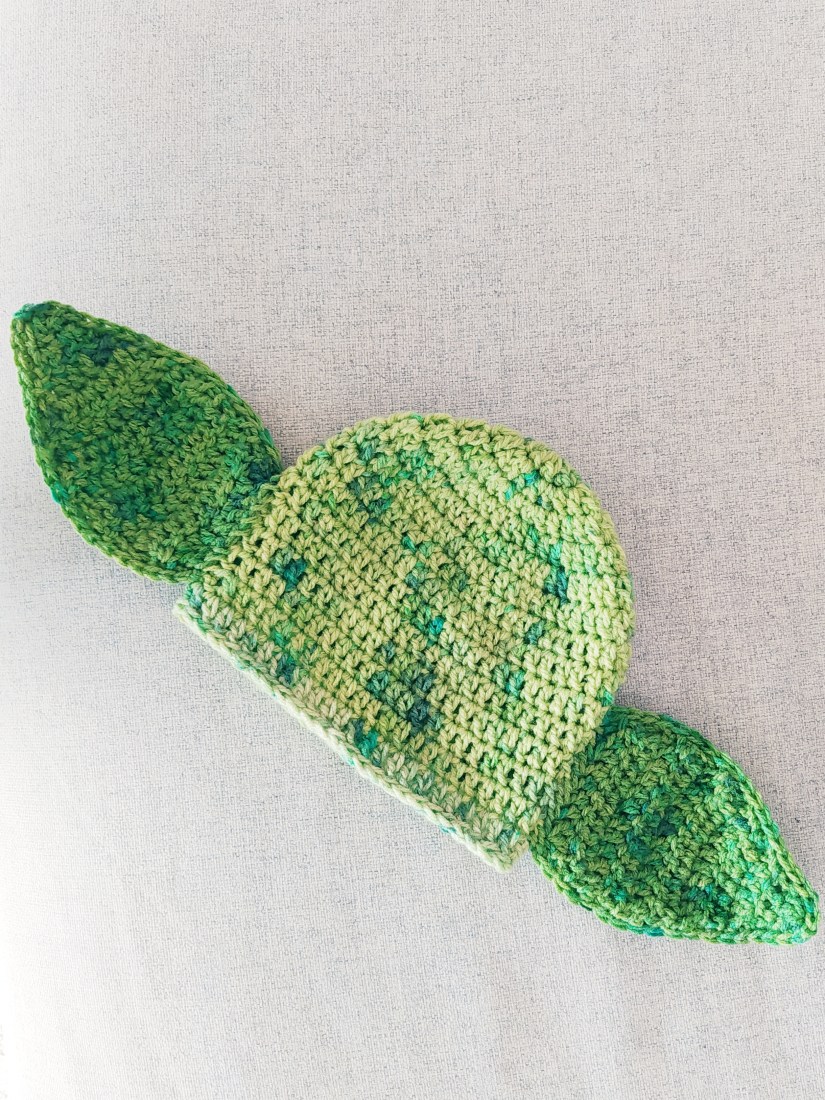
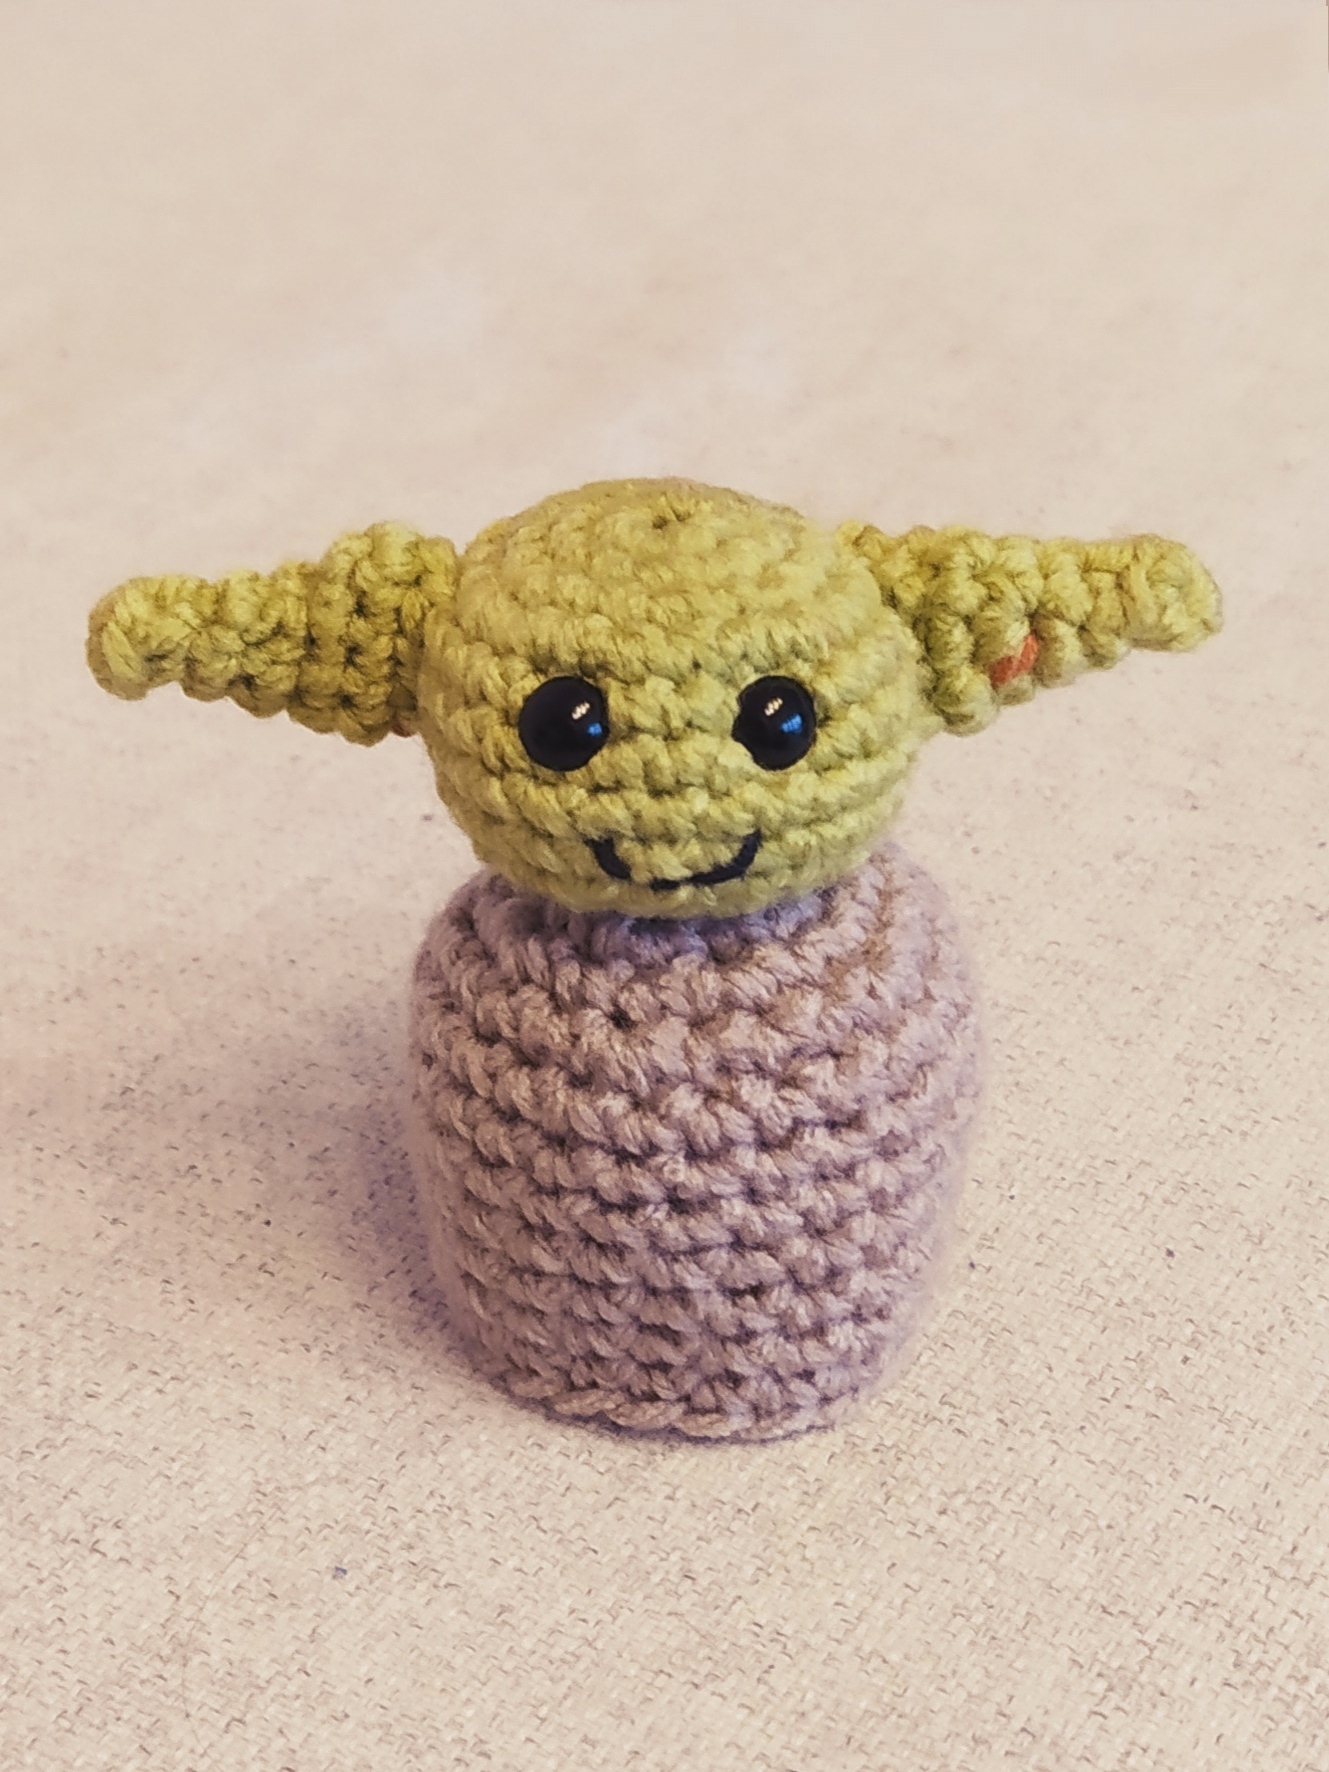
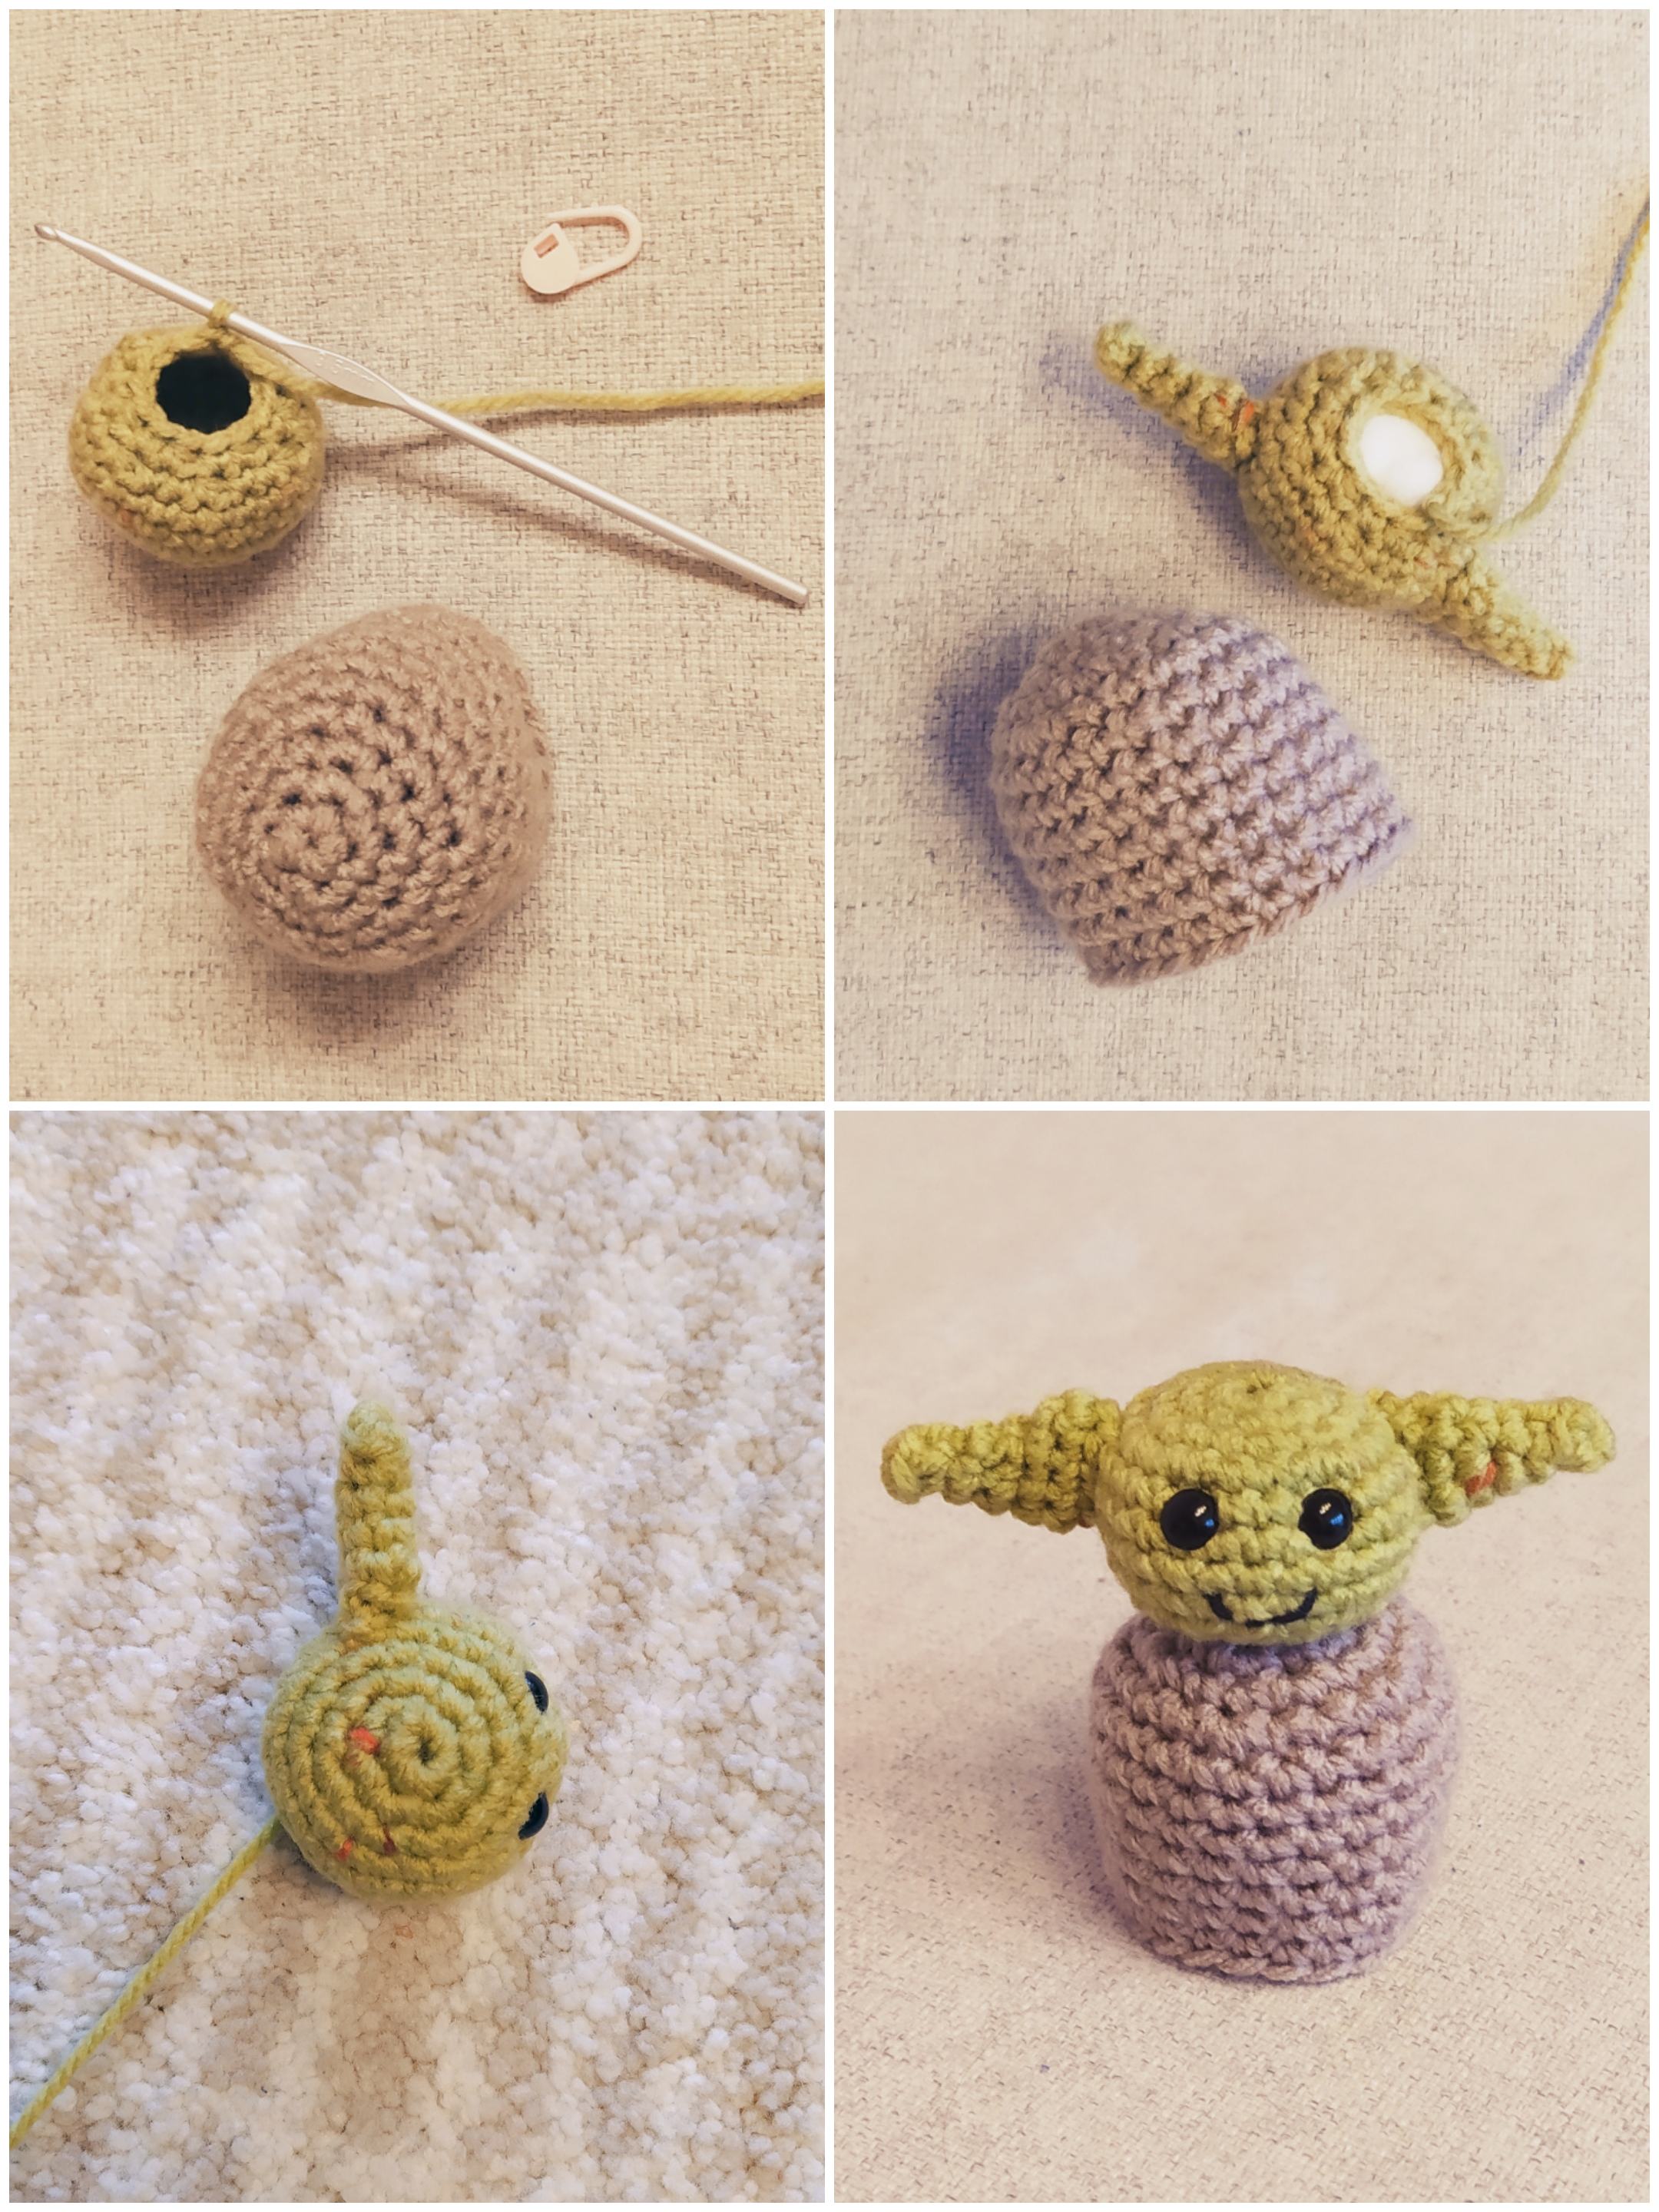
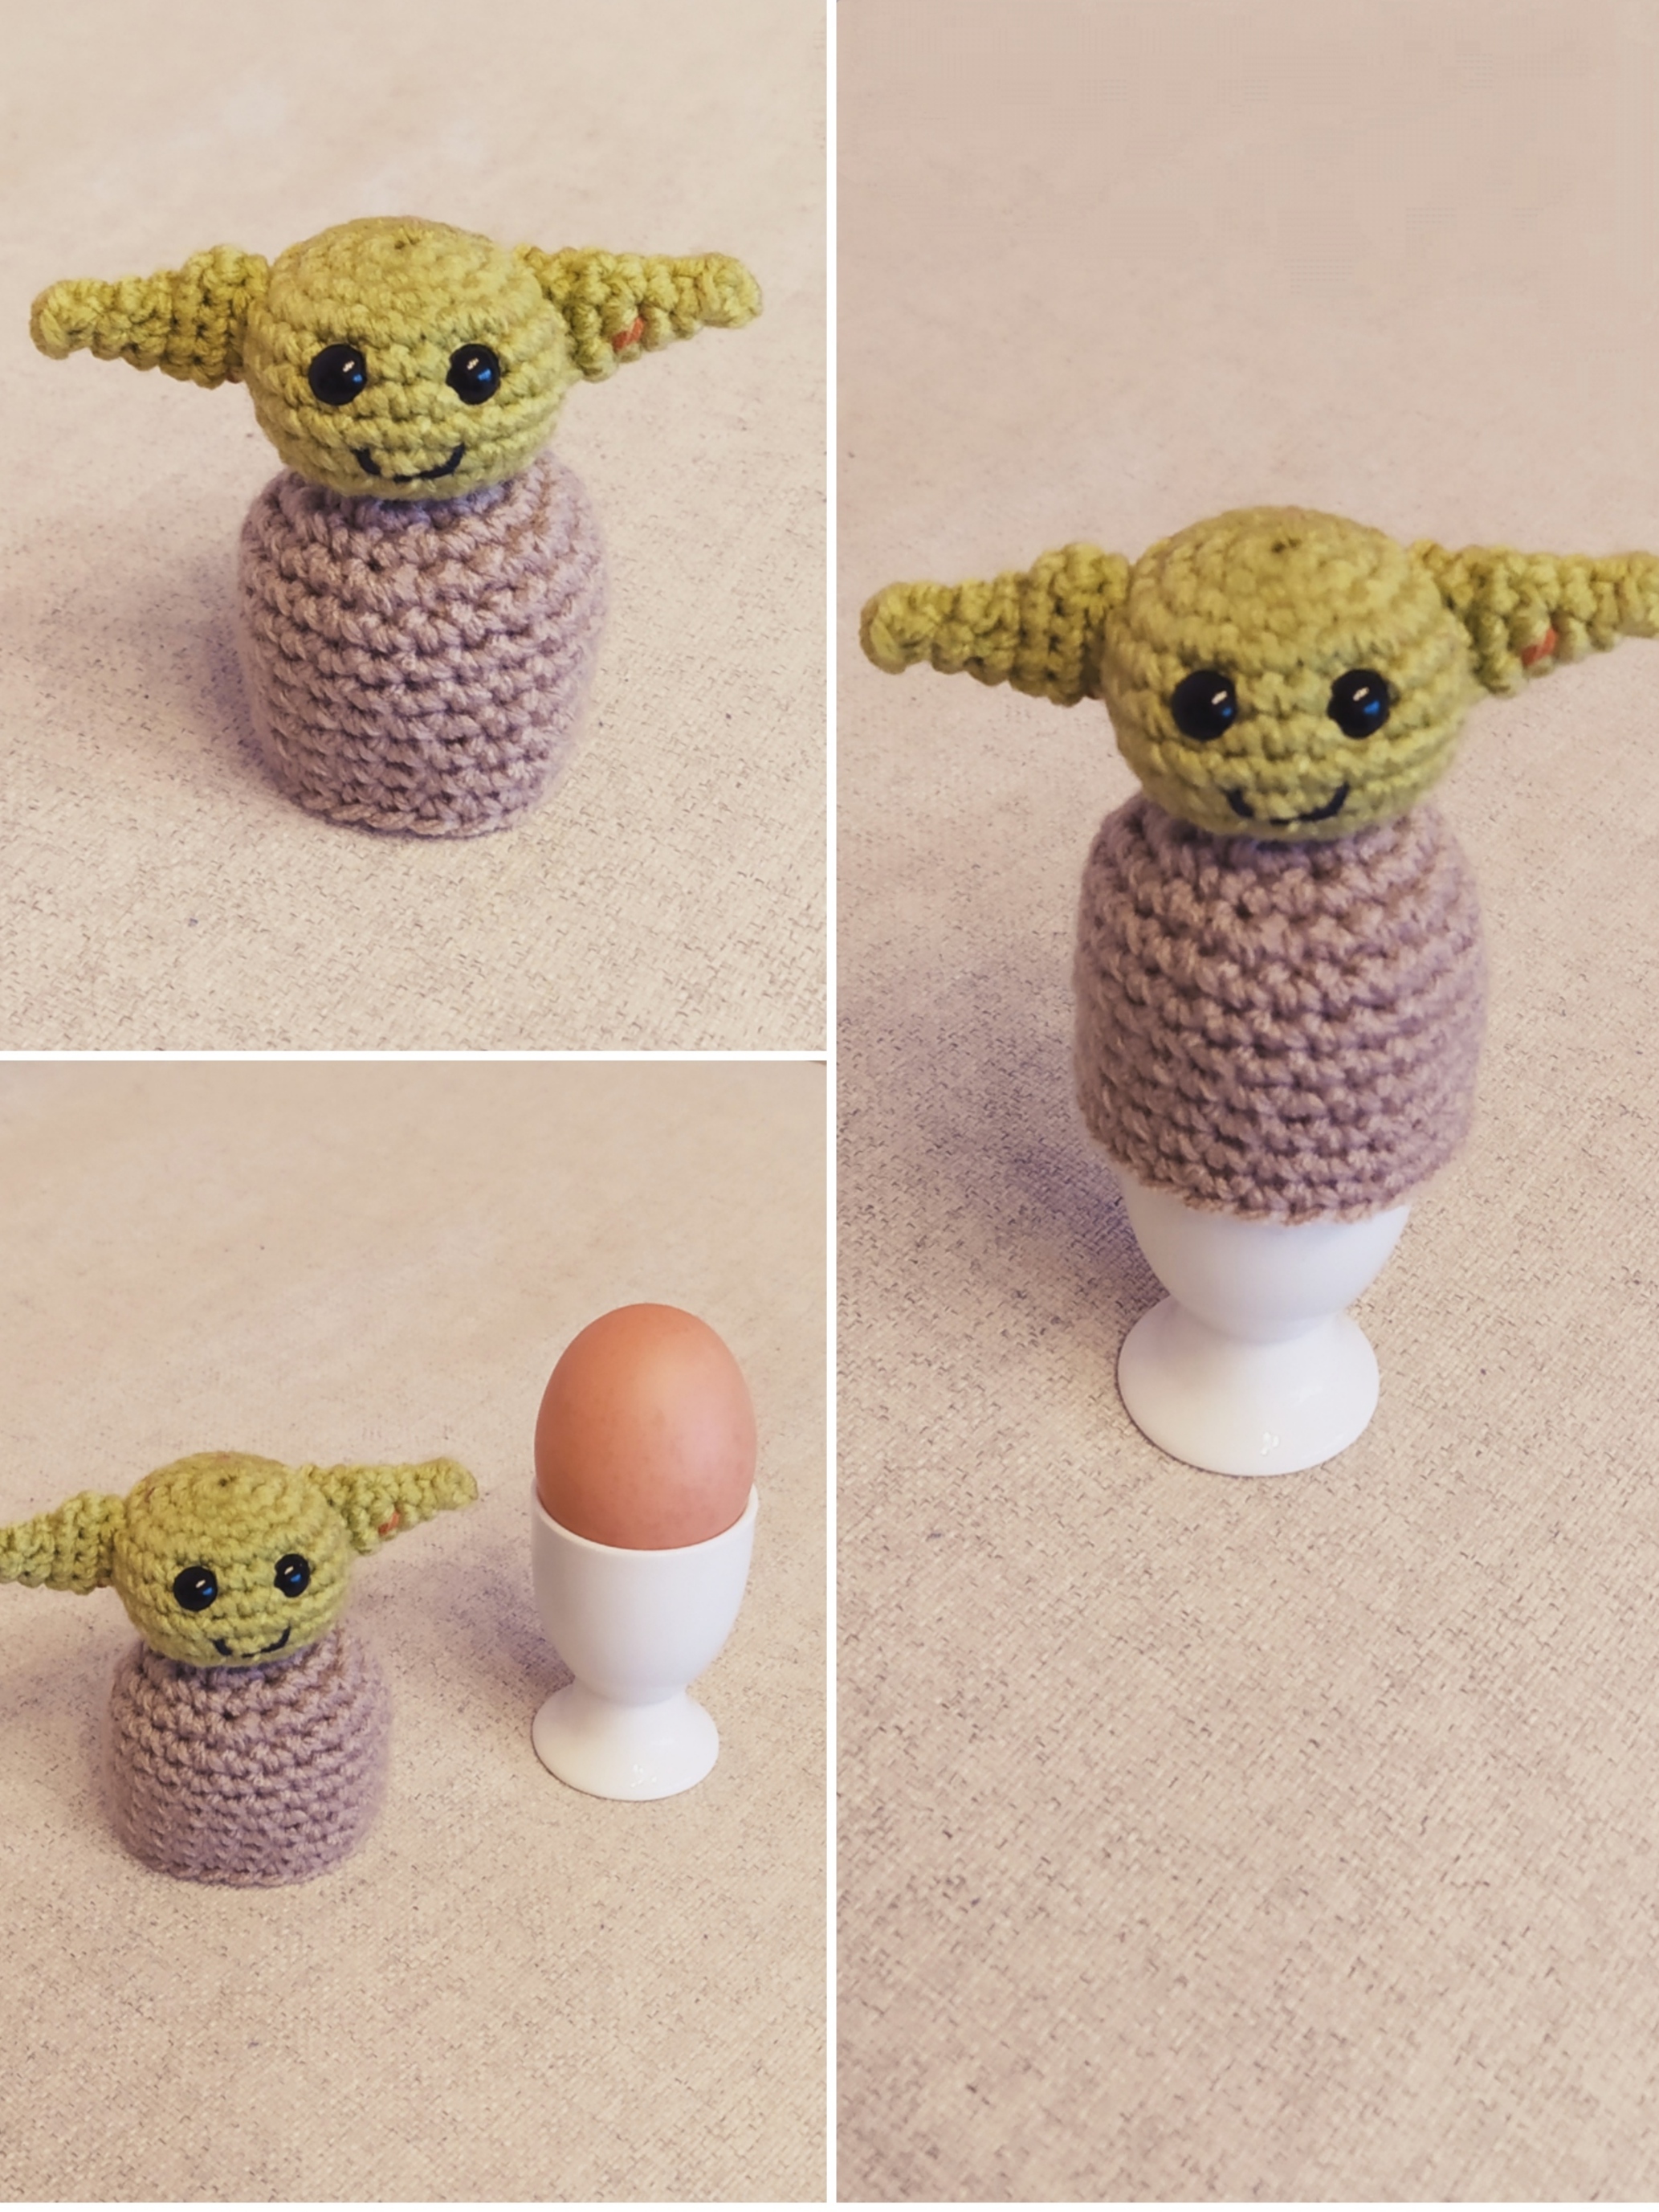
Baby Yoda Crochet Hat Free Pattern

Yoga Socks Free Crochet Pattern

St. Valentine’s Day – 5 Crochet Gift Ideas for Him

Nicecrocheting is on Instagram now!


Adorable Plush Bunny Crochet Pattern

Cupcake Box Free Crochet Tutorial with Pictures