Uncategorized

Crochet Warm Mittens Quickly

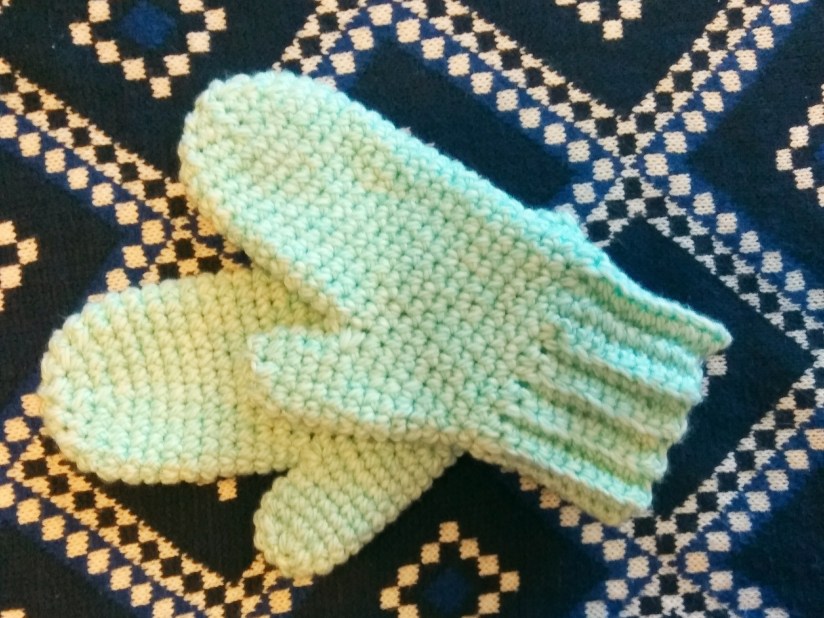
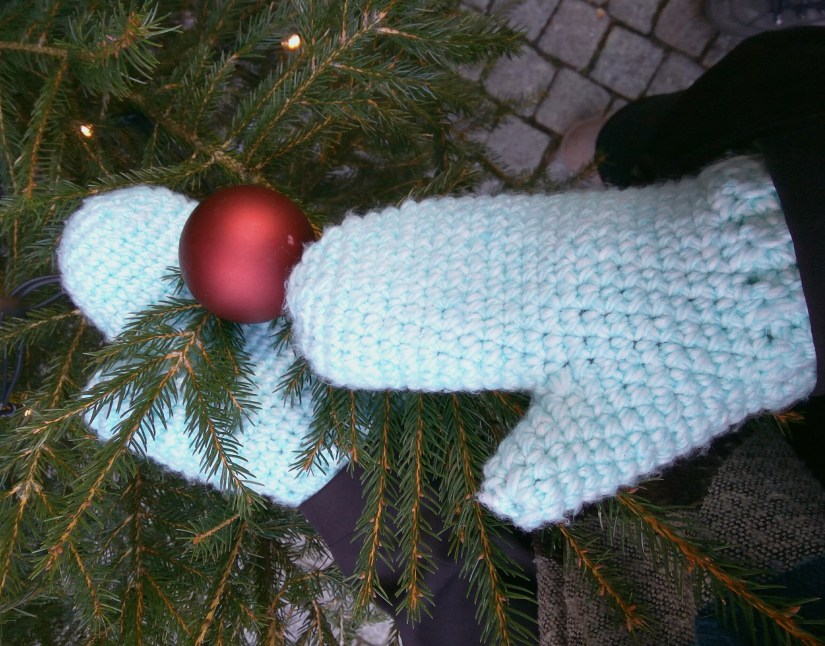
Are you looking for a quick crochet pattern to make a nice Christmas gift? Or do you just want to be prepared for the cold winter? In the both cases you are looking at the right article! I have crocheted the mittens for me and it took around 2 hours. It is not only quick but also easy to crochet: you need to know only a regular single stitch! Have fun following the instructions and keep your hands warm!
IMG_20181215_091953

You will need:

  • 6 mm crochet hook
  • Turcouise yarn recommended for the hook (generally it is a good idea to use a bigger hook but if we want to have warm mittens, the hook should match the yarn. Otherwise the crocheting will be not tight enough and the wind can come through!)
  • Scissors

Abbreviations:

  • ch – chain
  • st – stitch
  • sc – single crochet
  • inc – 2 sc in one st (used to increase st number)
  • dec – 1 sc in two st (used to decrease st number)
  • X 6 – repeat 6 times
  • number of st in every round is indicated in brackets at the end
IMG_20181215_091557

Instructions:

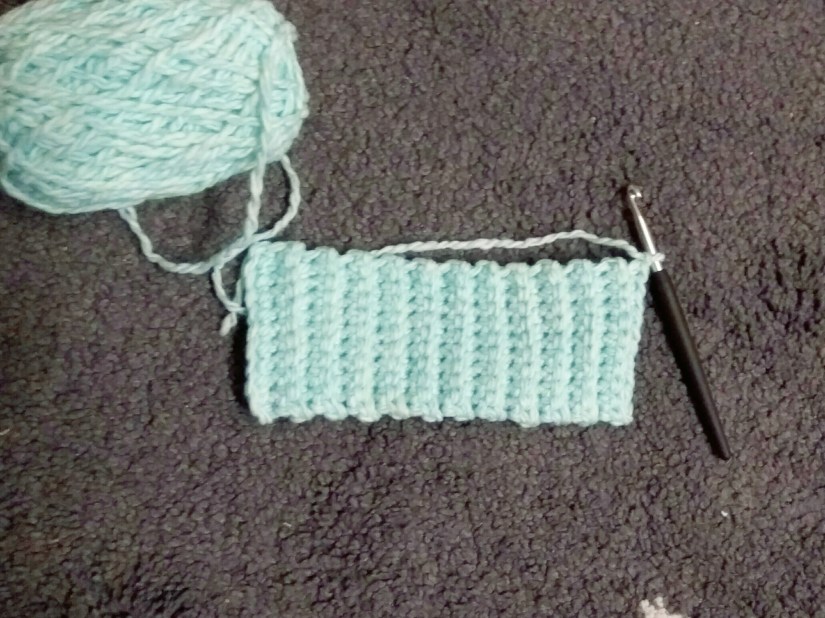
We srart with making a ribbing: make 11 ch (the last, 11th ch is a turning ch)
Rounds 1-24: sc in all 10 st IN BACK LOOPS ONLY, 1 turning ch (10)
Round 25: now we are going to close the rubber. Insert the hook in the last st of the last and the first rounds at the same time, make sl st in next 10 st (10)
IMG_20181210_095259

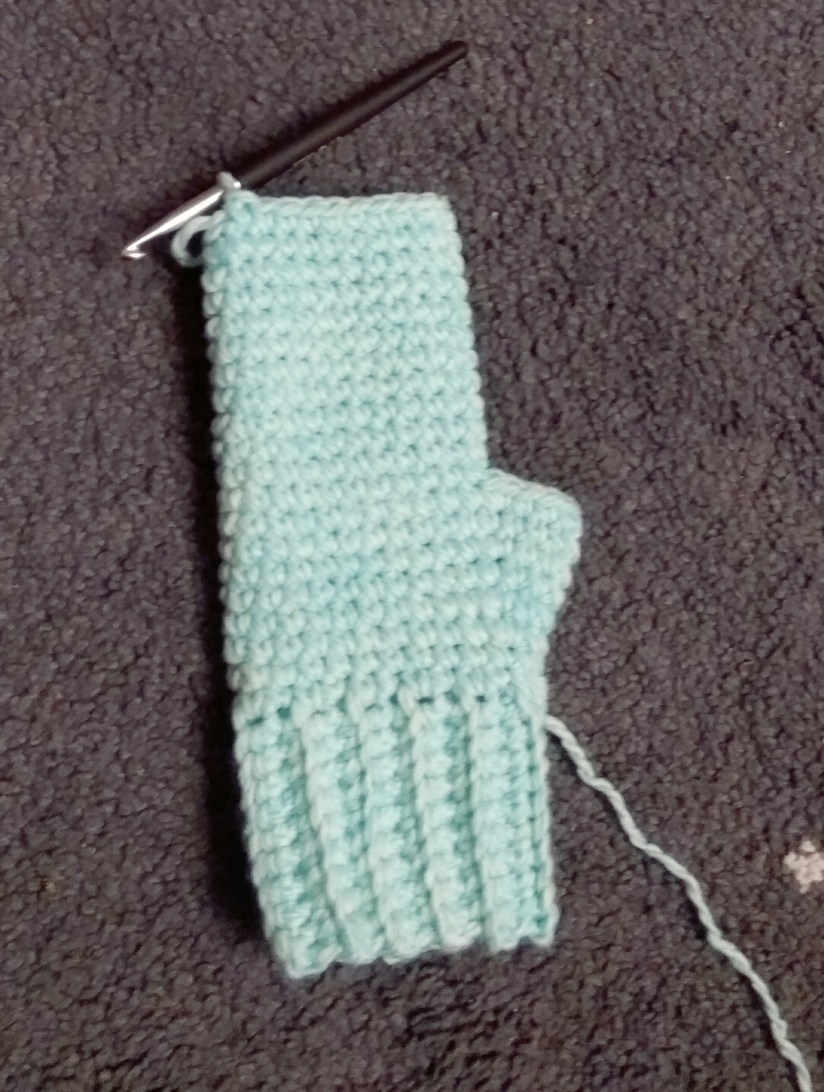
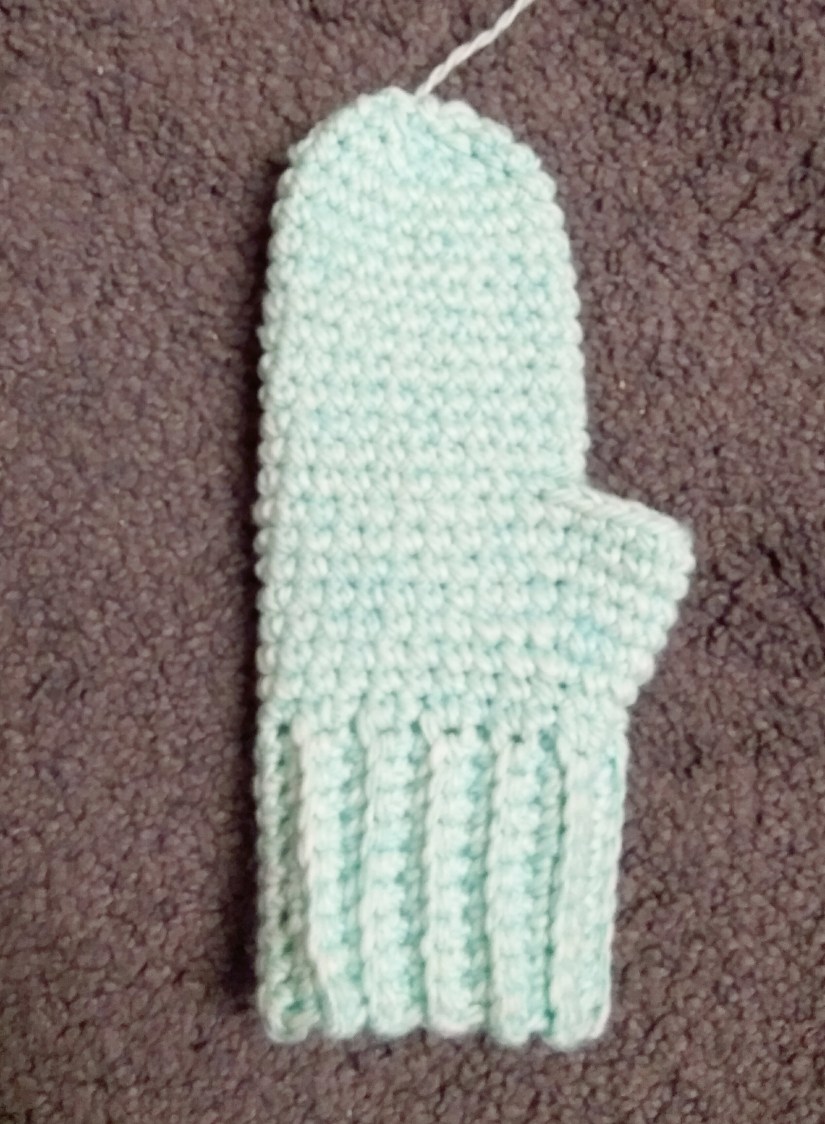
Now we are crocheting the “body” of the mitten. So I start counting the rounds again.
Rounds 1-2: sc in all 24 st (24)
Round 3: sc in next 10 st, inc, sc in next st, inc, sc in next 11 st (26)
Round 4: sc in next 10 st, inc, sc in next 3 st, inc, sc in next 11 st (28)
Round 5: sc in all st (28)
Round 6: sc in next 10 st, inc, sc in next 5 st, inc, sc in next 11 st (30)
Round 7: sc in all st (30)
Round 8: sc in next 10 st, inc, sc in next 7 st, inc, sc in next 11 st (32)
Round 9: sc in next 11 st, 1 ch, skip 9 st, sc in next 12 st (24)
Rounds 10-21: sc in all st (24)
IMG_20181209_214653
Round 22: (sc in next 2 st, dec) X 6 (18)
Round 23: (sc in next st, dec) X 6 (12)
Round 24: (dec) X 6 (6)
Sew the next round. Fatsen off, cut the yarn and weave in the end.
IMG_20181210_095550

Thumb:
Round 1: Start crocheting in the ch of the Round 9. Insert there the hook, make 1 ch, dec, sc in next 7 st, dec (10)
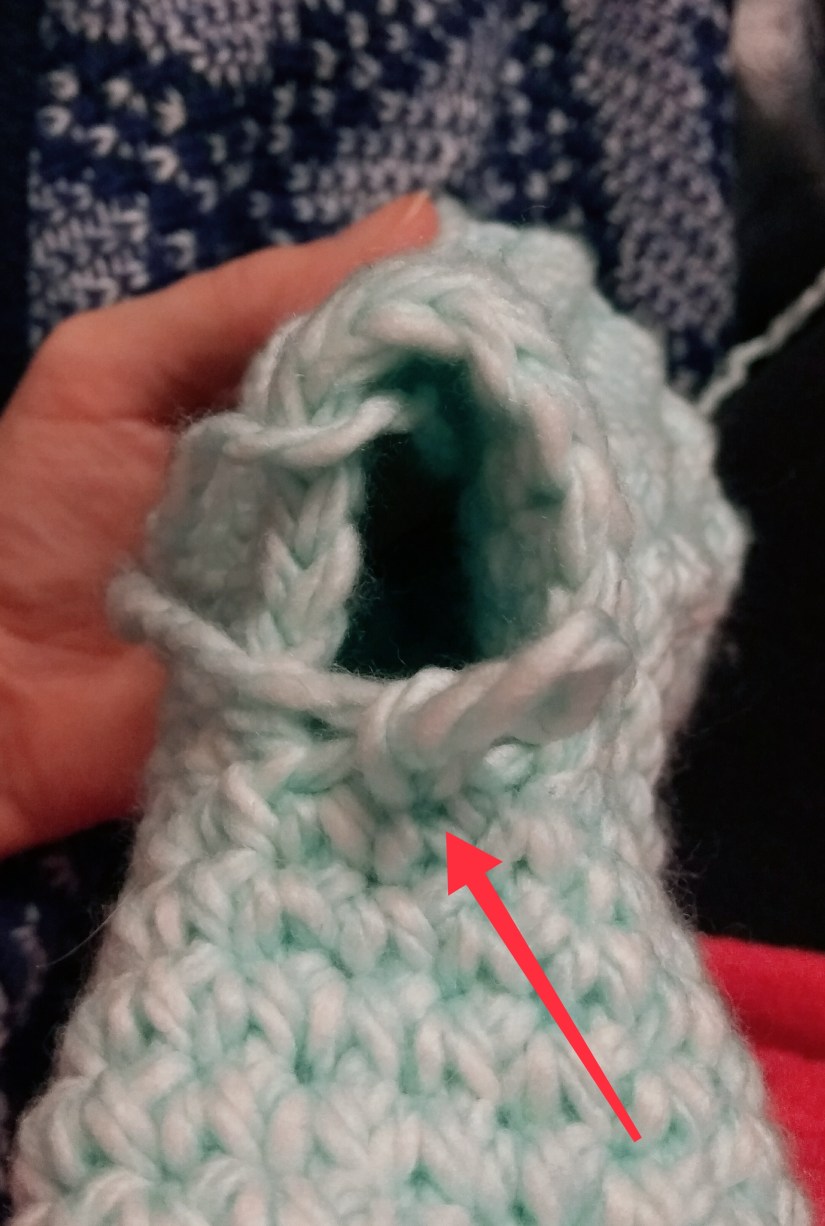
IMG_20181210_095508
Rounds 2-12: sc in all 10 st (10)
Round 13: (dec) X 5 (5)
Sew the next round. Fasten off, cut the yarn and weave in the end.

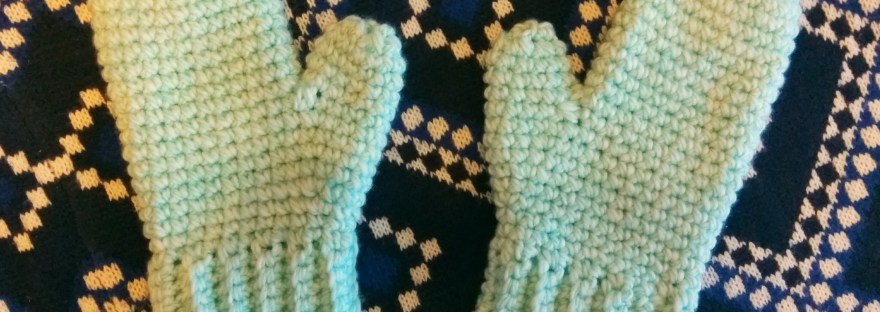
The first mitten is finished! Now follow the instructions again with one change – the Round 3 should look like that: sc in next 11 st, inc, sc in next st, inc, sc in next 10 st (26) and keep the order till the end of the mitten. It will be a right mitten!
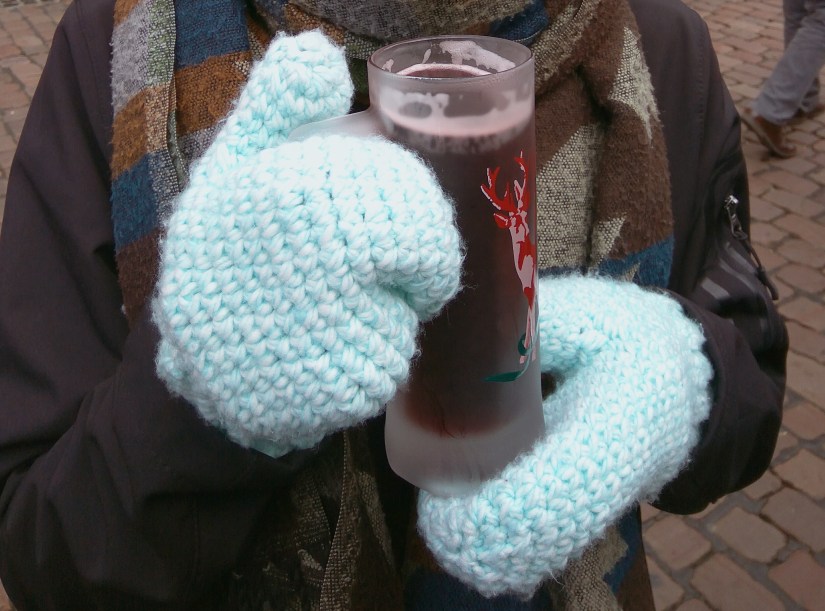
IMG_20181215_091408

Now enjoy your new mittens and keep yourself warm!

Merry Christmas!

Did you like to crochet with the tutorial? Check out my other patterns here!

You might also like:

IMG_20181128_194949

Mulled Wine Mug Cosy – Cabled Pattern

IMG_20181027_221058

Uncategorized

Crochet Christmas Mug Cosy

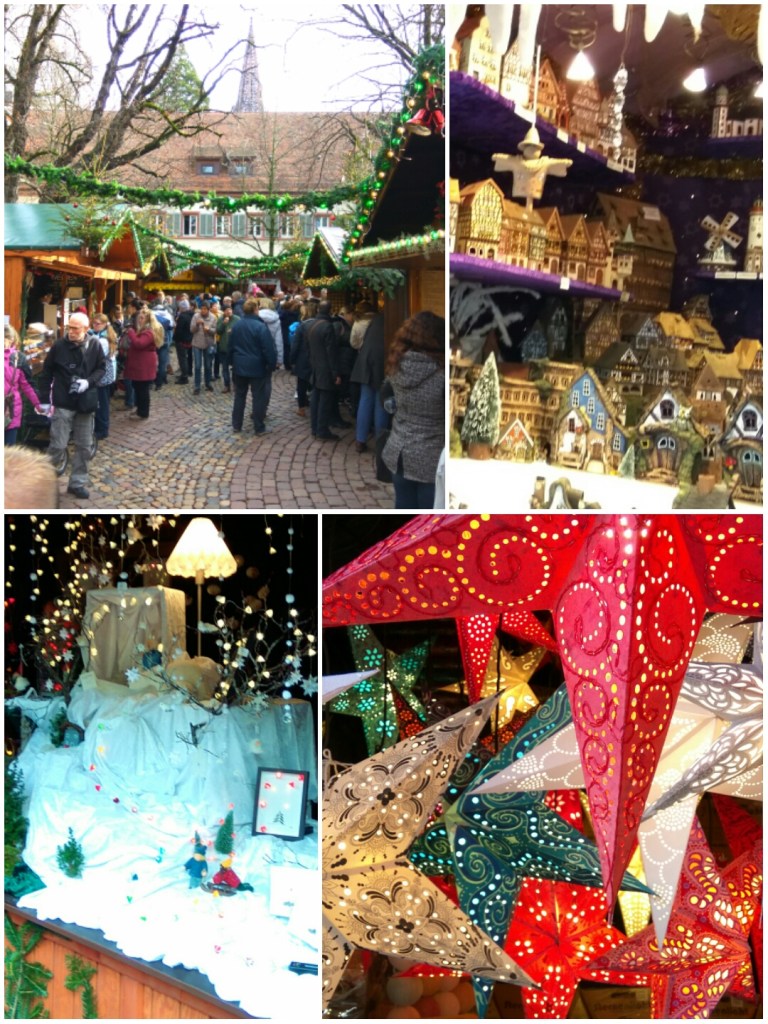
Have you ever been to a christmas market in Germany?
This atmoshere and spicy smells, candels, linzer cake, biscuits, all these cosy handmade things everywhere and… warm, fragrant mulled wine! This is so great, the whole year I am waiting for the end of November and run to the Christmas market on the first day it is open. Sometimes it’s really cold, and it’s even better: perfect opportunity to wear self crocheted hat and gloves!
There is only one problem in this paradise: sweet, sticky, red mulled wine will be all over your nice gloves again and again. So I came to the idea to arm with a cup cosy!
It will keep the wine warm and your gloves clean! And you can make it look however you like!

IMG_20181208_222724

Most of the Christmas markets offer cups of a typical size. So it is easy to make a mug cosy that would fit to them!

IMG_20181208_112010

You will need:

  • 3.5 mm or 4 mm crochet hook
  • Green and red yarn recommended for the hook
  • Scissors
  • Two buttons

Abbreviations:

  • ch – chain
  • st – stitch
  • sc – single crochet
  • hdc – half double crochet
  • dc – double crochet
  • reverse sc – reverse single crochet
  • puff st – puff stitch
  • X 5 – repeat 5 times
  • at the end of every round total number of stitches is shown in brackets

IMG_20181208_112107

Instructions:

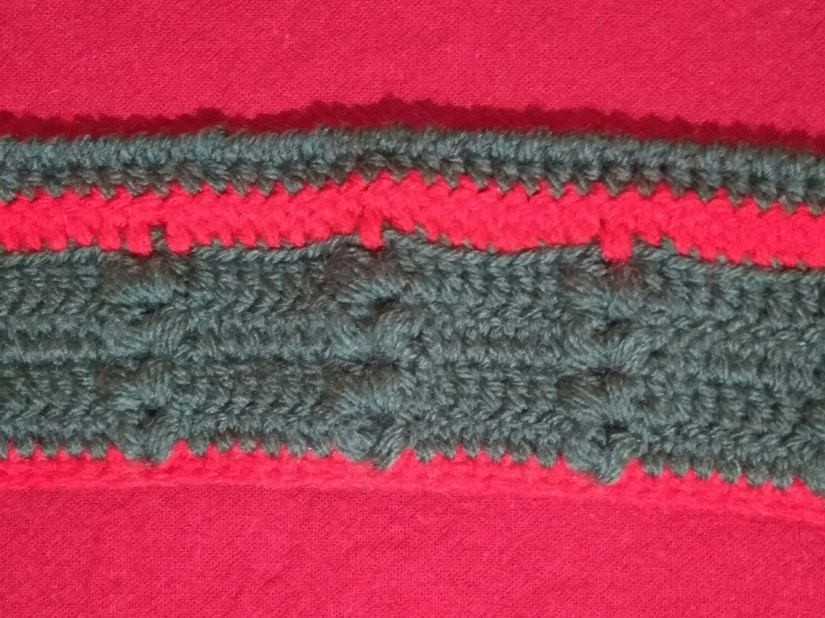
Start with the red yarn. Make 56 ch, insert the hook in the 7th ch from the hook. This will be a loop for the first button.

Round 1: sc in all 50 ch (50)

Round 2: change to the green yarn, 2 turning ch, dc in next 5 st,
(skip 1 st, puff st in next st, 3 ch, puff st in the same st, skip 1 st, dc in next 6 st) X 4,
skip 1 st, puff st in next st, 3 ch, puff st in the same st, skip 1 st, dc in next 4 st, 2 turning ch (50)

IMG_20181208_222218


Now basically we crochet the same round three more times. We crochet dc over dc stitches of the previous round and two puff st should be always crocheted through the hole between 2 puff st over previous round. If it is not clear, here is description of these steps:

Round 3: dc in next 3 st,
(puff st (in the hole between 2 puff st of the previous row), 3 ch, puff st in the hole again, dc in next 6 st) X 5
2 turning ch (50)

Round 4:
dc in next 5 st,
(puff st (in the hole between 2 puff st of the previous row), 3 ch, puff st in the hole again, dc in next 6 st) X 4,
puff st (in the hole between 2 puff st of the previous row), 3 ch, puff st in the hole again, dc in next 4 st, 2 turning ch (50)

Round 5: repeat the Round 3

Round 6: change back to the red yarn, dc in all 50 st (50), 6 ch (it is a second loop for a button), insert the hook in the last dc of the row

Round 7: change back to the green yarn, hdc in all 50 st (50)

Round 8: reverse sc in all 50 st (50)

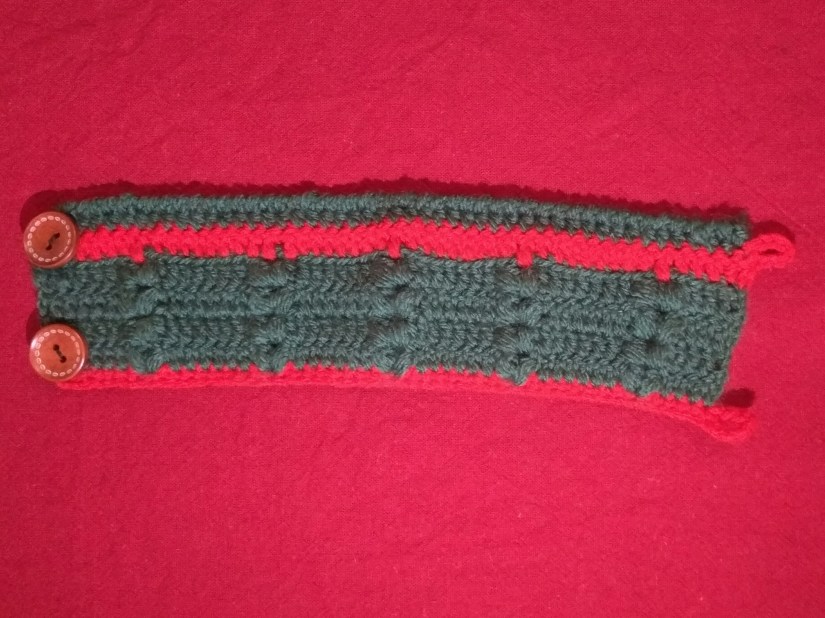
Now sew the buttons to the mug cosy in front of the loops but on the opposite side aaand the Christmas mug cosy is finished! Congratulations! Enjoy warm drinks and share the joy with your friends!

IMG_20181208_222302

IMG_20181208_204841

Merry Christmas! Ho Ho Ho!

Did you like to crochet with the tutorial? Check out my other patterns here!

You might also like:

Winter Hat Crochet Egg Cosy

IMG_20181202_115804

IMG_20181128_194949

Mulled Wine Mug Cosy – Cabled Pattern
IMG_20181027_221058

Uncategorized

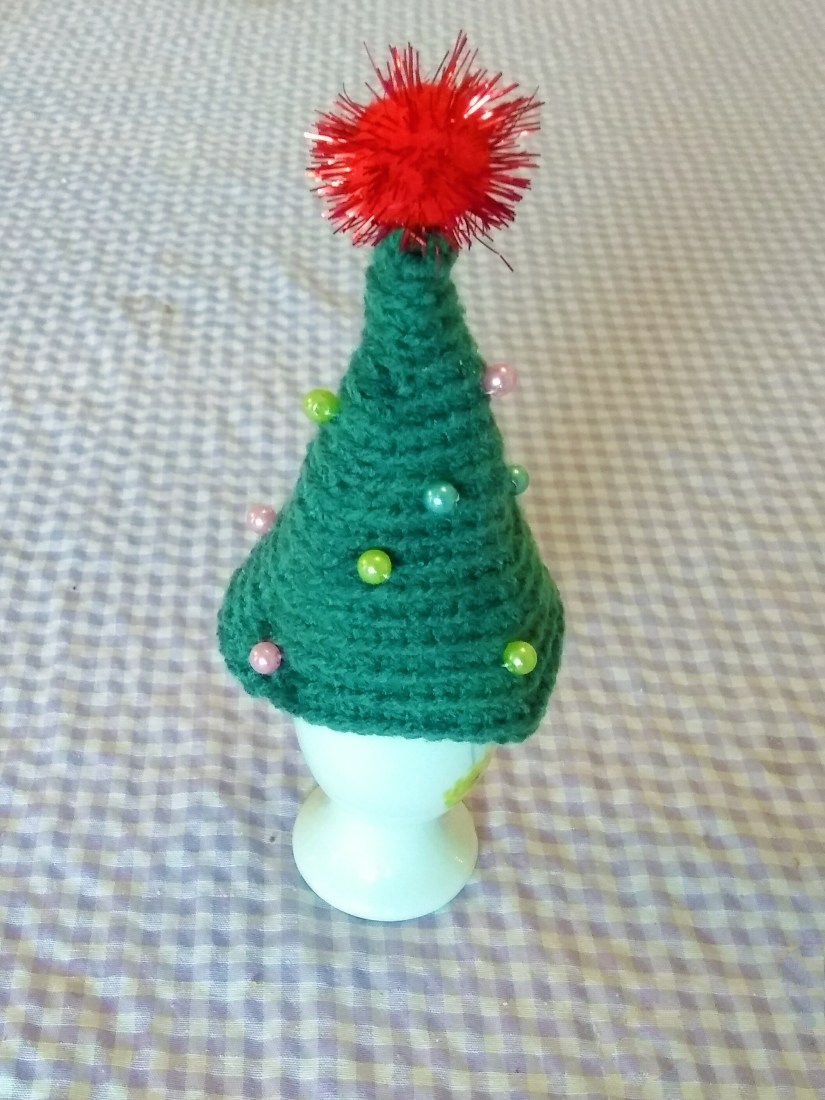
Crochet Christmas Tree Egg Cosy

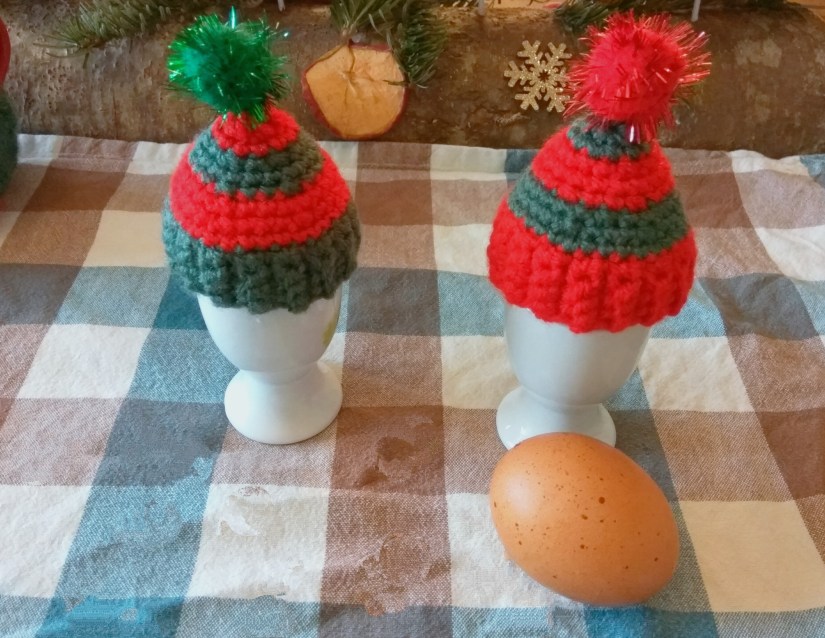
It’s December – time to create a special athmosphere of a miracle around! We exchange all home decorations with christmas specialities. Candels, Nutcrackers, angels and stars are everywhere. Kitchen towels of christmas colours, tablecloth with winter ornaments and special egg warmers for decorating the breakfast table on Sunday!

You will need:

  • 3.5 mm or 4 mm crochet hook
  • Green yarn recommended for the hook
  • Scissors
  • Needle and string
  • Decorations for the Christmas tree

Abbreviations:

  • ch – chain
  • sl st – slip stitch
  • st – stitch
  • sc – single crochet
  • inc – 2 sc in one st (used to increase the number of stitches)
  • X 3 – repeat 3 times
  • at the end of every round total number of stitches is shown in brackets

Instructions:

Note: crochet every round in the back loops of the previous round stitches only!!

Round 1: 6 sc in magic ring
Round 2: sc all st (6)
Round 3: (sc in next st, inc) X 3 (9)
Round 4: sc in all st (9)
Round 5: (sc in next 2 st, inc) X 3 (12)
Round 6: sc in all st (12)
Round 7: (sc in next 3 st, inc) X 3 (15)
Round 8: (sc in next 4 st, inc) X 3 (18)
Round 9: (sc in next 5 st, inc) X 3 (21)
Round 10:  (sc in next 6 st, inc) X 3 (24)
Round 11:  (sc in next 7 st, inc) X 3 (27)
Round 12: (sc in next 8 st, inc) X 3 (30)
Round 13: (sc in next 9 st, inc) X 3 (33)
Round 14: (sc in next 10 st, inc) X 3 (36)
Round 15: (sc in next 11 st, inc) X 3 (39)
Round 16:(sc in next 12 st, inc) X 3 (42)
Round 17:(sc in next 13 st, inc) X 3 (45)
Round 18: (sc in next 14 st, inc) X 3 (48)

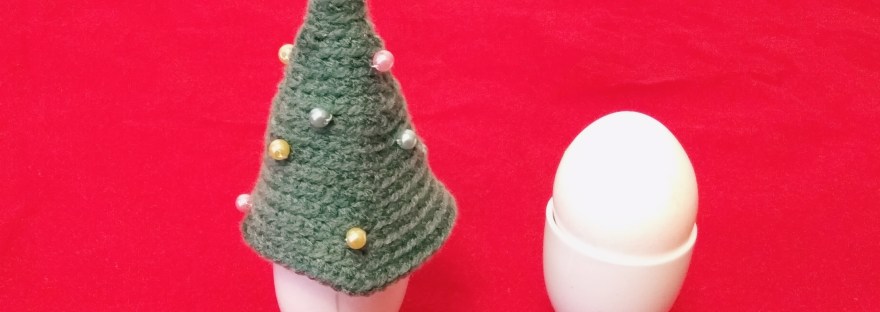
Fasten off, cut the yarn and weave in the tail. Now be creative and decorate your Christmas tree! After that the egg cosy is finished!

IMG_20181121_085202.jpg

The Christmas tree egg cosy is finished! Merry Christmas! Ho Ho Ho!

Did you like to crochet with the tutorial? Check out my other patterns here!

You might also like:

One more idea for an egg cosy

IMG_20181202_115804

IMG_20181128_194949

Mulled Wine Mug Cosy – Cabled Pattern
IMG_20181027_221058

Uncategorized

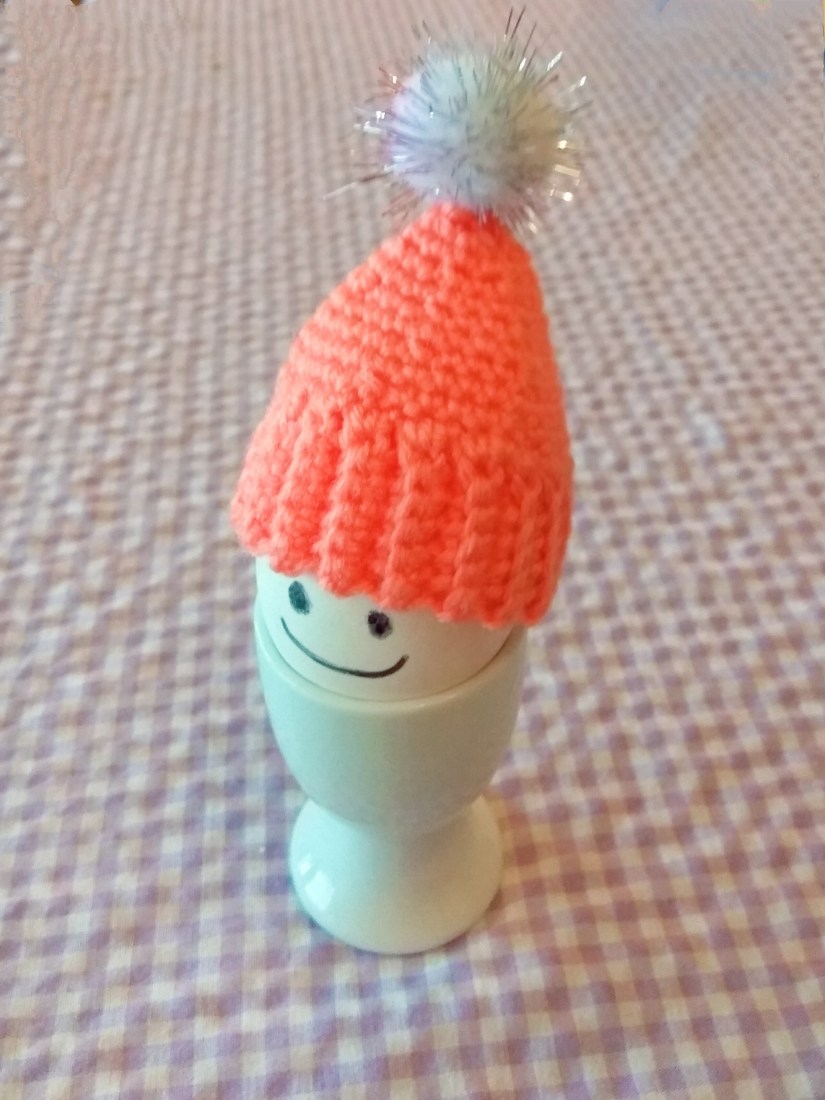
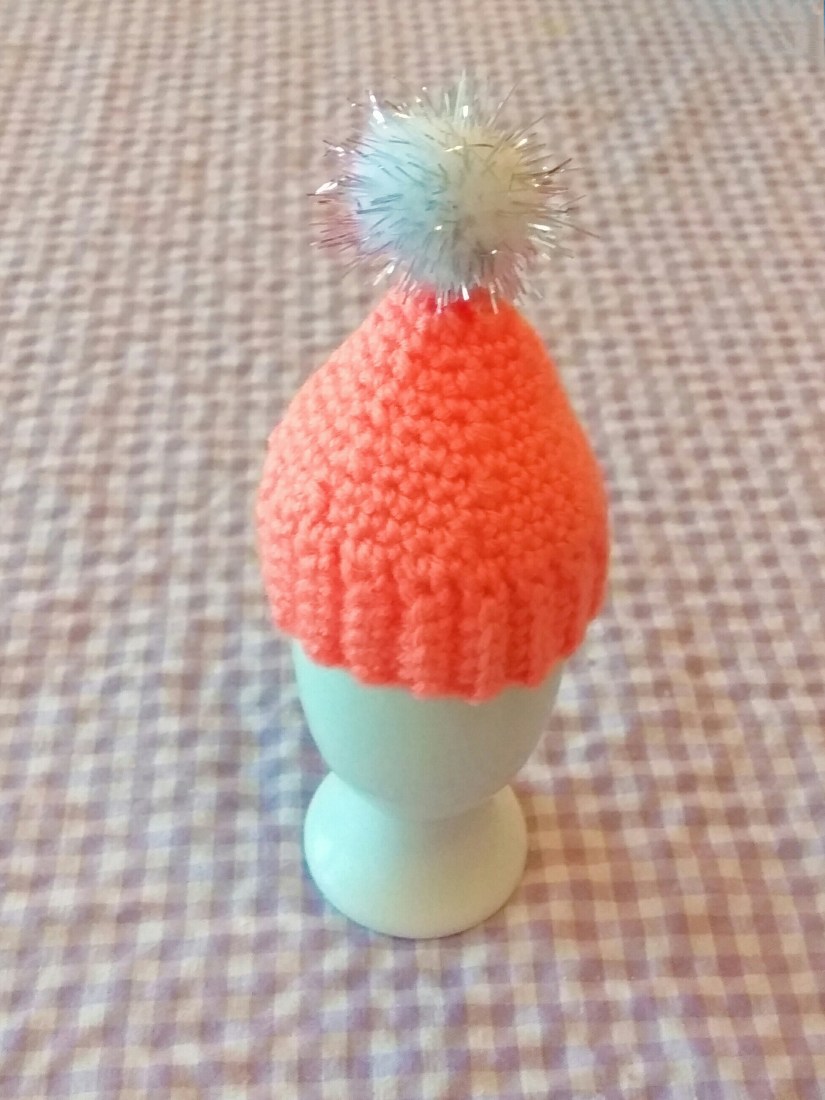
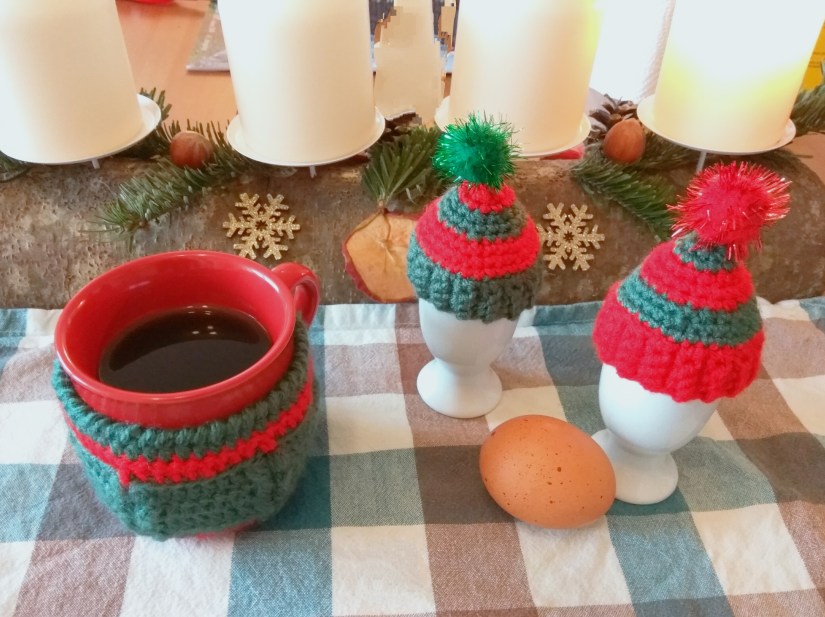
Winter Breakfast Decoration: Egg Cosy Crochet Hat

Here is very simple way to make a regular breakfast become special! It took 2 hours to make the egg cosy.

This patter is also available  on Instagram!

You will need:

  • 3.5 mm or 4 mm crochet hook
  • Salmon colour yarn recommended for the hook
  • Scissors
  • Needle and string
  • Pompon or anything you want to use for decoration of the hat

Abbreviations:

  • ch – chain
  • sl st – slip stitch
  • st – stitch
  • sc – single crochet
  • dec – 2 sc together (used to decrease the number of stitches)
  • X 6 – repeat 6 times
  • at the end of every round total number of stitches is shown in brackets

IMG_20181202_115804

Instructions:

We start with the ribbing, make 5 ch (the last, 5th ch is a turning ch)
Rounds 1-36: sc in next 4 st IN BACK LOOPS ONLY, 1 turning ch (4)

Round 36: now we are going to close the rubber. Insert the hook in the last st of the last and the first rounds at the same time, make sl st in next 4 st (4)

Now we are crocheting the “body” of the hat. So I start counting the rounds again.

Round 1: 1 ch, sc in next 36 st (36)

Round 2: (sc in next 4 st, dec) X 6 (30)
Round 3: sc in all st (30)
Round 4: (sc in next 3 st, dec) X 6 (24)
Round 5: sc in all st (24)
Round 6: (sc in next 2 st, dec) X 6 (18)
Round 7: sc in all st (18)
Round 8: (sc in next st, dec) X 6 (12)
Round 9: sc in all st (12)
Round 10: (dec) X 6 (6)
Round 11: sc in all st (6)
Round 12: Closing the hat: dec, skip 1 st, sl st, fasten off, cut the yarn and weave in all ends.

Now sew the pompon, decorate the hat and it is finished!

IMG_20181202_115900

Invite guests for a cosy Sunday breakfast and decorate the table!

IMG_20181208_111821

Merry Christmas! Ho Ho Ho!

Did you like to crochet with the tutorial? Check out my other patterns here!

You might also like:

IMG_20181128_194949

Mulled Wine Mug Cosy – Cabled Pattern
IMG_20181027_221058

Uncategorized

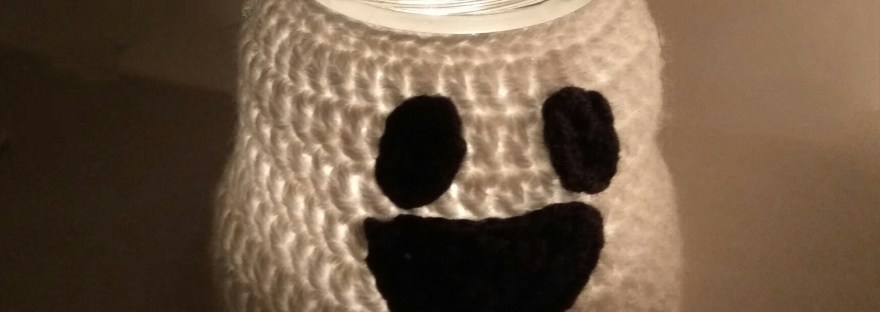
Halloween Decoration Ghost Light – Free Crochet Pattern

Halloween, night, darkness…
It’s time for ghosts to come out! Creat a special atmospere at home and decorate rooms or maybe a garden or an enterence door yourself!
Simple pattern, basic crochet skills, creativity and a bit of yarn – this is what you need today!

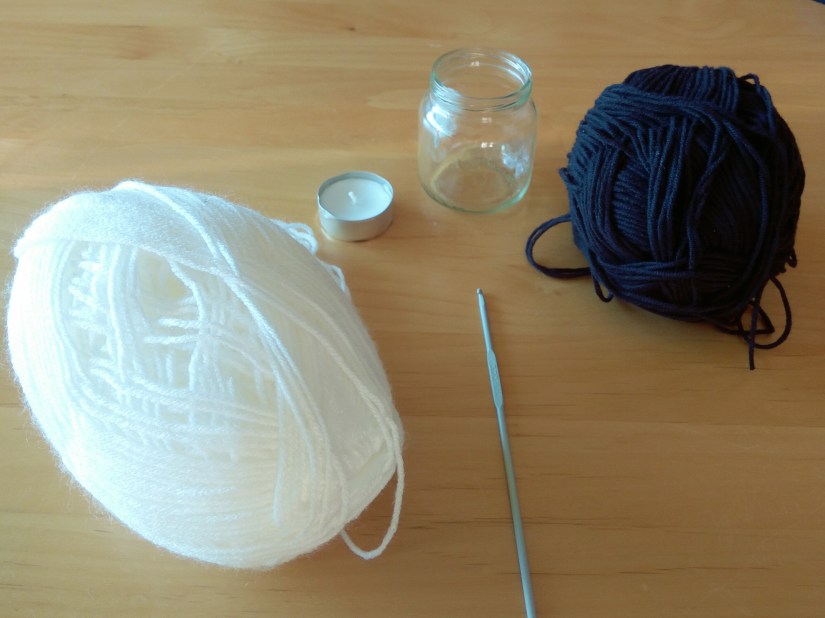
You will need:

  • 3.00 mm crochet hook
  • white and black yarn recommended for the hook
  • Scissors and sewing needle
  • a jar (I took jars of baby food, smaller one is 7 cm in height, the bigger one is 11 cm)

IMG_20180915_220706

Abbreviations:

  • ch – chain
  • st – stitch
  • sc – single crochet
  • dec – 2 sc in one st  (used to decrease the number of stitches)
  • rev sc  – reverse sc (note: reverse sc is a regular sc but in the opposite direction)
  • dc – double crochet
  • dinc – 2 dc in one st (used to decrease the number of stitches)
  • X N – repeat N times
  • at the end of every round total number of stitches is shown in brackets

Instructions:

Note: every round (2-9) starts with 3 ch (which is counted as a first dc in the pattern) and ends with sl st. 

Work with the white yarn.
Round 1: 40 ch, sl st (40)
Round 2: sc in all st (40)
Round 3: (dc in next 7 st, dinc) X 5 (45)
Rounds 4-7: dc in all st (45).  Note: If you are working with the bigger jar, crochet 6 more rounds like that!

IMG_20180917_114424
Round 8: (dc in next 4 st, dinc) X 9 (54)
Round 9: (dc in next 5 st, dinc) X 9 (63)
Round 10: 1 ch, rev sc in all st, sl st (63)


Fasten off, cut the yarn and weave in both ends.

Ghost face:

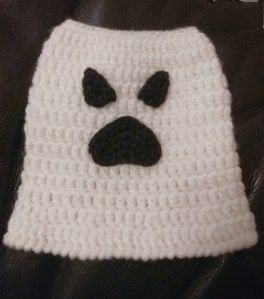
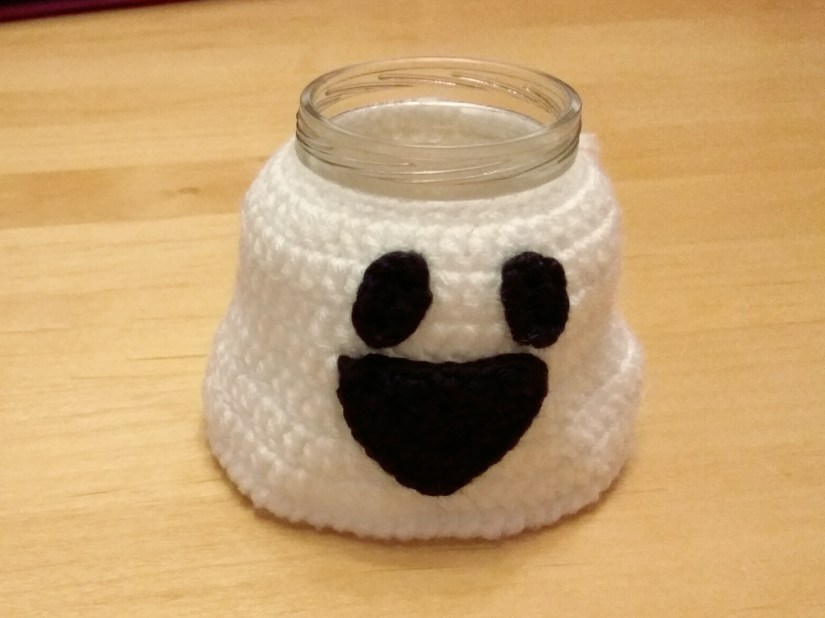
Here I give you some options for ghost face expressions, combine them in the way you like or think of your own ideas! Crochet the face using black yarn.

Standard eyes (make two):

4 ch, 3 sc in the 2nd ch from the hook, sc in next ch, 3 sc in next ch, continue crocheting around: sc in next st, sl st. Fasten off and cut the yarn leaving a tail for sewing.

Evil eyes (make two):

Round 1: 6 sc in Magic ring
Round 2: sc in next st, 2 ch, turn the eye and continue crocheting in the opposite direction
Round 3: sc in next 2 st, sl st in next 2 st, sc in next st. Fasten off and cut the yarn leaving a tail for sewing.

IMG_20180923_204849

Howling mouth:

9 ch, turn and crochet around the chain
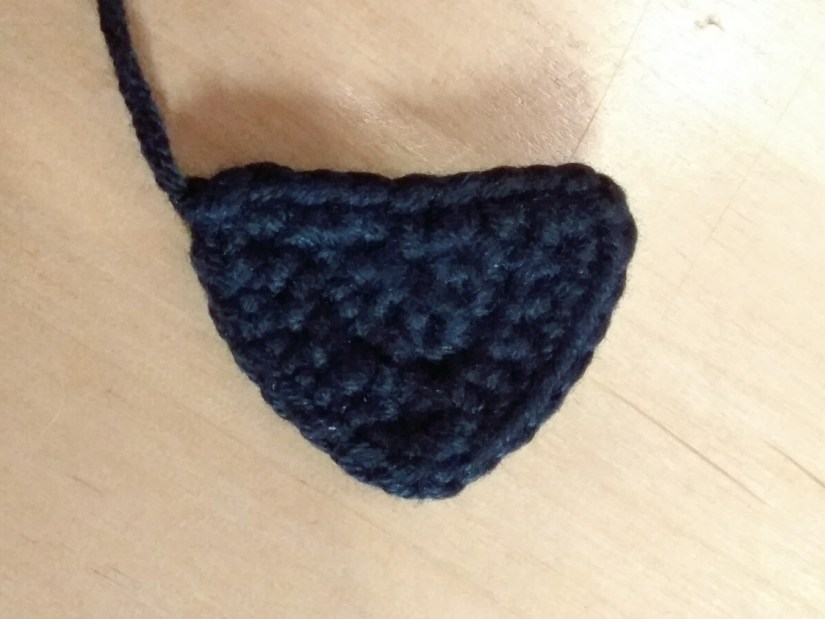
Round 1: sc in next 3 st, dec, sc in next 2 st, 3 sc in next st, sc in next 2 st, 3 sc in next st, sc in next 2 st, 2 sc in next st
Round 2: 2 sc in next st, sc in next st, dec, dec, sc in next st, 3 sc in next st, sc in next 4 st, 3 sc in next st, sc in next 3 st, sl st in the back loop of the next st, sl st in the back loop of the next st. Fasten off and cut the yarn leaving a tail for sewing.

Smile:

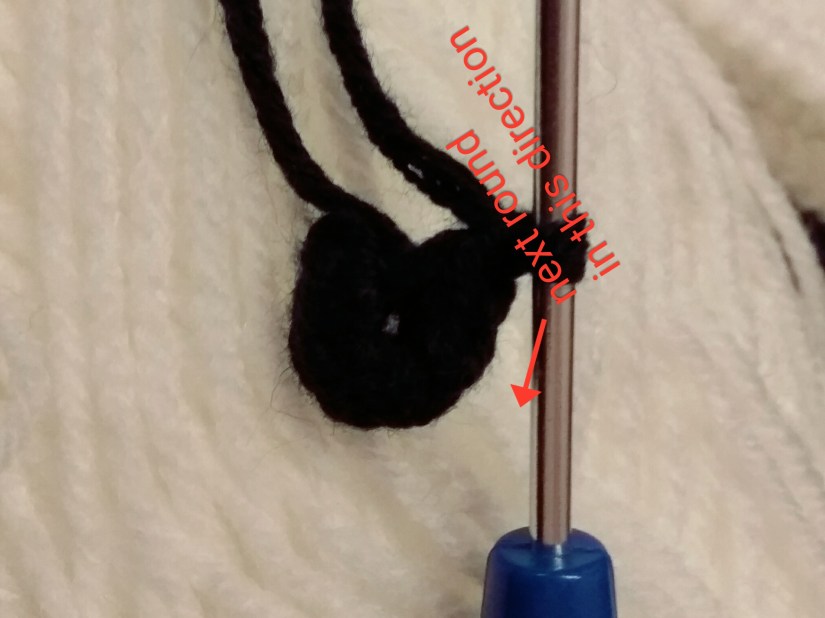
Round 1: 6 sc in Magic ring, 1 ch (6), don’t join the circle as shown below

IMG_20180918_211802

Crochet to the other direction and change direction after every round:
Round 2: sc in next 2 st, 2 sc in next st, 1 ch, 2 sc in next st, sc in next 2 st, 1 ch (9)
Round 3: sc in next 4 st, 2 sc in next st, 1 ch, 2 sc in the same st, sc in next 4 st, 1 ch (13)
Round 4: 2 sc in next st, sc in next 6 st, 1 ch, sc in the same st, sc in next 5 st, 2 sc in next st, 1 ch (17)
Continue crocheting in the same direction:
Round 5: sc in the same st, sc in next 2 st, sc in magic ring, sc in next 3 st, sl st (7)
Fasten off and cut the yarn leaving a tail for sewing.
IMG_20180918_211537

Now sew the face to the ghost’s body and the work is done!

IMG_20180918_221412

Think about crocheting a small basket for sweets? You can use this pattern for it, just take orange and/or black yarn instead of the packing twin!

Did you like to crochet with the tutorial? Check out my other patterns here!

You may also like:

Crochet Halloween Decoration Spider

SAVE_20180910_194121