Uncategorized

Zero Waste Crochet: 10 Ideas How to Crochet Environmentally Friendly

I am very excited to finally share this post with you! The idea to write about Zero Waste Crochet came to me about 3 years ago after I have watched a documentary movie about huge damage we make to our planet by producing tonnes of waste. Then I thought that the post was not good enough and I kept postponing finishing it. But I can’t hold it anymore so here it is 🙂

So here are my tips and ideas how to be an environmentally friendly crocheter!

  • 1. Recycling & crochet: use trash as a noise makers

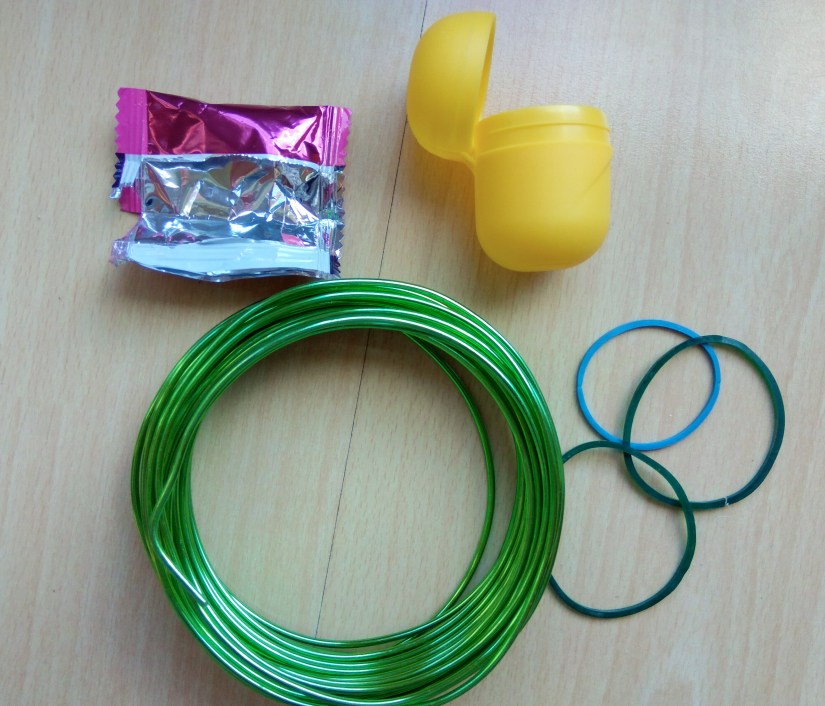
Some of the things which we usually throw to the trash bin might be very useful for our crochet projects! For example, candy packaging or a chocolate surprise egg (well, its plactis part) can be used as noise makers for rattle toys or crochet baby books. Here is a post about unusual amigurumi stuffings!

IMG_20180202_161505

  • 2. Recycling & crochet: stuffing for bigger projects

For bigger crochet projects which have to be heavy and full of stuffing you can use old (and clean 🙂 ) clothing, for example socks, leggings, t-shirts.

I have stuffed my window draught stopper with old clothes!

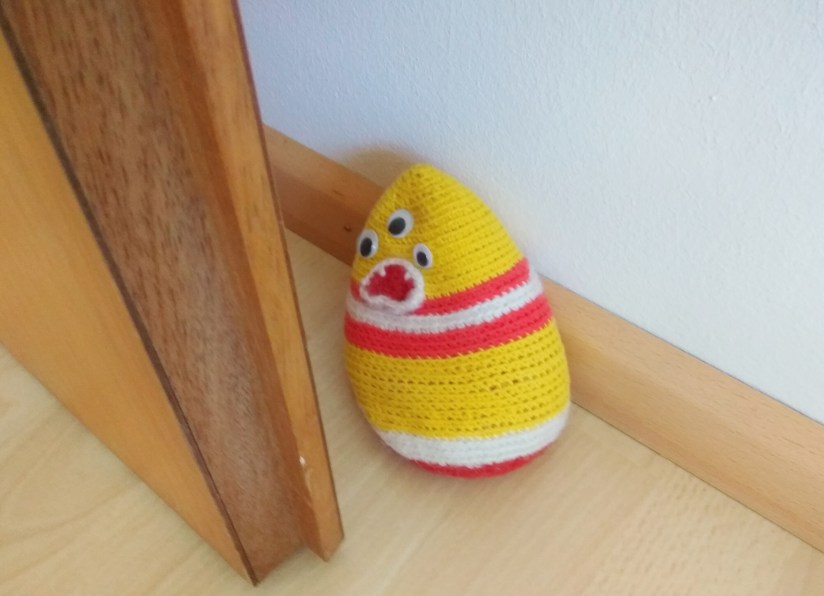
And I don’t even remember what I have put in the monster door stopper, but it is very heavy!

IMG_20180202_161005

  • 3. Recycling & crochet: T-Shirt Yarn

Speaking of the t-shirts! The best way to recycle old t-shirts is to make stylish modern yarn out of it! Here you can find a good tutorial how to do that.

  • 4. Recycling & crochet: don’t throw away old crochetness!

Sometimes old funny things I have crocheted lay around in my closet for years and when I finally what to get rid of it, my first thought is to throw it away. Instead, you can use the yarn for another project!

IMG_20180202_153126

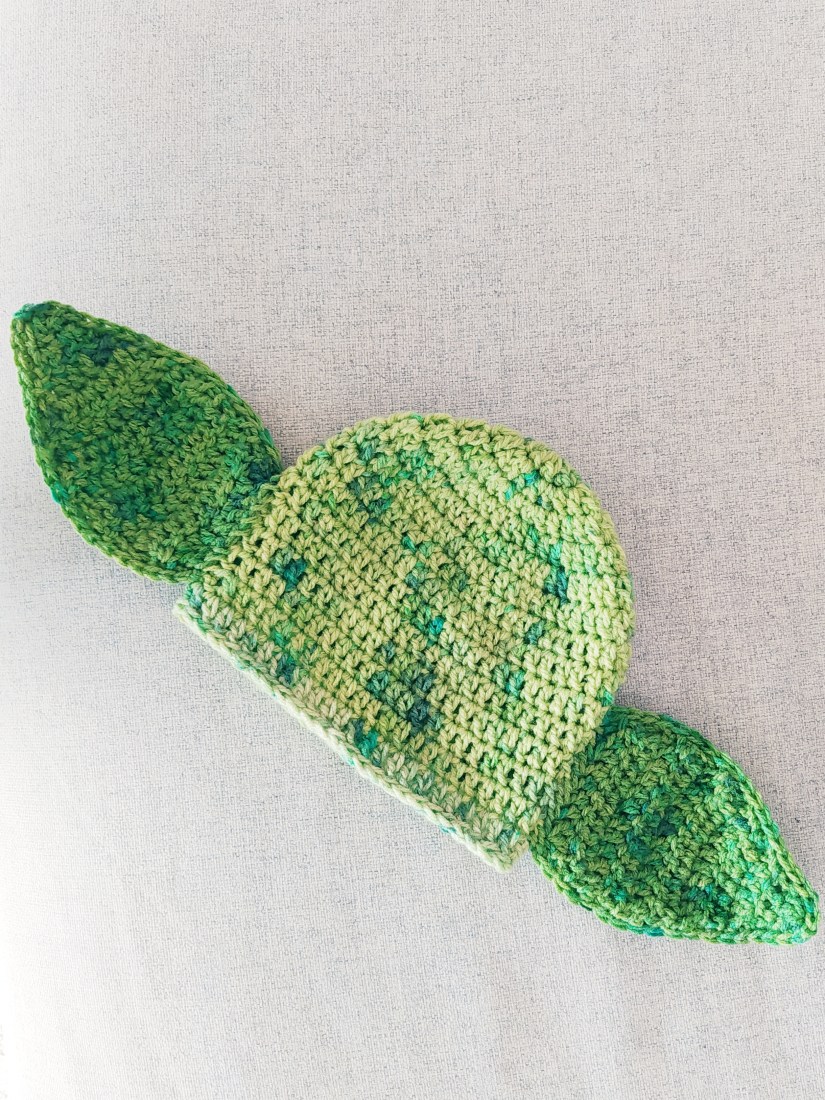
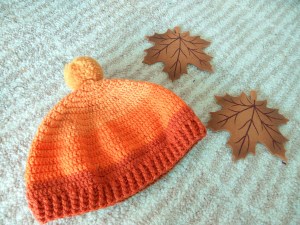
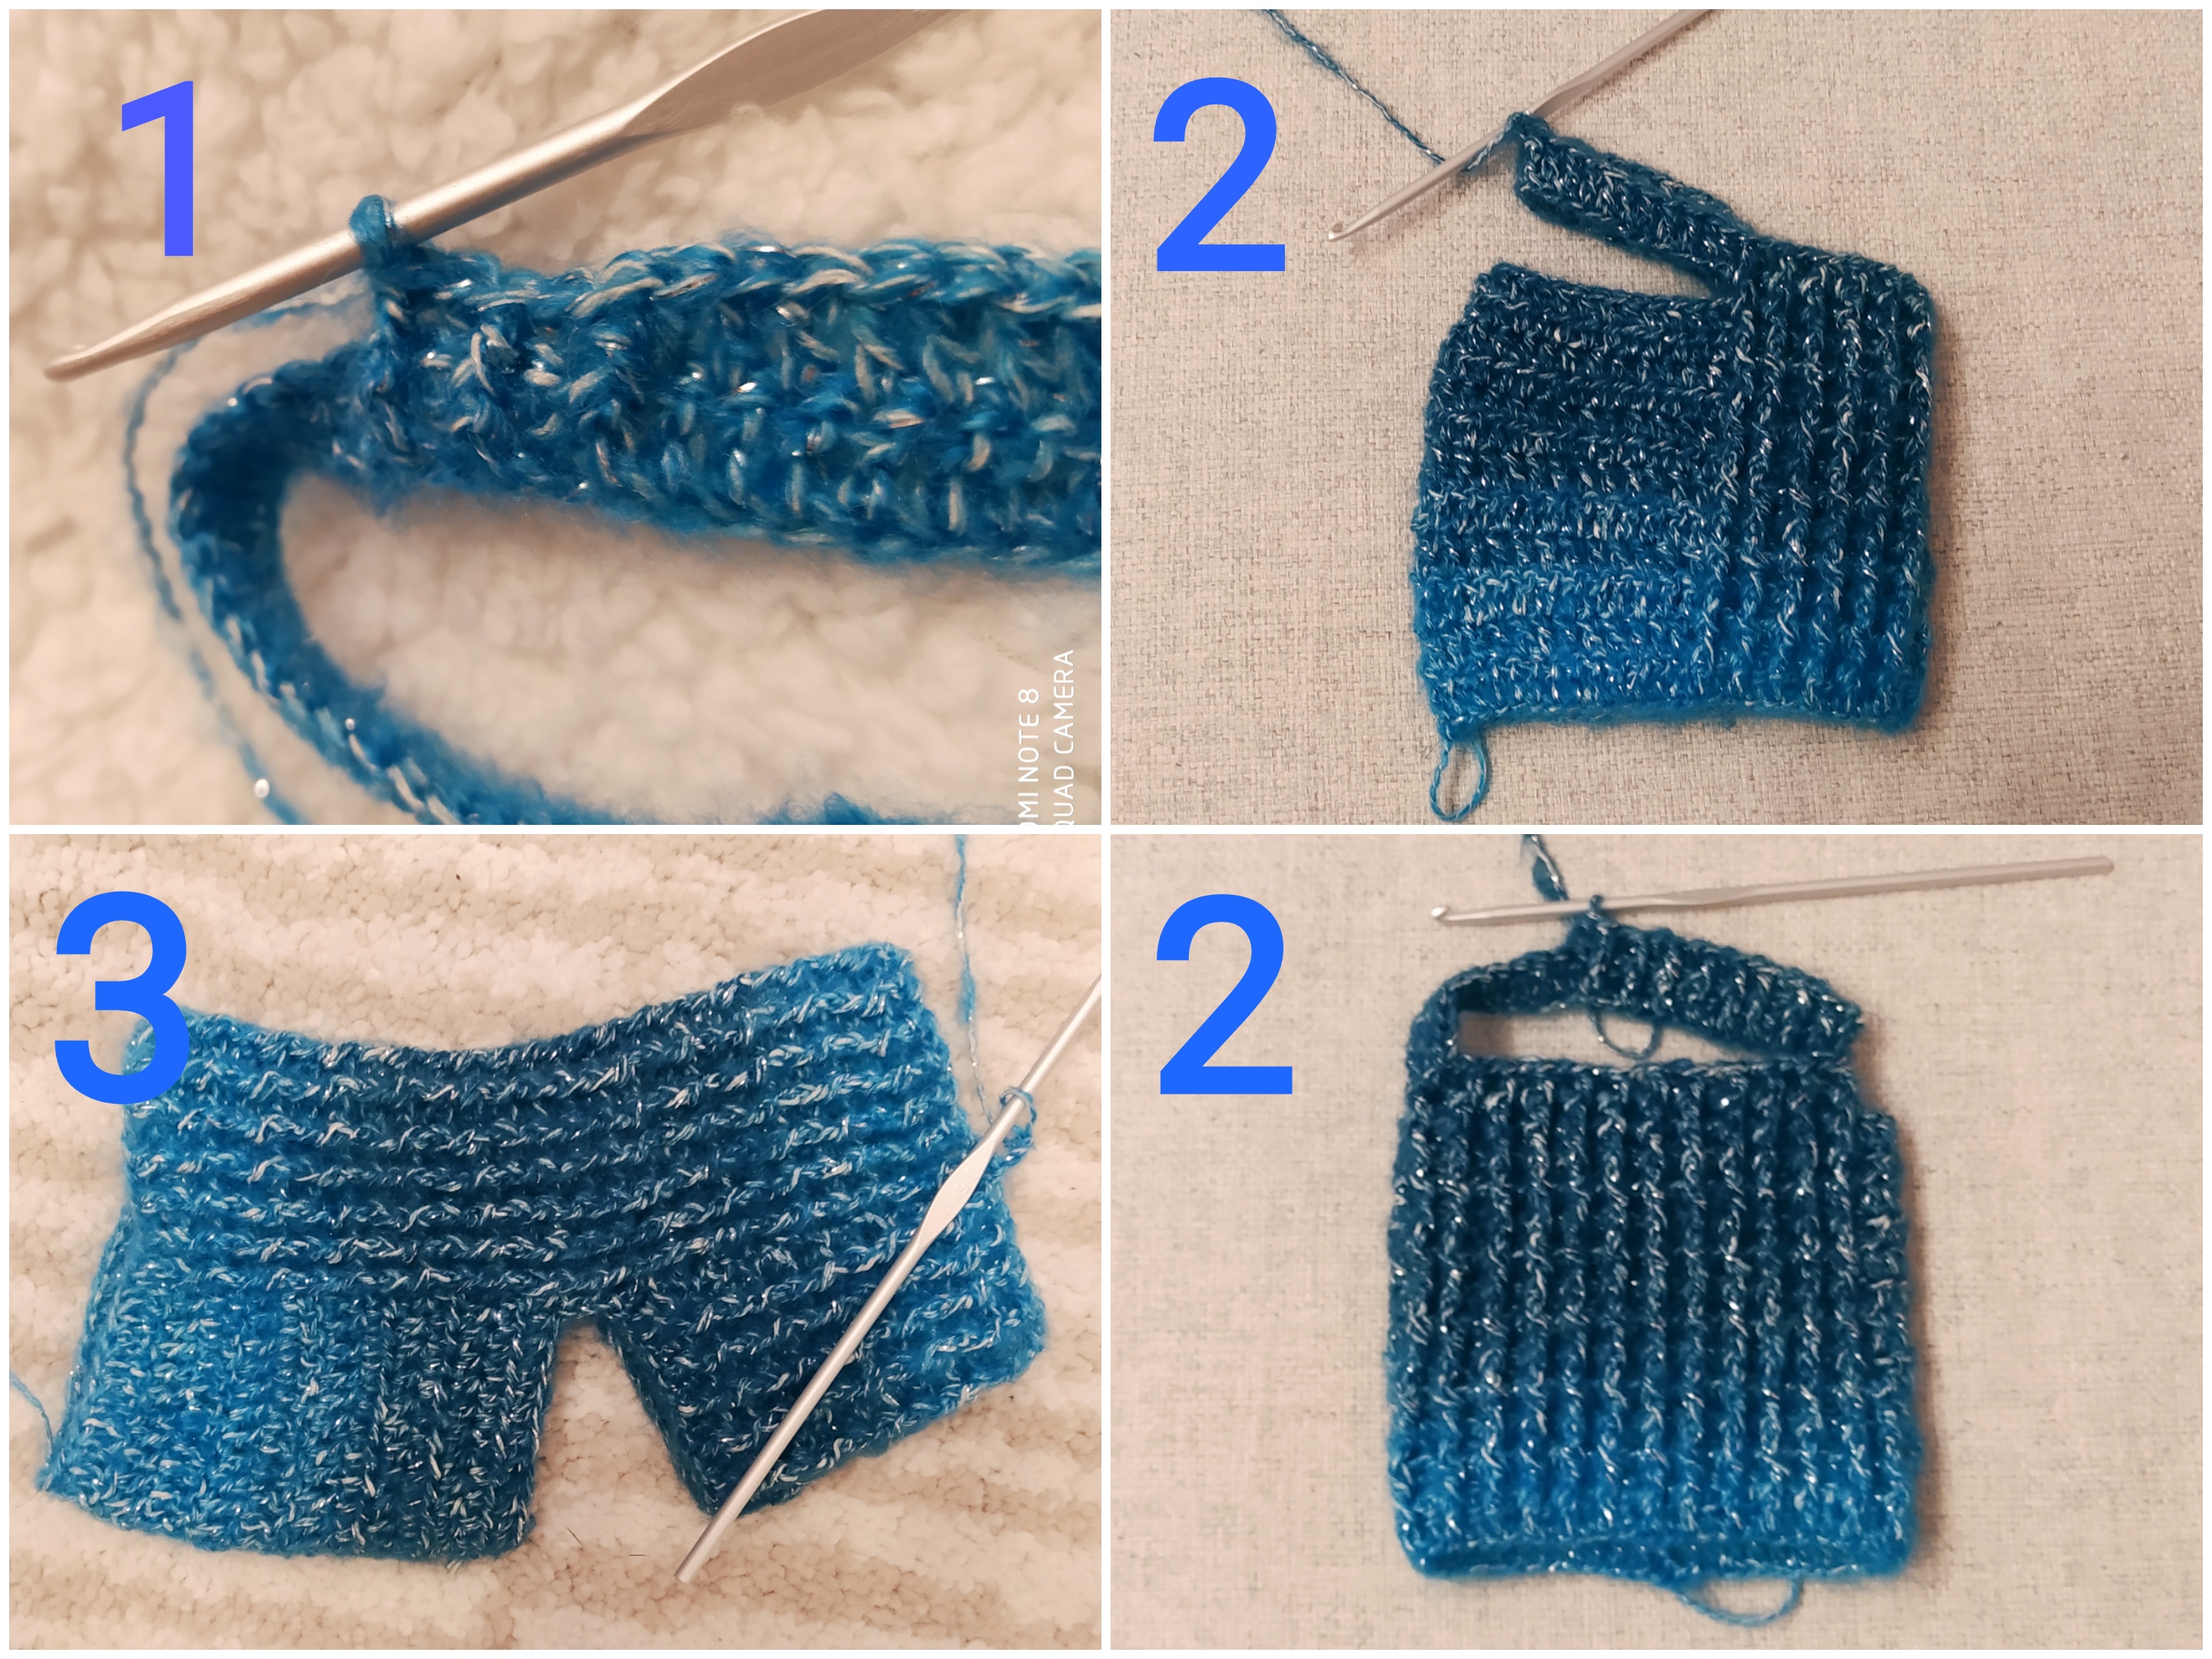
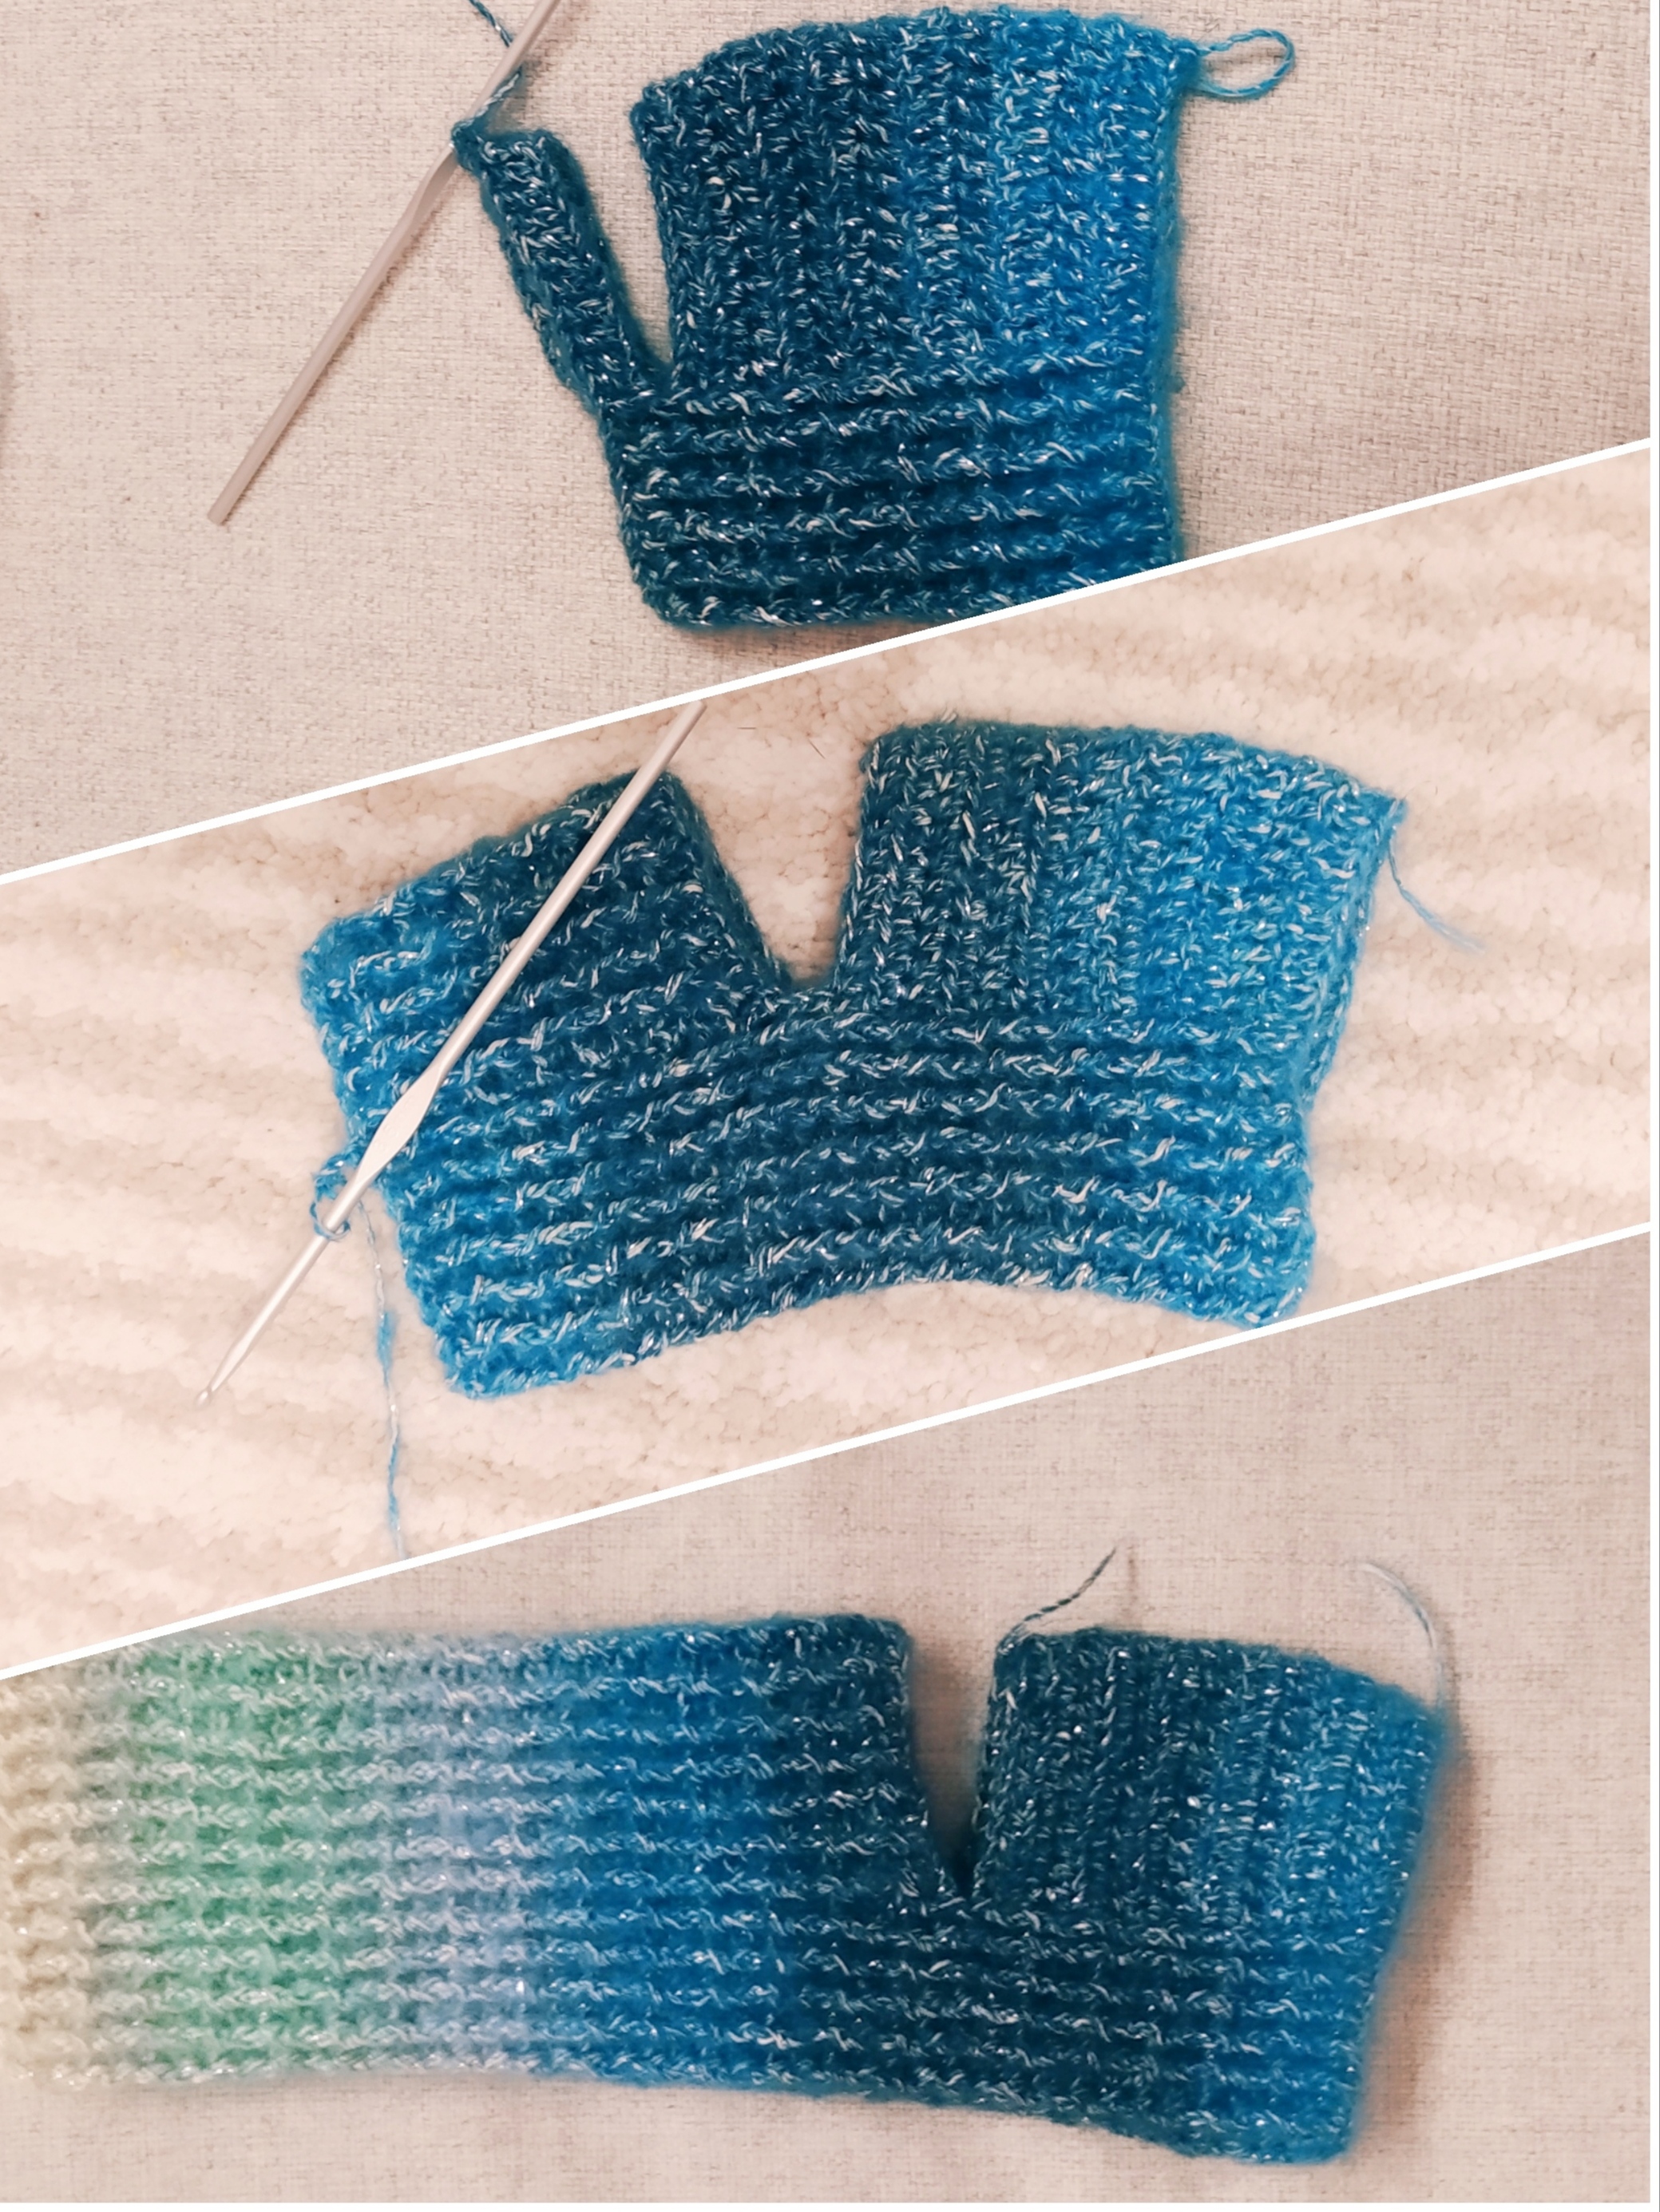
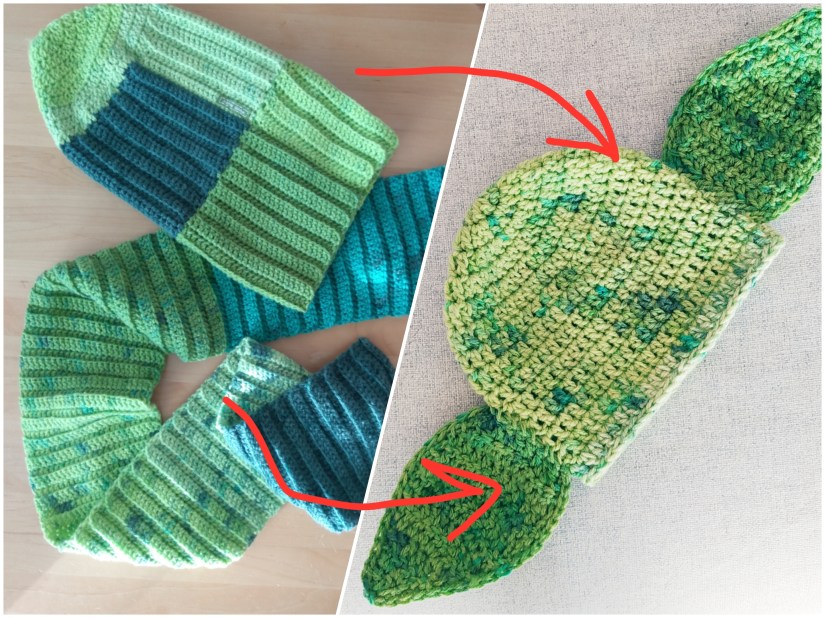
Or the same idea but hte other way around: if you need yarn of certain colour for your next project: don’t run to buy it right away but have a look if you have an old scarf or a hat of this colour. Maybe it is time to give the yarn a second life 🙂 Using the yarn of my old hat and scarf, I have crocheted a baby yoda hat for my son:

IMG_20200306_153853

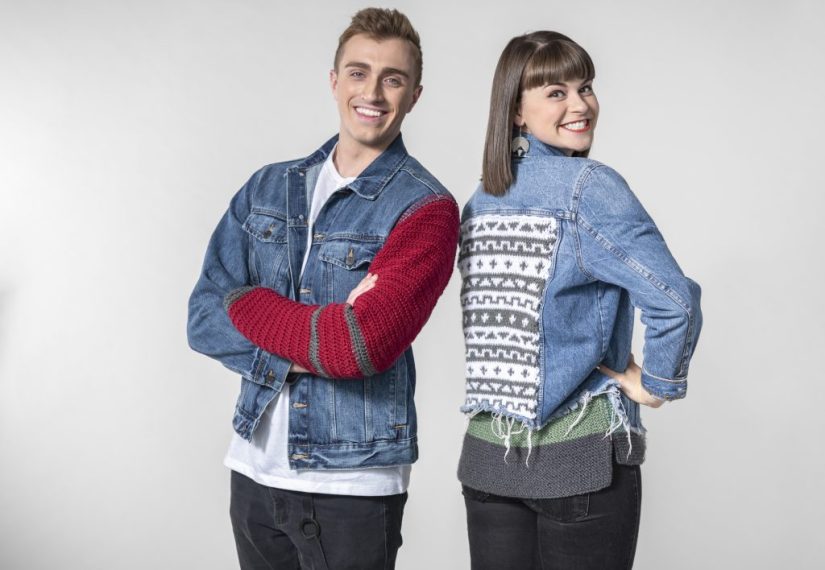
  • 5. Recycling & crochet: combine old clothes with crochet

There are so many great ideas how to refresh your old clothes by adding crochet elements to it! I am sure if you have a look at couple of ideas, you will be very inspired!

This post has inspired me to keep my old jeans jacket and turn it into something cool:

20190612_11855_Morgan-Woltersdorf_Vincen-10-1024x708

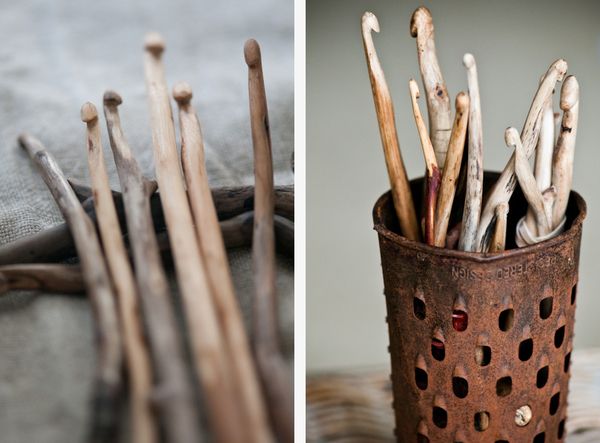
  • 6. No plastic & crochet: wooden crochet hooks

There are so many amazing handmade wooden crochet hooks out there! We use crochet hooks every day and for a long time so it is nice to use natural materials instead of supporting cheap plastic hooks production.

crochet-hook-2039-680x1024_large

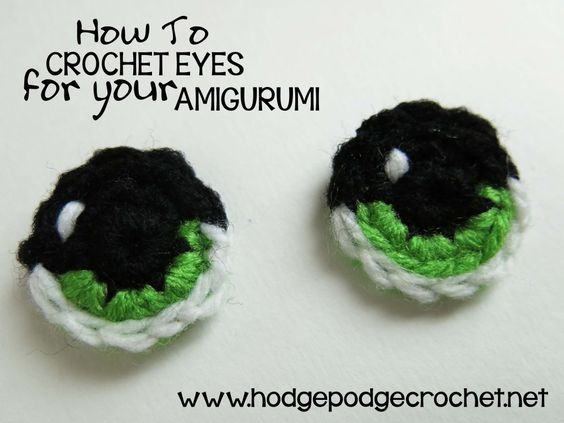
  • 7. No plastic & crochet: amigurumi eyes

Instead of going to a store and buying plastic safety eyes for amigurumi, consider crocheting them! You will be surprised how nice they can turn out! And you are much more flexible with the style and shape, even better! Here is a tutorial how to crochet amigurumi eyes.

1aa186ae407d5fff170995bbe893a0fd

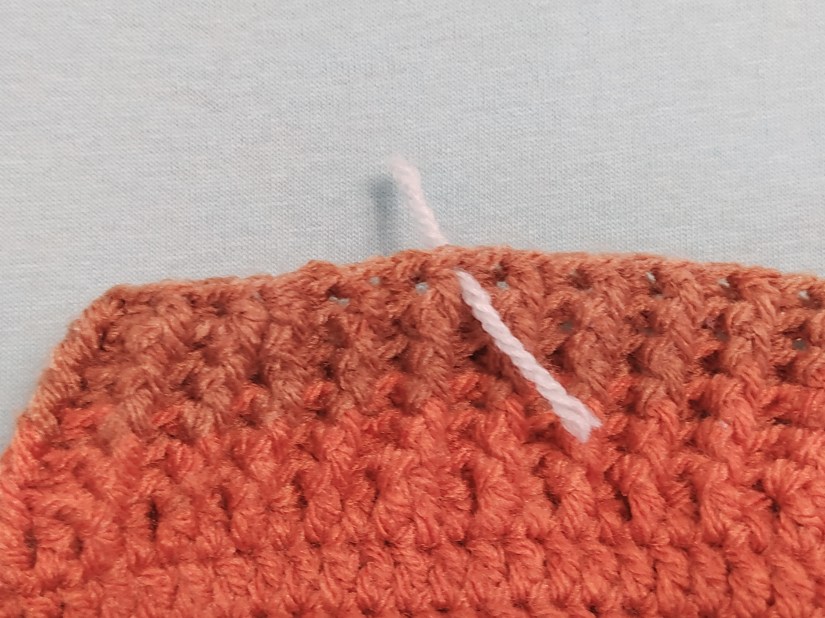
  • 8. No plastic & crochet: left over yarn as a stitch marker

Stitch marker is also one of the typical plastic crochet supplies. If you want to use zero plastic and if you don’t want to support plastic manufacture, consider using just a left over yarn end. It is much easier to use than the plastic one which you have to unlock/lock every round.

IMG_20200306_153403

  • 9. Smart Crochet: do not throw away yarn left overs!

If the left over yarn balls are so small that it is not enough for anything useful, do not think of throwing it away (even if you need space in the yarn shelf)! You can use the yarn for small things like amigurumi accessories or Barbie clothing. Or think of combining all the left overs in a colourful project. You can get some inspiration here:

Also very short yarn ends you should not throw away. Instead, you can stuff with it small details of your amigurumi: arms, legs, ears. Or use it as a stitch marker (I mentioned it above). If you do not know where to store it, you can crochet a stylish storage box, there it will look like decoration for your room!

IMG_20180114_150958

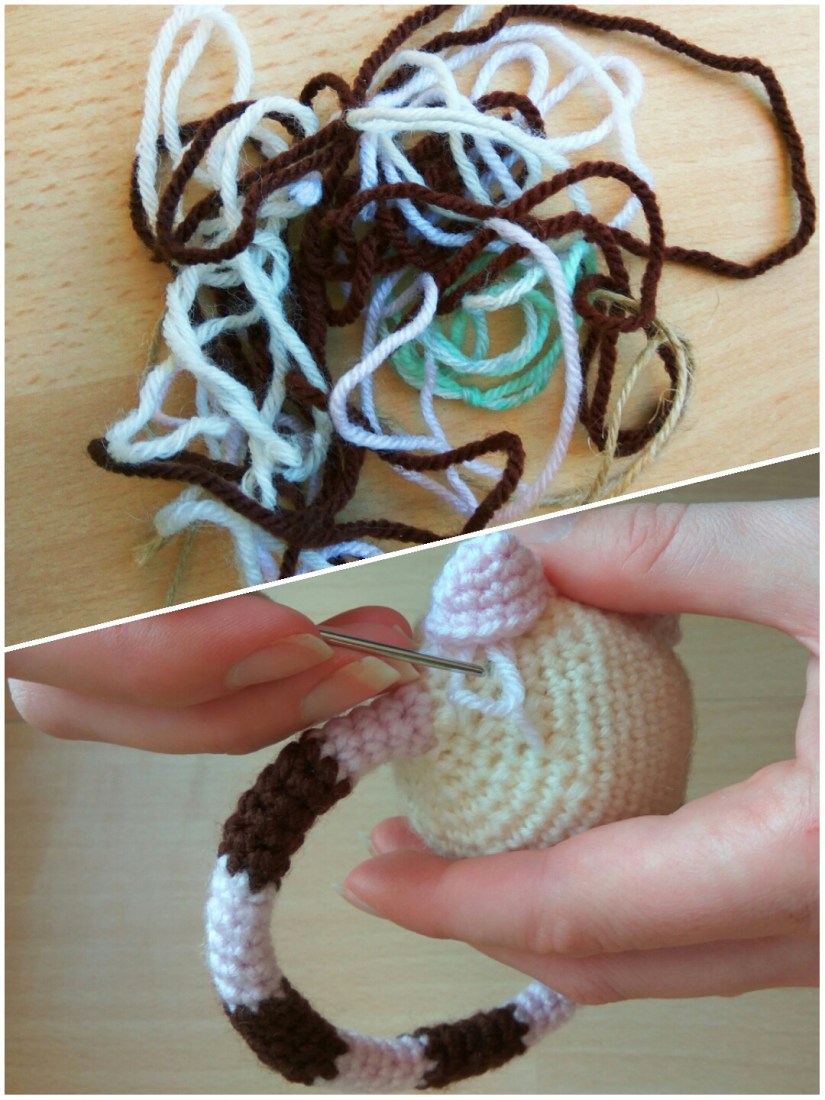
  • 10. Smart Crochet: Change colours smartly

If you go for colourful prjects, research how to change the colours smartly. It is crazy how much yarn you can save by taking care of it! Here is a very good post whith some changing colours techniques.

So these are my ideas how to respect our planet while crocheting 🙂 Maybe you have some more tips? I am looking forward to hearing them! Contact me here or on Instargam @nicecrocheting or just mark your post with the hashtag #crochetforfuture.

Crochet for Future

IMG_20200228_201230


Uncategorized

Crochet For Future

You all know about the Fridays for future, right? I find the idea really cool: a community gets together regularly and addresses a global problem, brings attention of the society to this problem.

This makes one feel like one can really change or influence something. So I realize, there is so much I want to say and I want to share it with you as much as I want to hear your voices!

I want to introduce a hashtag #crochetforfuture in instagram and every Friday I am going to write a post/stories/anything related to global topics and how we can make the world a better place as crafters and crocheters.

Just write about any problems and how crochet can help or about any act of kindness related to crochet. Or about smaller things like … lets say, you saw a cool funny crocheted hat in a bus and it made you smile. Please dont forget to mention #crochetforfuture so we can build a sub community and discuss how we can save the world together!

You can find me on instagram: @nicecrocheting

Thanks a lot!

Uncategorized

Disinfection Lotion Case Free Crochet Pattern

This week famous Corona virus has reached Freiburg. But we have got nothing to worry about if we keep taking care of simple hygiene measures! Regular hands disinfection after contacts with door handles in public places is one of them. To keep a disinfection lotion always close and still be stylish? Possible if you have a nice looking lotion case 🙂 I have crocheted one yesterday and now I want to share the pattern with you! You can hang it on your purse or belt.

PS: I was really lucky to get the last bottle of disinfection in a store so if you still have none, go and get one right now!

IMG_20200229_131913

You will need:

  • 3,5 mm crochet hook
  • Cotton green yarn leftovers
  • scissors

Abbreviations:

  • ch – chain
  • st – stitch
  • sl st – slip stitch
  • sc – single crochet
  • dc – double crochet
  • inc – 2 sc in one st (used to increase the number of stitches)
  • FPdc – front post double crochet
  • BPdc – back post double crochet
  • BPtrc – back post treble crochet (American terms)
  • X N – repeat N times
  • at the end of every round total number of stitches is shown

The pattern:

5 ch
Round 1: 3 sc in the 2nd ch on the hook, sc in next 2 st, 3 sc in next st,s in next 2 st (10)
Round 2: inc, sc in next st, inc, sc in next 2 st, inc, sc in next st, inc, sc in next 2 st (14)
Round 3: sc in next st, inc, inc, inc, sc in next 4 st, inc, inc, inc, sc in next 3 st (20)
3 sl st, dc in next 5 st, 3 ch, turn the crochetness.

Now we crochet a side part of the case. Just continue crocheting up the line 5 st thick. Turn the crochetness after every round. 3 turning st are counted as a st.
Crochet up, I will call the next round R2 and count the rounds further.
R2: skip 2 st and BPtrc in the 3rd st, BPdc in the previous st (the 2nd skipped st), BPtrc in the previous st (the 1st skipped st), dc in the last st of the round (5)
R3: 3 ch, FPdc in next 3 st, dc in next st (5)
R4-7: repeat R2, R3, R2, R3
R8: 3 ch, BPdc in next 3 st, dc in next st (5)
Your current crocheting is pictured on the Pic 1 below. Fasten off, cut the yarn and weave in the end.
Now look at the bottom part (Round 3) and skip 5 st from the side part you have completed. Insert the hook in the 6st st and make dc in next 5 st. 3 ch and turn the crochetness. Repeat R2-R8 but don’t fasten off, 5 ch, SC in next 5 st (upper round of the first side part), 5 ch, sc in next 6 st.
You are now at the pic 2 below.
Round 4: 2 ch and crochet 4 dc the next 4  at all together, dc in next 5 st, next 5 dc together, dc in next 5 st. Picture 3 below. Fasten off  and cut the yarn.
85 Ch, pull it through the bottom part in two side points, join the chain inside the case. See the Picture 4 below. Cut the yarn.
Weave in all ends. Place the disinfection lotion bottle inside.

IMG_20200229_172629

Aaand tadaaa, the case is finished! Hang it on your purse!

IMG_20200229_132038

Was it fun to crochet with this tutorial? Have a look at my other patterns, maybe you will find something you like there!

You may also like:

Baby Yoda Crochet Hat Free Pattern

IMG_20200224_105321

Yoga Socks Free Crochet Pattern

IMG_20200202_130414

St. Valentine’s Day – 5 Crochet Gift Ideas for Him

IMG_20180126_095400

Nicecrocheting is on Instagram now!

IMG_20200118_132217

Egg Cozy Baby Yoda

IMG_20200122_162629

Adorable Plush Bunny Crochet Pattern

IMG_20200114_151946

Cupcake Box Free Crochet Tutorial with Pictures

IMG_20200104_212801

Uncategorized

Baby Yoda Hat Free Crochet Pattern

The carnival time in Germany is almost over and we can relax again because last days we did nothing but prepared our costumes for going out today, on Rose Monday. Sadly I got sick and couldn’t wear my outfit, but I keep the idea and surprise you next year 😉

Today I want to talk about the costumes of my boys who dressed up as the Mandalorian and the Child (or baby Yoda as we all like to call him). It’s amazing how much we can make crocheting so I share the pattern with you and if you like the idea, you might want to surprise your friends for the next costume party!

Materials:

  • 6 mm crochet hook
  • recommended for the hook green yarn (I used a left over green yarn (175 m = 100 g) that is why inner part of the ears is darker. You might want to use the same colour for all parts)
  • scissors

Abbreviations:

  • ch – chain
  • st – stitch
  • sl st – slip stitch
  • dc – double crochet
  • dinc – in this case: 2 double crochet in 1 st
  • ddec – crochet 2 dc together
  • (…) X 10 – repeat “…” 10 times

The hat is for a 2-4 years old child (52-54 cm head size). The hat consists of a regular beanie and ears. The pattern is very universal so if you just want to make a beanie: follow the pattern, ignore the ears and put your own accessories! You can also see the post on Instagram @nicecrocheting!

The Pattern

The beanie:

Note: every round starts with 3 ch which are counted as one dc in the pattern!!!
Round 1: 10 dc in the magic ring; sl st to the 1st dc of the round to join (10)
Round 2: 2 dc in each st around, sl st to the 1st dc of the round to join (20)
Round 3: (2 dc in the first st, 1 dc in the next st) 10 x, sl st to the 1st dc of the round to join (30)
Round 4: (2 dc in the first st, 1 dc in each of the next 2 sts) 10 x, sl st to the 1st dc of the round to join (40)
Round 5: (2 dc in the first st, 1 dc in each of the next 3 sts) 10 x, sl st to the 1st dc of the round to join (50)
Round 6: (2 dc in the first st, 1 dc in each of the next 4 sts) 10 x, sl st to the 1st dc of the round to join (60)
Round 7: 1 dc in each st around, sl st to the 1st dc of the round to join (60)
Rounds 8-15: repeat round 7 (60)
Round 16: a decorative round, optional: 1 sl st (loosely) in each st around, finish off and weave in ends (60)

Ears (make 2 pairs):

Note: every round starts with 3 ch which are counted as one dc in the pattern!!!
Round 1: 2 dc in magic ring (2)
Round 2: 2 dc in all st (4)
Round 3: (2 dc in next st, 1 dc in next st) X 2 (6)
Round 4: (2 dc in next st, 1 dc in next 2 st) X 2 (8)
Round 5: (2 dc in next st, 1 dc in next 3 st) X 2 (10)
Round 6: (2 dc in next st, 1 dc in next 4 st)X 2 (12)
Rounds 7-9: dc in all st (12)
Round 10: dc, ddec, dc in next 6 st, ddec, dc (10)
Round 11: dc, ddec, dc in next 4 st, ddec, dc (8)

IMG_20200224_130153

Fasten off, cut the yarn. This is one side of one ear. Make the second side the exact same way but don’t cut the yarn at the end. Insert the crochet hook in the corresponding corners of two sides together and crochet around (sc) the two sides. When you reach the end of the ear fasten off and cut the yarn leaving a tail for sewing.

Make the second ear the exact same way and see both ears to the hat.

IMG_20200222_152841

Was it fun to crochet with this tutorial? Have a look at my other patterns, maybe you will find something you like there!

You may also like:

Egg Cozy Baby Yoda

IMG_20200122_162629

Autumn Crochet Hat for Kids 

IMG_20191020_144927

Uncategorized

Yoga Socks Free Crochet Pattern

IMG_20200317_194224

Most of my days start with Yoga with Adriene and I love it. But when I practise yoga somewhere else I often get cold feet (literally:) ) Because I am a crochet addict I want to crochet everything so here are my yoga socks with nacked toes and heel for the best practise. Also I was really lucky to get an awesome yarn of “ocean” colours with a gradient. I love the yarn so much and the colours match so much to practising yoga. So I want to suggest you to get a yarn that you will like, or that will make you calm. One more important thing: the yarn should be soft and pleasant for your skin, otherwise you will get desturbed during the meditation time.

You will need:

  • 3,5 mm crochet hook
  • super nice yarn matching the hook size
  • scissors

Abbreviations:

  • ch – chain
  • st – stitch
  • sl st – slip stitch
  • sc – single crochet
  • hdc – half double crochet
  • dc – double crochet
  • FPdc – front post double crochet
  • BPdc – back post double crochet
  • X N – repeat N times
  • at the end of every round total number of stitches is shown

_T3qPTGA

Pattern:

Round 1: make 50 ch, join the last and the first st with a sl st
From now on you will make 3 ch starting a new round (this turning st will be counted as 1 st), then turn crocheting to go to the opposite direction. At the end of every round join the round with a sl st. I will mention it only in the Round 2 for you to understand how it looks like.
Round 2: 3 ch, dc in all st, sl st, 3 ch and turn the crocheting (50)
Round 3: (FPdc, BPdc) X 12, hdc in next 25 st (50, remember: 3 ch counts as 1 st)
Round 4: hdc in next 24 st, and then crochet FPdc in the BPdc of the previous round and the BPdc in the FPdc of the previous round (because you have turned the crocheting, the post stitches will “look” to the same direction from round to round and the crochetness will look like a ribbling) (50)
Now repeat Rounds 3 and 4 fives times each.
You have got 14 Rounds.
Round 15: repeat the Round 3
Round 16: 3 ch but do not turn the crocheting this time. (FPdc, BPdc) X 12, make 25 ch, skip the rest of the st and join the chain to the first st of the round with sl st (50)

IMG_20200124_121306
Round 17: (from this round continue with making 3 ch and turning) dc in next 25 ch, (FPdc, BPdc) X 12 (50)

IMG_20200120_175532
Rounds 18-47 (or as long as you want): (FPdc, BPdc) – crochet it the whole Round. Just take care that the convex always stays on one side.

IMG_20200124_120921

Fasten off, cut the yarn and weave in the end. You finished the socks!
Namaste 🙂

IMG_20200124_121144

IMG_20200202_130414

IMG_20200317_194249

Was it fun to crochet with this tutorial? Have a look at my other patterns, maybe you will find something you like there!

You may also like:

Yoga Cropped Sweater Free Crochet Pattern

Halloween Ghost Lights

IMG_20180925_203937

Door and Window Draught Stopper Crochet Pattern

IMG_20180227_173910