Can you imagine, doctors tell that the optimal room temperature for babies is around 17°! And for safety reasons they have no blankets, brrrr!
So their little hands are always cold and unfortunately this is normal.
Sometimes it helps to put socks on the baby’s hands to warm them, but often babies don’t want to wear socks. It’s so much fun to discover your own hands and play with your fingers!
Only few people know that the problem can be easily solved by using wristbands!
I know, it sounds unbelievable but it works really good and it takes not more than an hour to crochet them!
The pattern is available on Instagram!
The pattern is extremely simple!
You need a hook (3 mm), yarn and scissors. Let’s start! Bas
1. Crochet 14 + 1 turning chain (ch). This will be the width of the wristband.
For babies the optimal width should be about 11 ch – 16 ch (using a 3 mm hook and corresponding yarn).
2. So here you turn to the second row. When crocheting, insert the hook in the BACK LOOP ONLY! This will make you wristbands stretchable.
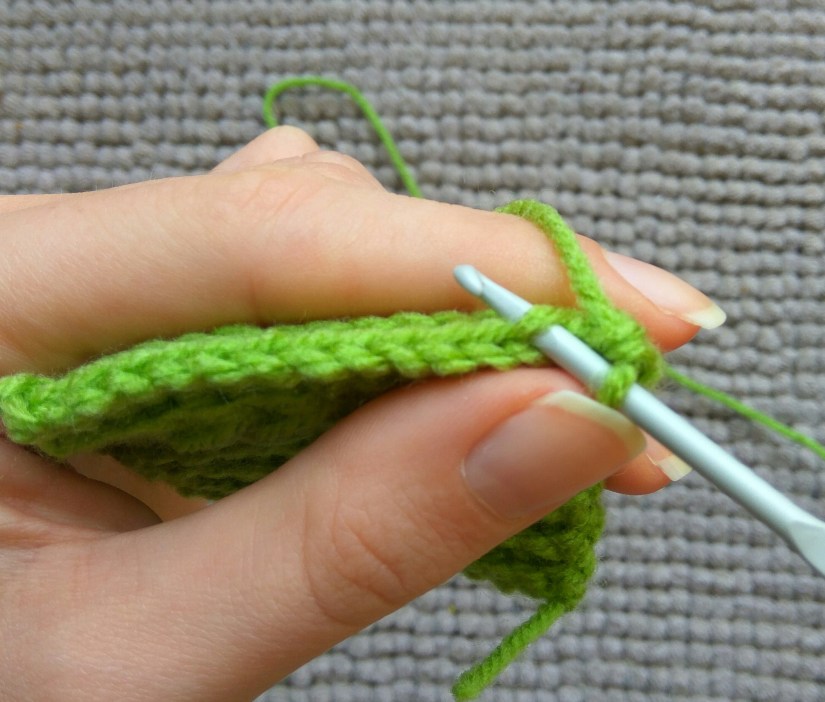
3. Then every next row just keep crocheting in the back loop of the stitch.
Don’t forget to make one turning chain at the end of every row.
Now you should choose the length of the wristband. For a little baby that would be about 22-27 rows, I made 24.
4. Now we will close the wristband. Make one turning chain, insert the hook in the back loop of the last stitch and the last stich of the first row. Make single crochet, keep going till the end of the row.
Yoohoo, the wristbands are finished! Fasten off and cut the yarn proudly! I love this moment 🙂
As you see it’s very easy. You can make the wristband look more special adding more colours for example.
If you decide to make stripes, think of a nice way to change yarns. If you don’t know any yet, here is extremely helpful article about it!
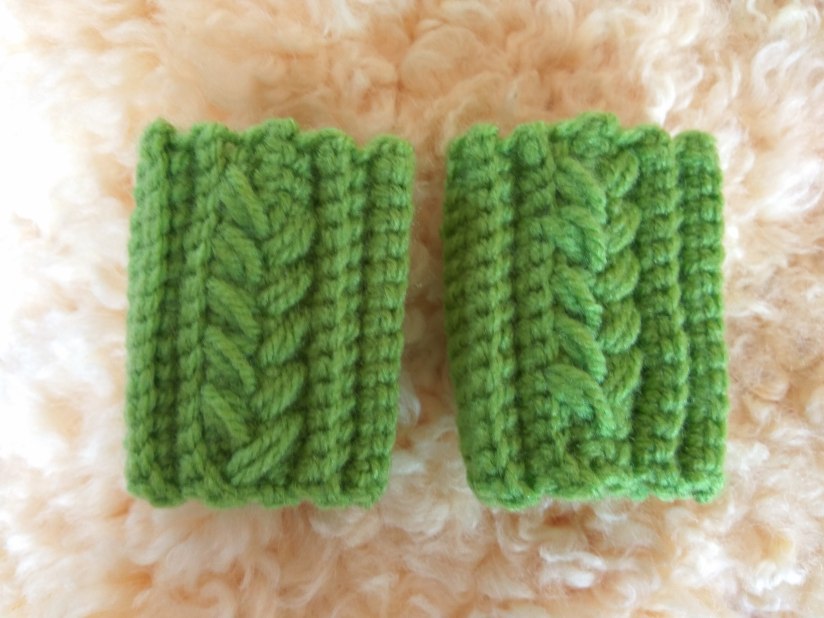
If you want your wristbands look more complicated and elegant, you can try something like that:

I tried to make them look like they were knitted 🙂
How to make it:
1. Crochet 11 rows as explained above.
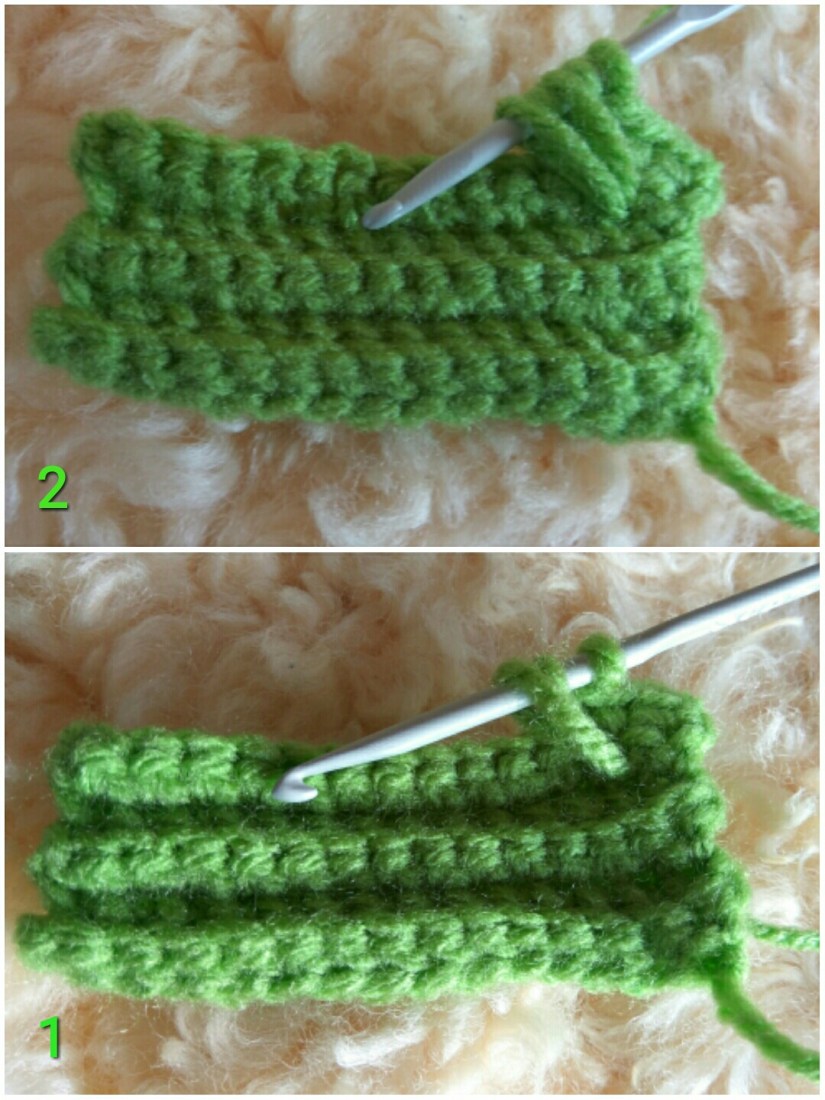
2. Make 1 turning chain and single crochets in two next stitches (in both loops of every stitch, how it’s usually done).
3. Start making double crochet but insert the hook one row lower and one stitch to the right from the point you are at. Pull the yarn through the stitch and make it one more time.
So you have 5 loops on the hook now! Pull the yarn through all of them and make a single crochet in the next stitch.
You have there one fat yarn bobble! Make four more and crochet last two stitches of the row (if you have different size, adjust the amount of the “bobbles”).
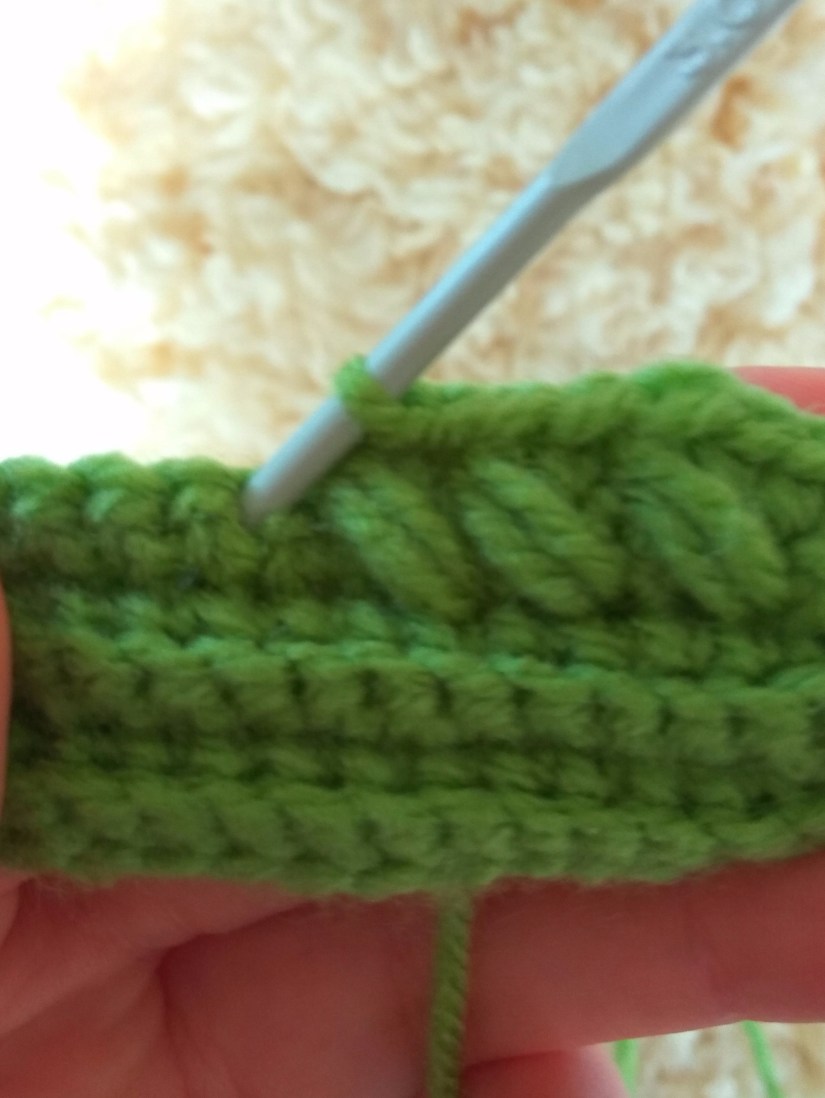
4. Crochet the next row exactly the same and you get the cones which look to the other direction.
5. Crochet 11 rows like a first half of the wristband.
6. Connect the wristband, fasten off and cut the yarn!
Finished!
Please, don’t forget to wash your new beautiful baby wristband! They will be in the baby’s mouth most of the time! 🙂
Was it fun to crochet with this tutorial? Have a look at my other patterns, maybe you will find something you like there!


