

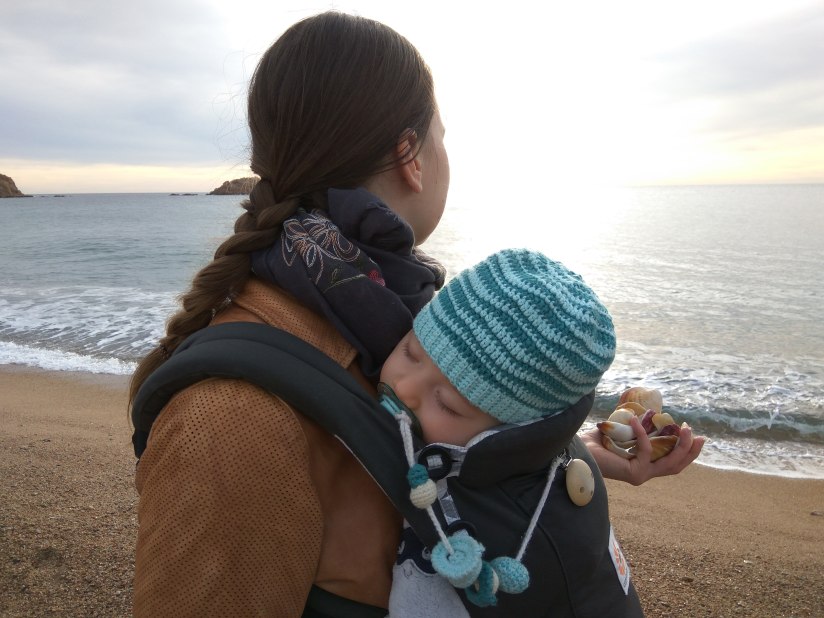
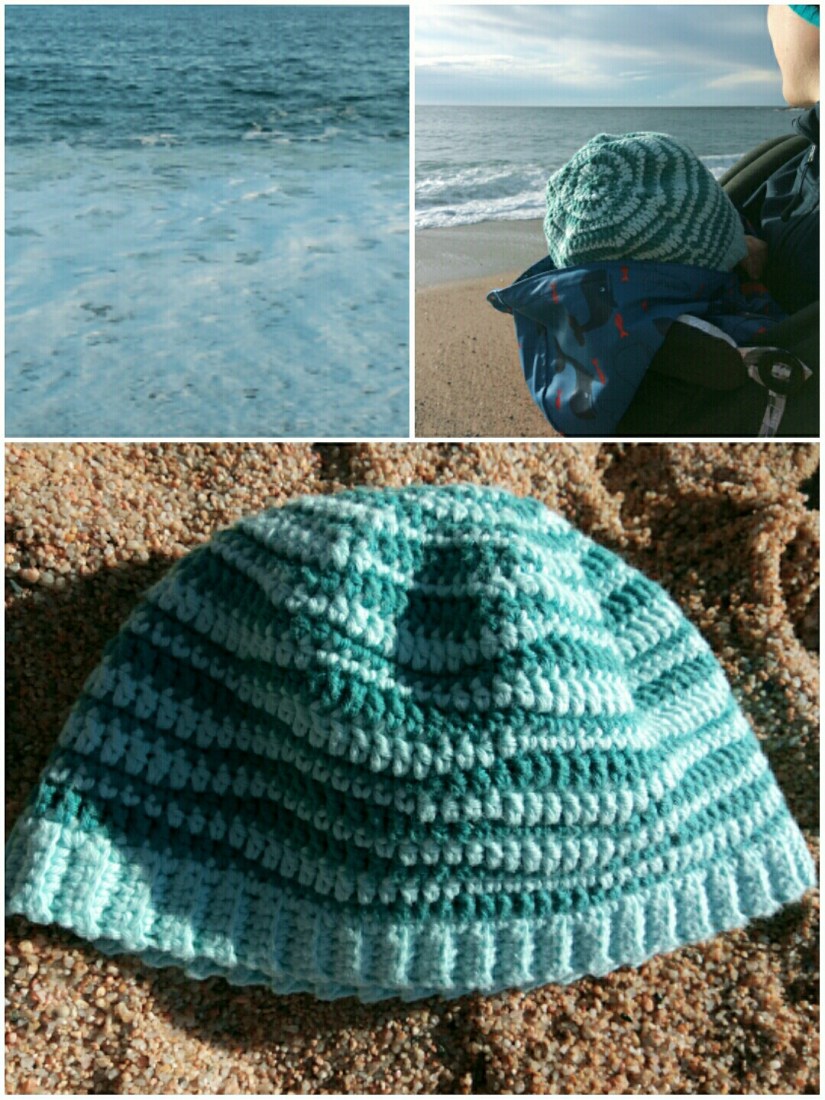
Inspiring Costa Brava! Being at the coast is great, it’s exciting and relaxing at the same time. All these wonderful views, seashells and waves are so impressive! Well, it’s the best place to get inspired with new creative ideas. Shades of blue and turquoise all over Barcelona, huge waves at the sea after a windy night made me think of the pattern I want to share with you!


You will need:
- 3.00 mm crochet hook
- light turquoise (colour 1) and turquoise (colour 2) cotton yarn
Abbreviations:
- ch – chain
- st – stitch
- sl st – slip stitch
- sc – single crochet
- hdc – half double crochet
- dc – double crochet
- dec – 2 sc together (used to decrease the number of stitches)
- X 3 – repeat 3 times
- at the end of every round total number of stitches is shown in brackets
The hat was made for a 7 months old child (the head size is 44-45 cm).
The pattern:
Ribbling (work with the colour 1):
5 ch + 1 turning ch
Round 1-88: sc in all st, 1 ch (5)
Fold the ribbling together, crochet through both the first and the last rows.
Round 89: sl st in all st (5)
Now we turn the ribbling inside out so that the sl st row is not visible.
The rest of the hat:
Round 1: sc in all st (one sc in every row of the ribbling), sl st (88)
Change to the colour 2.
Round 2: 3 ch, dc in next 6 st, hdc in next 4 st, sc in next 7 st, hdc in next 4 st,
(dc in next 7 st, hdc in next 4 st, sc in next 7 st, hdc in next 4 st) X 3 (88)
Change to the colour 1.
Round 3: 1 ch, sc in the same st, sc in next 6 st, hdc in next 4 st, dc in next 7 st, hdc in next 4 st,
(sc in next 7 st, hdc in next 4 st, dc in next 7 st, hdc in next 4 st) X 3 (88)
Now you have a straight line. So you see, that every row with the colour 2 makes a “wave line” and every row with the colour 1 compensates the hight of the stitches. In other words, we always have to make these 2 rows together in order to crochet straight. The order of the rows we can change, though. For example, now we crochet them the other way around so the waves look more “random”.
Change to the colour 2.
Round 4: repeat Round 3 (88)
Change to the colour 1.
Round 5: repeat Round 2 (88)

Now we keep crocheting these two rows in a random order. Change colours every round.
Rounds 6-9 and rounds 10-13: repeat Rounds 2-5 (88)
Now we start decreasing the size of the hat.
Round 14: 1 ch, sc in the same st, sc in next 6 st, hdc in next 2 st, hdc dec, dc in next 7 st, hdc in next 2 st, hdc dec,
(sc in next 7 st, hdc in next 2 st, hdc dec, dc in next 7 st, hdc in next 2 st, hdc dec) X 3 (80)
Important: here I used a term “hdc dec”, this means I crochet 2 st together not with a single crochet but with a hdc. Later in the instructions I write just “dec” but you should always make the hdc dec.
Round 15: 3 ch, dc in next 6 st, hdc in next st, dec, sc in next 7 st, hdc in next st, dec,
(dc in next 7 st, hdc in next st, dec, sc in next 7 st, hdc in next st, dec) X 3 (72)
Round 16: 1 ch, sc in the same st, sc in next 5 st, hdc in next st, dec, dc in next 6 st, hdc in next st, dec,
(sc in next 6 st, hdc in next st, dec, dc in next 6 st, hdc in next st, dec) X 3 (64)
Round 17: 3 ch, dc in next 4 st, hdc in next st, dec, sc in next 5 st, hdc in next st, dec,
(dc in next 5 st, hdc in next st, dec, sc in next 5 st, hdc in next st, dec) X 3 (56)
Round 18: 1 ch, sc in the same st, sc in next 3 st, hdc in next st, dec, dc in next 4 st, hdc in next st, dec,
(sc in next 4 st, hdc in next st, dec, dc in next 4 st, hdc in next st, dec) X 3 (48)
Round 19: 3 ch, dc in next 2 st, hdc in next st, dec, sc in next 3 st, hdc in next st, dec,
(dc in next 3 st, hdc in next st, dec, sc in next 3 st, hdc in next st, dec) X 3 (40)
Round 20: 1 ch, sc in the same st, sc in next st, hdc in next st, dec, dc in next 2 st, hdc in next st, dec,
(sc in next 2 st, hdc in next st, dec, dc in next 2 st, hdc in next st, dec) X 3 (32)
Round 21: 3 ch, hdc in next st, dec, sc in next st, hdc in next st, dec,
(dc in next st, hdc in next st, dec, sc in next st, hdc in next st, dec) X 3 (24)
Round 22: 1 ch, sc in the same st, dec, dc in next st, dec,
(sc in next st, dec, dc in next st, dec) X 3 (16)
Round 23: dec X 8 (8)
Sew through the last round, fasten off and weave in the end. The hat is finished!
Was it fun to crochet with this tutorial? Have a look at my other patterns, maybe you will find there something you like!
